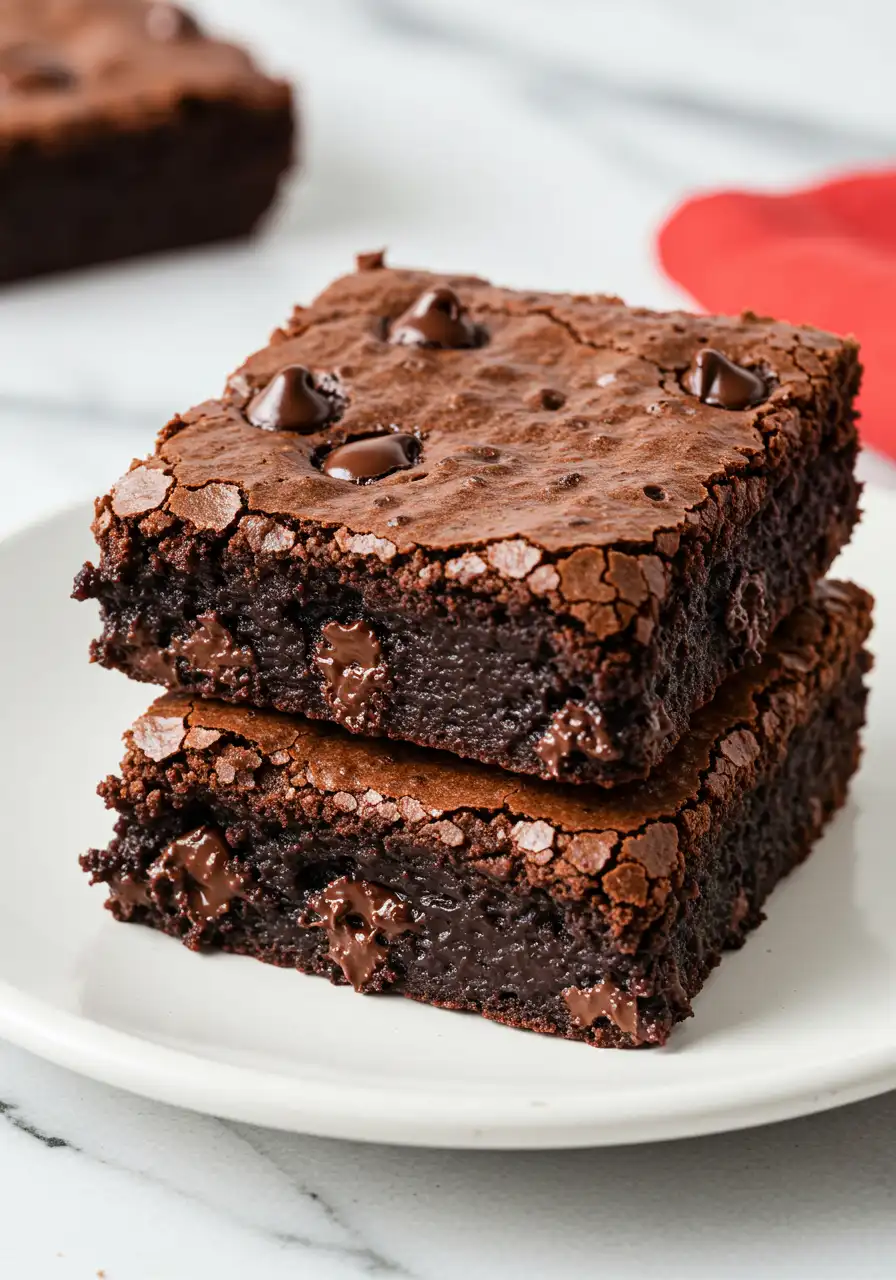
Craving a dessert that’s the perfect mix of gooey, fudgy, and totally irresistible? Look no further than S’mores Brownies! This easy-to-make treat combines the rich flavors of chocolate brownies with the nostalgic taste of campfire s’mores, complete with a golden marshmallow topping.
Whether you’re baking with the kids or hosting a gathering, this recipe is a crowd-pleaser that comes together in no time.
Jump to
If you’ve loved my Heavenly Hash Brownies, you’ll definitely enjoy this one too!
What are S’mores Brownies
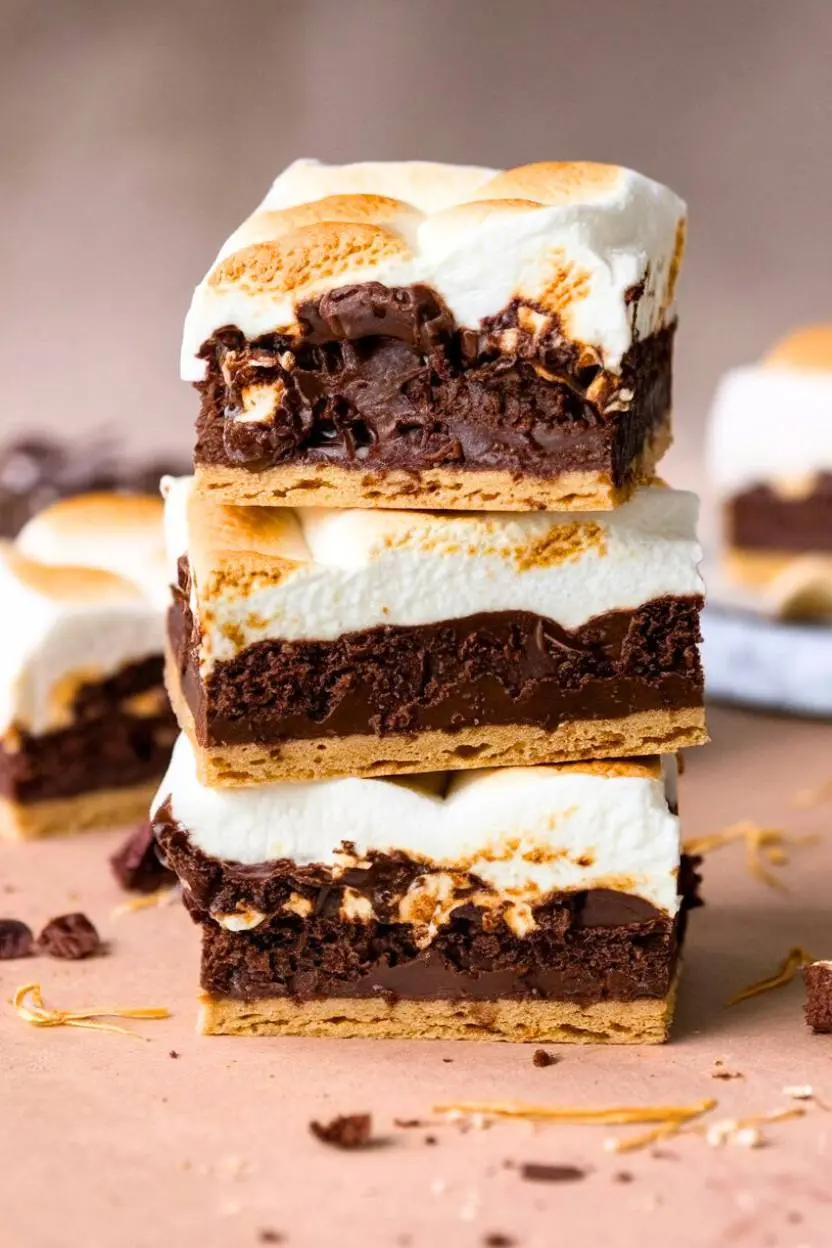
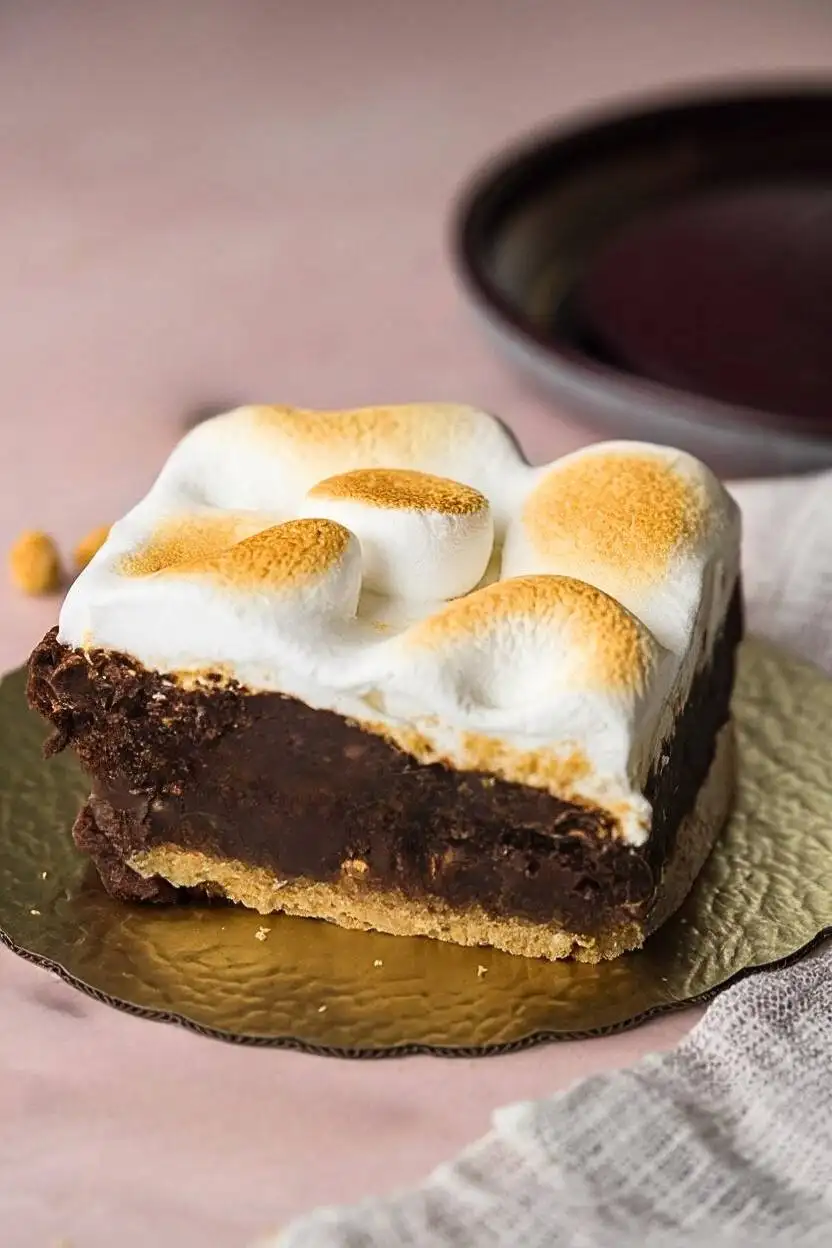
Imagine taking the beloved campfire treat, s’mores—crispy graham crackers, gooey marshmallows, and melty chocolate, and turning them into a brownie. Genius, right?
Who thought of this perfect mashup? Whoever it was, they deserve a standing ovation!
The name says it all—s’mores and brownies in one delicious bite. These brownies are packed with all the sweet, sticky goodness you love, but without the need for a campfire.
Why You’ll Love These S’mores Brownies
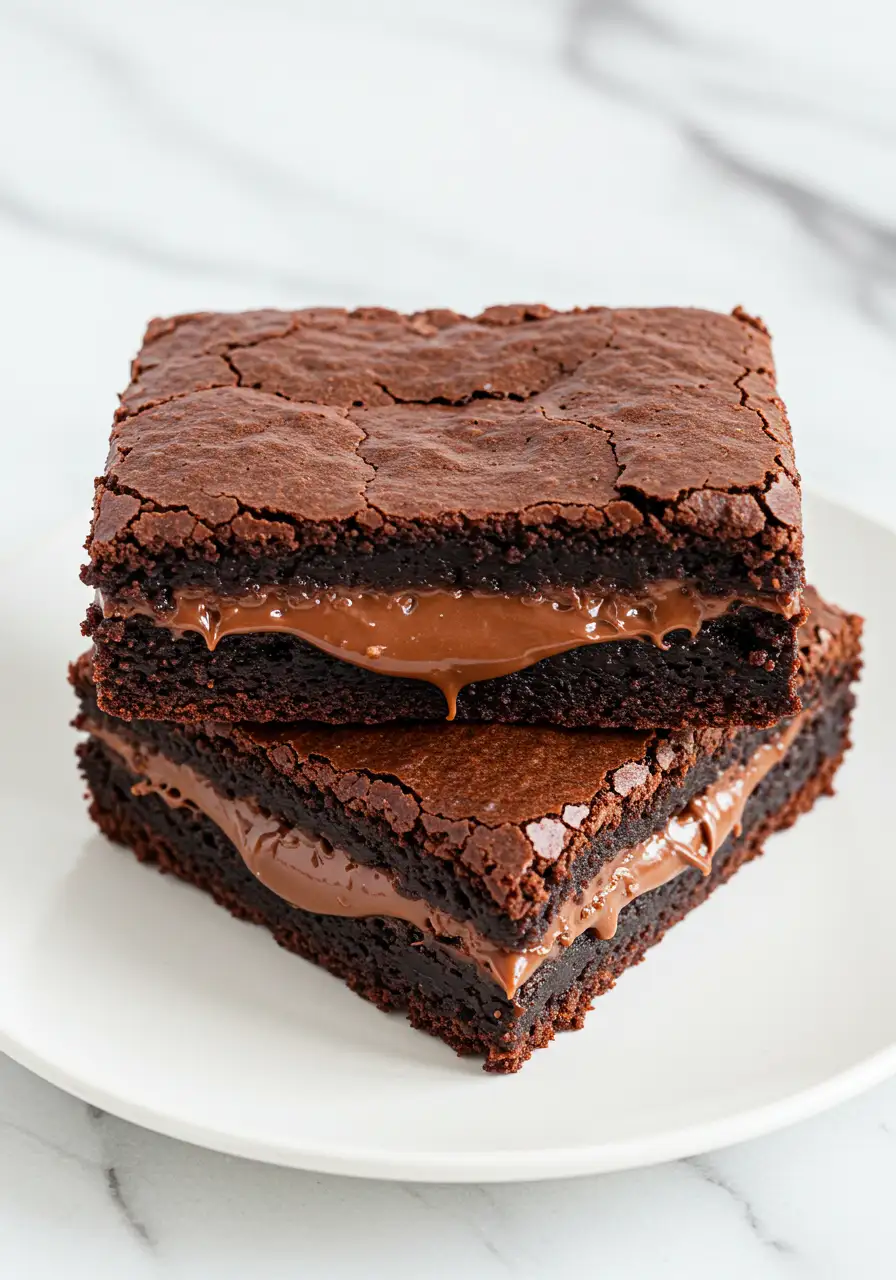
- The Perfect Mashup: Imagine the rich, fudgy texture of brownies combined with the crispy, sweet crunch of graham crackers and the gooey marshmallow topping that will take you straight back to summer campfires. It’s the best of both worlds, all in one bite!
- Cost-Effective & Easy: Skip the store-bought s’mores kits and make your own at home for a fraction of the cost. Plus, these brownies come together in just a few simple steps, making them perfect for busy weeknights or last-minute gatherings.
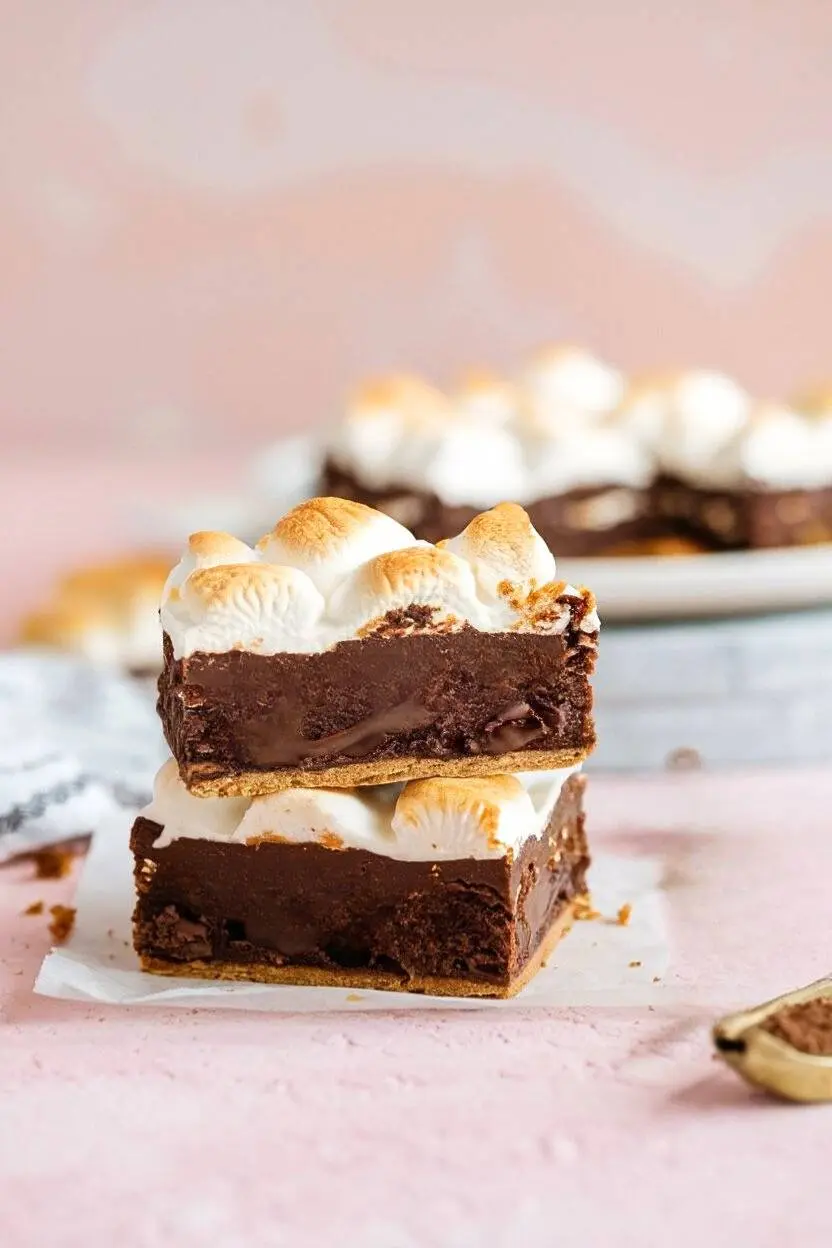
- Flavorful & Fun Toppings: The chocolate chips and golden-brown marshmallows create the perfect balance of sweetness and texture, making each bite a delightful experience. It’s a fun, nostalgic treat that everyone will love!
The ingredients you’ll need
Note: Accurate measurements are key to perfect brownies! A little extra care in measuring your ingredients makes all the difference in texture and taste.
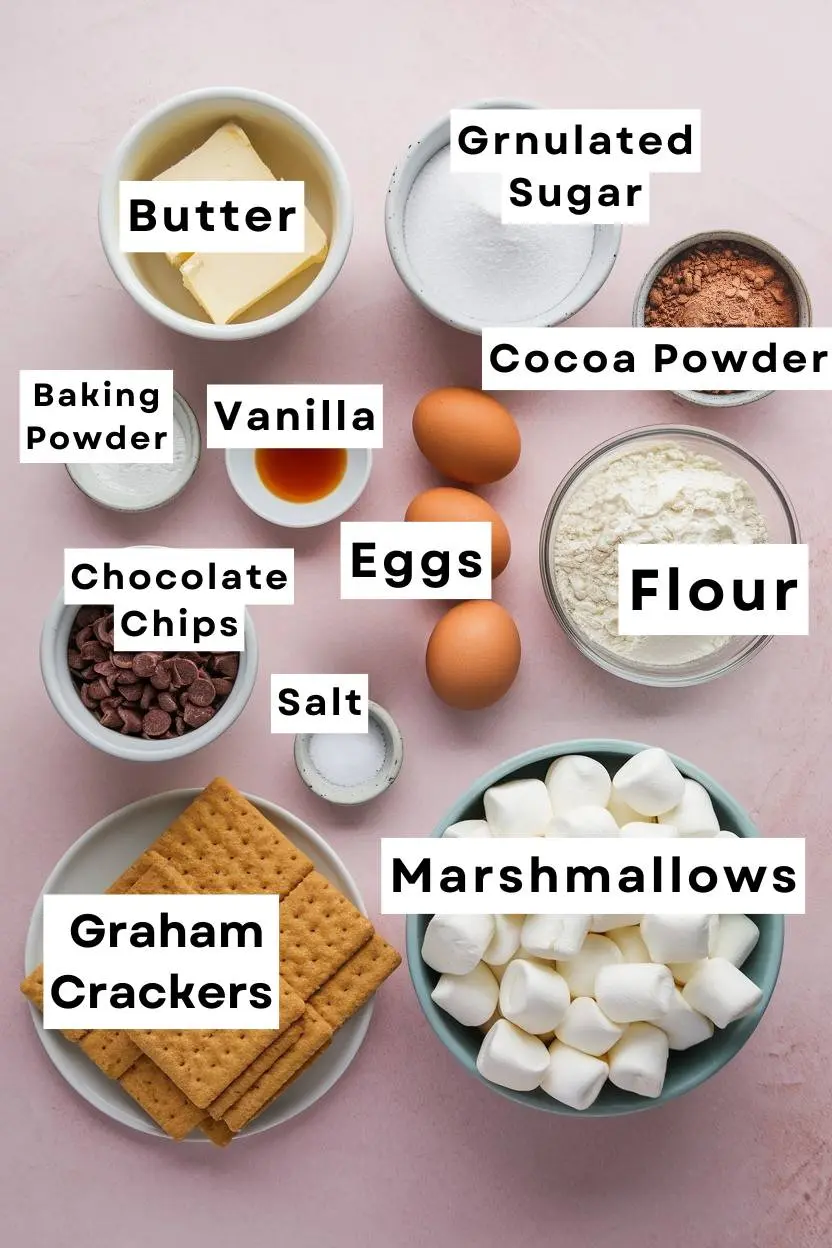
- Unsalted Butter: You can’t go wrong with unsalted butter! It adds richness and moisture to the brownie base, helping create that fudgy, melt-in-your-mouth texture.
- Granulated Sugar: Sugar is the magic ingredient that gives the brownies their sweet, delicious flavor.
- Vanilla Extract: is the secret to enhancing the other flavors in the brownies. It adds a subtle depth that makes them taste even better.
- Eggs: are essential for binding everything together and giving the brownies their structure.
- All-Purpose Flour: Flour helps give the brownies their texture. It’s what holds everything together and provides the soft structure we all love in brownies. If you’re aiming for a light, fluffy crumb, all-purpose flour is the way to go.
- Cocoa Powder: Cocoa powder is what gives the brownies their rich chocolate flavor. I highly recommend using unsweetened cocoa powder.
- Baking Powder: Baking powder is a leavening agent that helps the brownies rise just a bit.
- Salt: If you want your brownies to taste even more chocolaty, I recommend adding salt, it’s like a flavor enhancer!
- Chocolate Chips: Chocolate chips are a must for a rich, gooey texture! I recommend semi-sweet chocolate chips for the perfect balance of sweetness and deep chocolate flavor.
- Graham Cracker Squares: Instead of crushing the graham crackers, you’ll layer them whole on the bottom of the pan. They provide that signature crunch and toasty flavor we all love in s’mores. It’s the perfect base to hold all that brownie and marshmallow goodness. You can make your own homemade graham crackers for an extra fresh and delicious touch!
- Marshmallows: Marshmallows are the star of the s’mores topping! They add that sweet, gooey, melt-in-your-mouth texture that makes s’mores so irresistible
5 steps to Make s’mores brownies:
Prepare the Graham Cracker Base
Start by laying 13 whole graham cracker squares across the bottom of your baking pan (9×9-inch works great).
The graham crackers will form the crunchy foundation for your s’mores brownies. Arrange them snugly next to each other, covering the entire bottom of the pan. This gives your brownies that delicious s’mores feel right from the start.
Mix the Brownie Batter
In a separate bowl, whisk together your dry ingredients—flour, cocoa powder, baking powder, and salt.
In another bowl, beat the melted butter, granulated sugar, vanilla extract, and eggs until smooth. Gently incorporate the dry ingredients into the wet mixture, stirring slowly until fully blended. Add the semi-sweet chocolate chips last and mix them in for that extra chocolatey goodness.
Pour the Brownie Batter Over Graham Crackers
Now it’s time to pour your brownie batter! Carefully spread the batter evenly over the graham cracker layer in your pan, making sure to cover all of them completely. Don’t worry if it looks a little messy—just make sure the graham crackers are fully hidden under the chocolaty goodness.
Bake the Brownies
Place your pan in the preheated oven and bake for 30 minutes. The baking time will depend on your oven, but the brownies should rise, set around the edges, and stay slightly soft in the middle. Don’t worry if they seem a little fudgy; that’s what makes them so delicious!
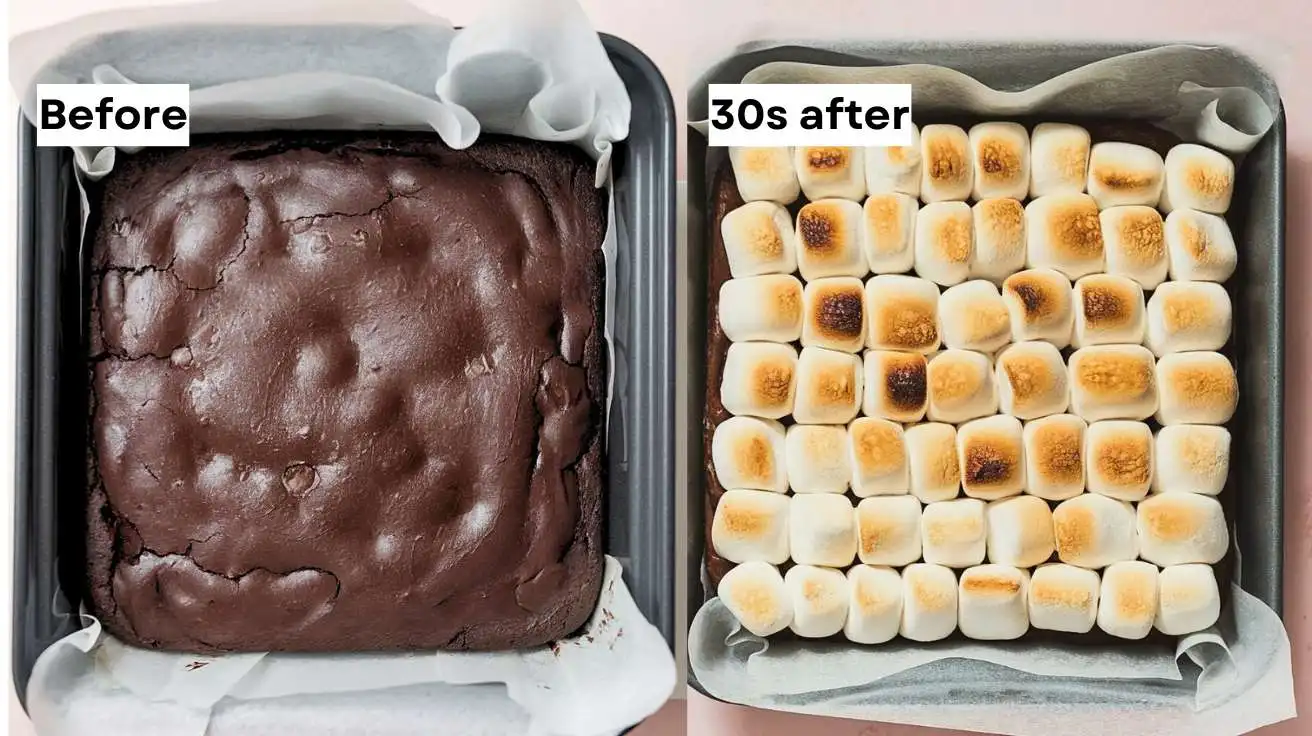
Get Ready for the Marshmallows
As soon as your brownies are done, take them out of the oven. While they’re cooling, grab your large marshmallows.
You’re going to want to make sure the marshmallows cover the top of the brownies as evenly as possible.
Pop it back in the oven for 30 seconds, just until you see a golden-brown color. Then, take it out and let it cool for about 5 minutes. Enjoy!
Top Tips for Perfecting s’mores brownies
Avoid Over Mixing the Batter
When mixing your brownie batter, it’s important not to overmix it once you’ve added the dry ingredients.
Overmixing can lead to dense brownies, and we’re aiming for light, fudgy, and soft! Stir just until combined to avoid that problem.
Use Room Temperature Ingredients
For the best texture, I recommend letting your butter and eggs come to room temperature before mixing them into the batter.
If your butter is too cold, it can lead to a lumpy mixture, and cold eggs can make your batter thicker than it should be.
Make It Your Own with Mix-ins
Feel free to get creative with your brownies! You can add extra chocolate chips, crushed toffee bits, or even a sprinkle of cinnamon in the brownie batter for added flavor.
Just make sure to keep the balance so that the marshmallow topping remains the star of the show.
Use High-Quality Chocolate for Richer Flavor
For a deep, rich chocolate flavor, I recommend using high-quality chocolate chips (like Ghirardelli or Guittard) instead of the standard ones. The better the chocolate, the better the brownies will taste!
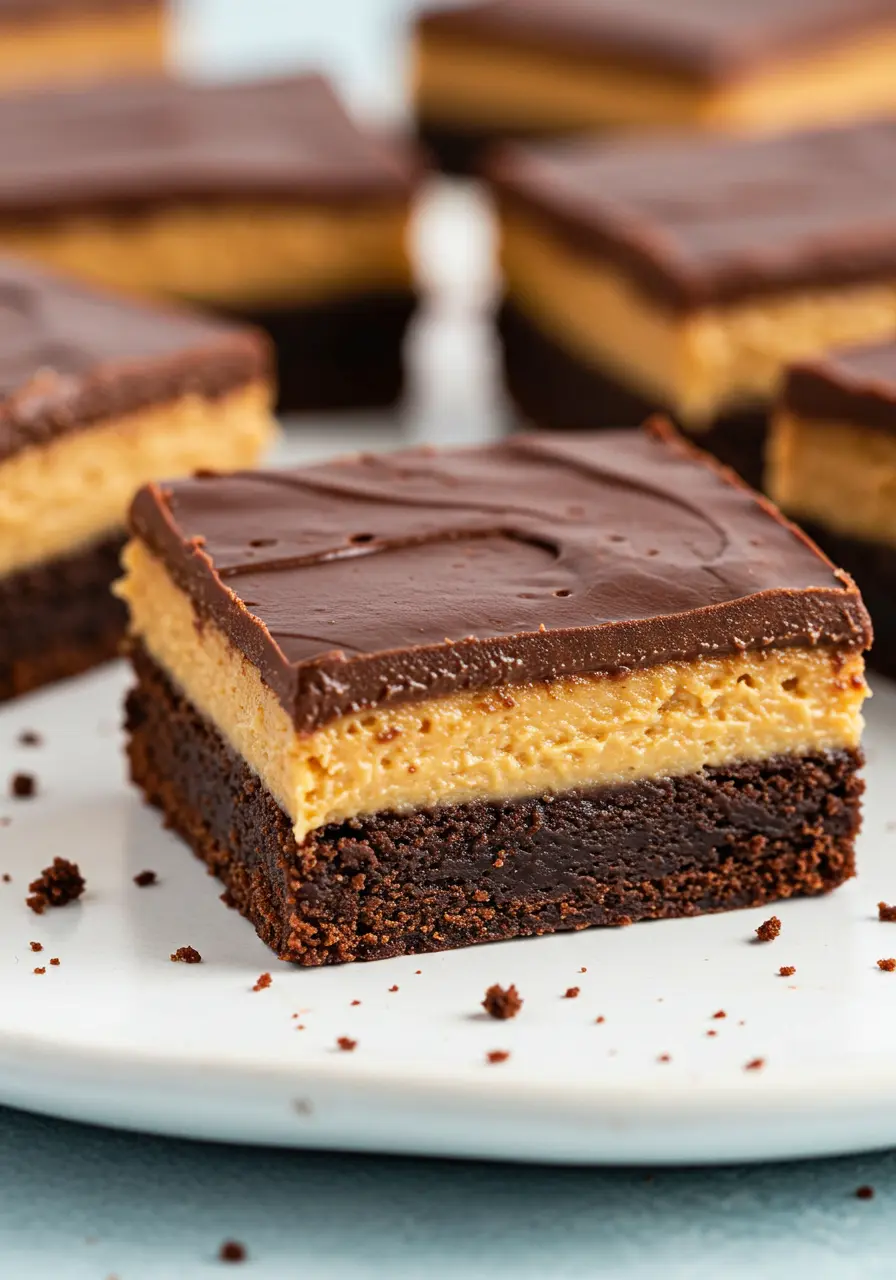
Craving more delicious brownie variations? My cheesecake brownies combine rich chocolate and creamy cheesecake for an irresistible treat!
How to Store S’mores Brownies
Store them in a sealed container or wrap them securely with plastic film or aluminum foil to maintain freshness. Stored in the fridge, your brownies will stay good for about 5 to 7 days.
Frequently Asked Questions
Can I Make S’mores Brownies Without Using Marshmallows?
If you’re not a fan of marshmallows, you could swap them out for toasted coconut for a more unique flavor. Just keep in mind that the traditional s’mores experience comes from the gooey marshmallow topping, so I recommend sticking with it if you want the authentic taste of s’mores brownies.
Can I Make S’mores Brownies in a Different Pan Size?
Yes, you can definitely adjust your pan size when making s’mores brownies! If you use a larger pan, your brownies will be thinner, so be sure to check the baking time and adjust accordingly. On the other hand, a smaller pan will give you thicker brownies, but they might require a little extra time in the oven.
Can I Use Gluten-Free Flour for S’mores Brownies?
Absolutely! If you’re looking to make gluten-free s’mores brownies, you can easily swap the all-purpose flour for a gluten-free flour blend. There are many high-quality blends available that work just like regular flour, making your brownies just as delicious.
How to Make Perfect S’mores Brownies in 5 Simple Steps
Ingredients
- 1 cup 230g unsalted butter, melted
- 1 ½ cups 300g granulated sugar
- 1 teaspoon vanilla extract
- 3 large eggs
- 1 cup 120g all-purpose flour
- ½ cup 50g unsweetened cocoa powder
- ½ teaspoon baking powder
- ¼ teaspoon salt
- 1 cup 170g semi-sweet chocolate chips
- 13 graham cracker squares
- 35 Large marshmallows
Instructions
- Start by laying 13 whole graham cracker squares across the bottom of your baking pan (9×9-inch), covering the entire bottom of the pan.
- In a separate bowl, whisk together your dry ingredients, flour, cocoa powder, baking powder, and salt. In another bowl, beat the melted butter, granulated sugar, vanilla extract, and eggs until smooth.
- Slowly blend the dry ingredients into the wet mixture, folding carefully and gently. Add the semi-sweet chocolate chips last. Then spread it over the graham crackers.
- Place your pan in the preheated oven and bake for 30 minutes. Don’t worry if they seem a little fudgy; that’s what makes them so delicious!
- Grab your marshmallows. Arrange them on top of the brownies as evenly as possible. Pop it back in the oven for 30 seconds, just until you see a golden-brown color. Then, take it out and let it cool for about 15 minutes. Enjoy!
Notes
- It’s important not to overmix it once you’ve added the dry ingredients. Overmixing can lead to dense brownies
- Feel free to toss in some extra chocolate chips, crushed toffee bits, or even a dash of cinnamon into the brownie batter for a little extra yum!
- If you store your brownies in the fridge, they will stay fresh for up to a week!
- I definitely suggest going for some high-quality chocolate chips instead of the usual ones. Trust me, the better the chocolate, the tastier your brownies will be