If cakes could tell stories, the Victoria sponge cake would be an old soul, timeless, comforting, and always welcome at the table.
I experienced this the hard way when I moved into my first apartment. The kitchen was tiny, my baking tools were mismatched, and my skills. Well, let’s just say they were a work in progress.
But one rainy afternoon, missing home more than ever, I decided to bake a Victoria sponge cake, the same one my mom would make on Sundays, filling the house with the warm scent of butter and sugar.
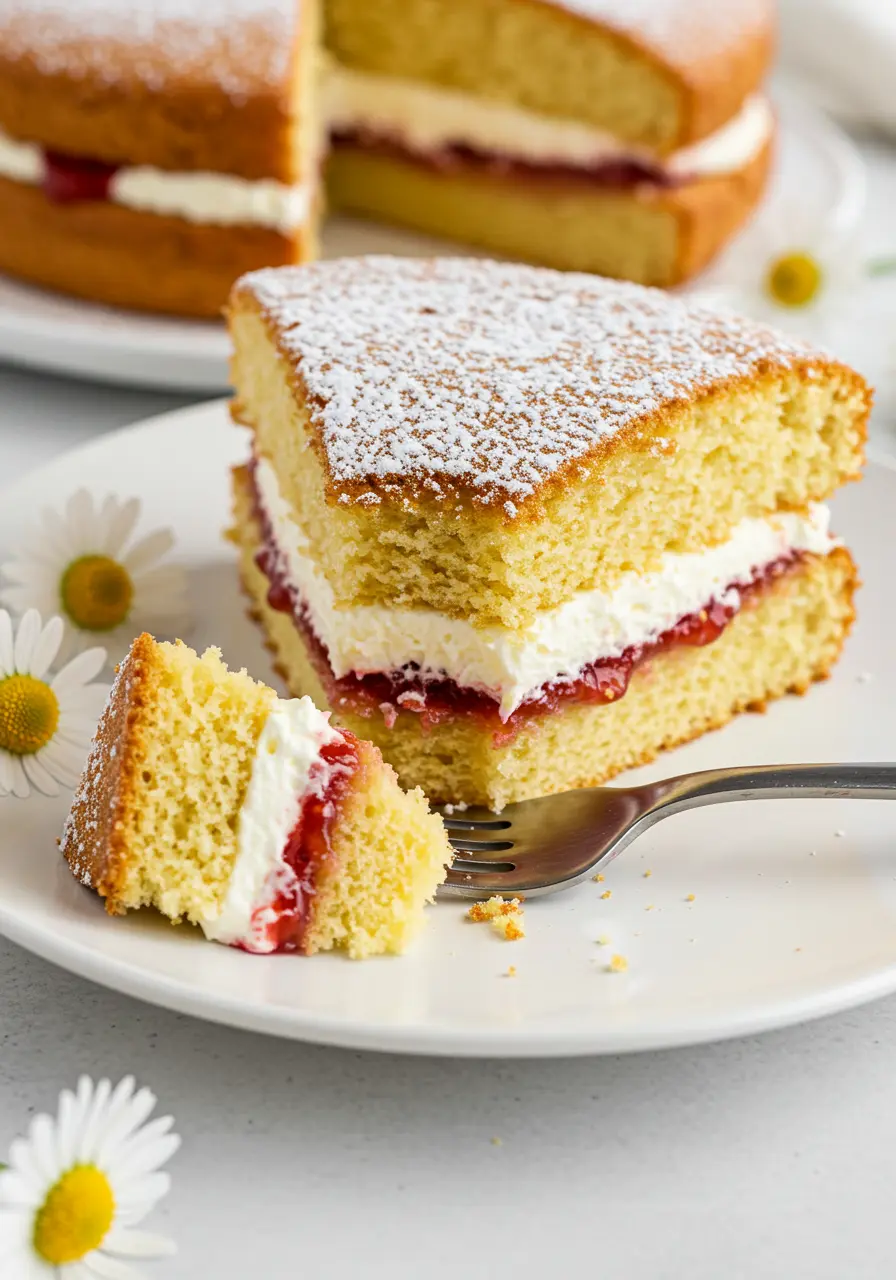
That first slice? Pure magic. Soft, buttery layers, a kiss of jam, and a cloud of whipped cream. Suddenly, my tiny kitchen didn’t feel so lonely anymore. That’s what this cake does, it brings people together, turns simple moments into something special, and reminds you that the best things in life don’t have to be complicated.
Jump to
And if you’re in the mood for another classic that feels like a warm hug, you have to try my carrot cake recipe next!
Why You’ll Love This Victoria Sponge Cake
It’s the “Little Black Dress” of Cakes – Simple, elegant, and perfect for any occasion. Whether it’s an afternoon tea, a birthday, or just a Tuesday that needs a pick-me-up, this cake always fits.
Fluffy, Buttery, and Just the Right Amount of Sweet – No dry, crumbly sponge here! This recipe gives you a soft, melt-in-your-mouth texture with a delicate balance of sweetness.
Beginner-Friendly, Yet Impressively Elegant – Even if you’re new to baking, this cake will make you look like a pro. It’s straightforward but always leaves people asking, “Did you really make this from scratch?”
Customizable to Your Mood – Classic raspberry jam? Perfect. A twist with lemon curd? Delicious. Fresh berries? Absolutely! This cake is your blank canvas.
The Ingredients You’ll Need
- Self-Rising Flour – This flour contains baking powder and salt, helping the cake rise beautifully.
- Baking Powder – Adds extra lift to the sponge, ensuring it’s light, airy, and perfectly fluffy.
- Salt – Balances the sweetness and enhances all the other flavors in the cake.
- Unsalted Butter – The key to a rich, tender cake. Using unsalted butter gives you full control over the salt content in the recipe.
- Granulated Sugar – Sweetens the cake while contributing to a soft, moist texture.
- Eggs – They provide structure, moisture, and stability to the cake, creating the perfect crumb.
- Whole Milk – Helps to achieve a smooth, soft batter while keeping the cake moist and light.
- Vanilla Extract – Adds a warm, aromatic flavor that enhances the overall taste of the cake.
- Heavy Cream – Whipped into soft peaks, it creates a rich, smooth filling that pairs perfectly with the sponge.
- Powdered Sugar – Lightens and sweetens the whipped cream, giving it the perfect sweetness for the filling.
- Strawberry Jam – A classic, fruity filling that complements the delicate sponge with its sweet and tangy flavor.

How to Make Your Perfect Victoria Sponge Cake
Let’s dive into the process of creating this fluffy, buttery Victoria Sponge Cake from scratch. I’ll guide you through each step so you can bake with confidence and enjoy every moment of it!
Get your oven ready and prep the pans
Start by preheating your oven to 350°F (175°C). While it’s heating up, grease two 8-inch round cake pans with butter, making sure to cover the sides and bottom.
For that extra non-stick magic, line the bottoms with a piece of parchment paper. This helps ensure your cakes come out perfectly every time.
Sift your dry ingredients
In a medium-sized bowl, sift together your self-rising flour, baking powder, and salt. Sifting is key here – it helps get rid of any lumps and ensures the dry ingredients are evenly mixed, which is crucial for that light, fluffy texture we’re aiming for.
Cream the butter and sugar
In a large mixing bowl, beat together your softened unsalted butter and granulated sugar on medium-high speed.
You want this to become smooth and fluffy, which should only take about 2–3 minutes. The butter and sugar are like the foundation of your cake – they’ll give it that rich, melt-in-your-mouth quality.
Add in the eggs, vanilla, and milk
Once the butter and sugar are smooth, it’s time to add the eggs. Add them individually, mixing thoroughly after each one. This helps to make sure they’re fully incorporated into the batter.
Don’t forget to scrape down the sides of the bowl to make sure everything is mixed in. After the eggs, add 1½ teaspoons of vanilla extract and the whole milk.
Mix everything thoroughly until the texture is smooth and fully blended.
Mix in the dry ingredients
Now, with the mixer on low speed, gradually add the sifted dry ingredients to the batter. You want to beat this until it’s just combined.
You’re looking for a thick but smooth batter – not too runny but not too stiff either.
Get the batter into the pans
Once your batter is ready, divide it evenly between the two prepared cake pans. Use a spatula to spread the batter evenly across the top. This is your chance to make sure both layers are level so your cake bakes evenly.
Bake to perfection
Place the pans in your preheated oven and bake for 25–30 minutes. You’ll know the cakes are done when the tops are golden brown, and they spring back when you gently press them in the center. The edges should start pulling away from the sides of the pan, too.
Cool the cakes
When your cakes are done, let them cool in the pans on a wire rack for about 10 minutes. This helps them set without falling apart.
After that, carefully remove the cakes from the pans and peel off the parchment paper. Let the cakes cool completely before you start assembling the layers.
Whip the cream
While your cakes are cooling, let’s whip up the cream!
In a medium mixing bowl, combine your heavy cream, powdered sugar, and the remaining ½ teaspoon of vanilla extract.
Beat everything on medium speed until you get soft peaks. The whipped cream should hold its shape but still be light and airy – this will be the luscious filling for your cake.
Assemble your Victoria Sponge Cake
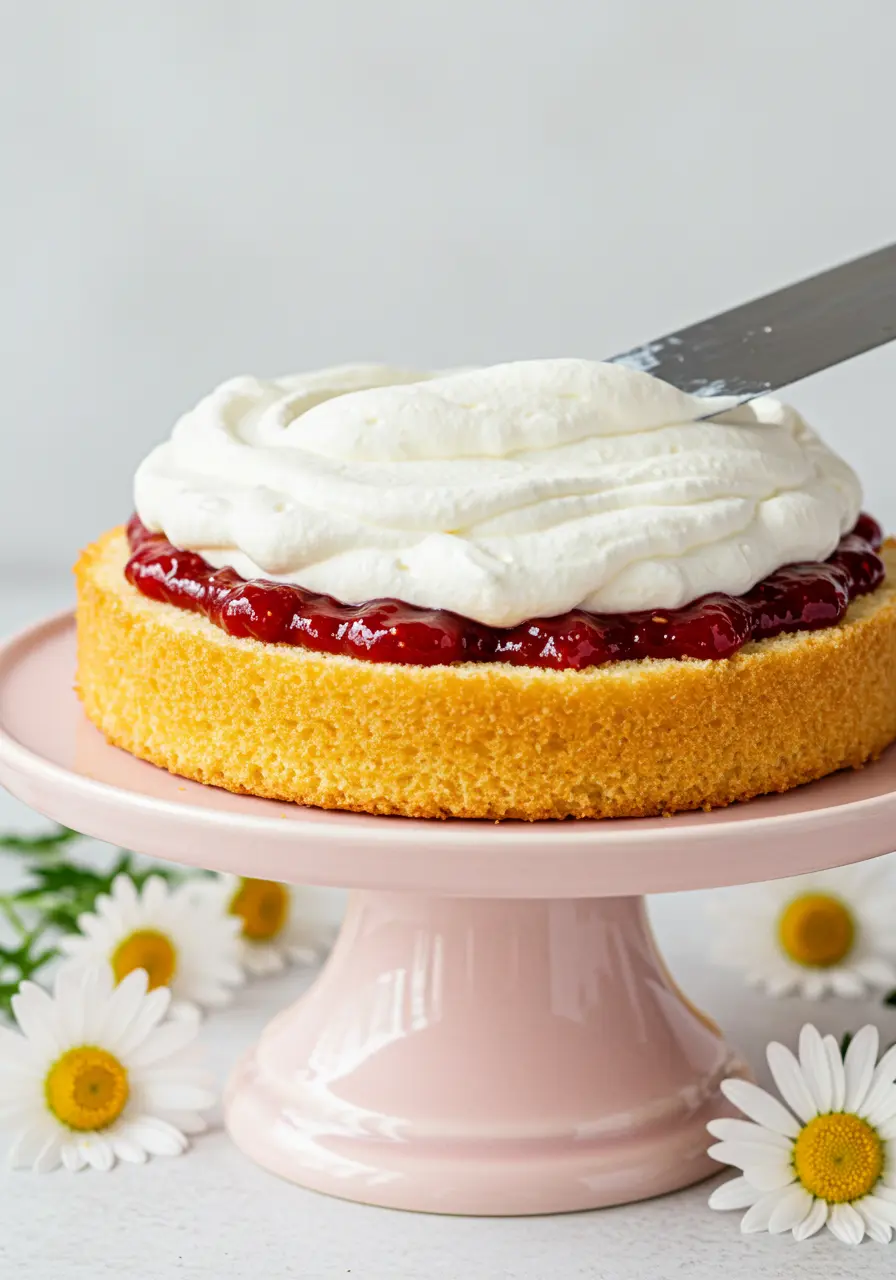
Now comes the fun part, assembling your cake! Set a cake layer onto your cake stand.
Spread a generous amount of strawberry jam on top, making sure to cover it evenly.
Then, spread the whipped cream on top of the jam, smoothing it out with a spatula.
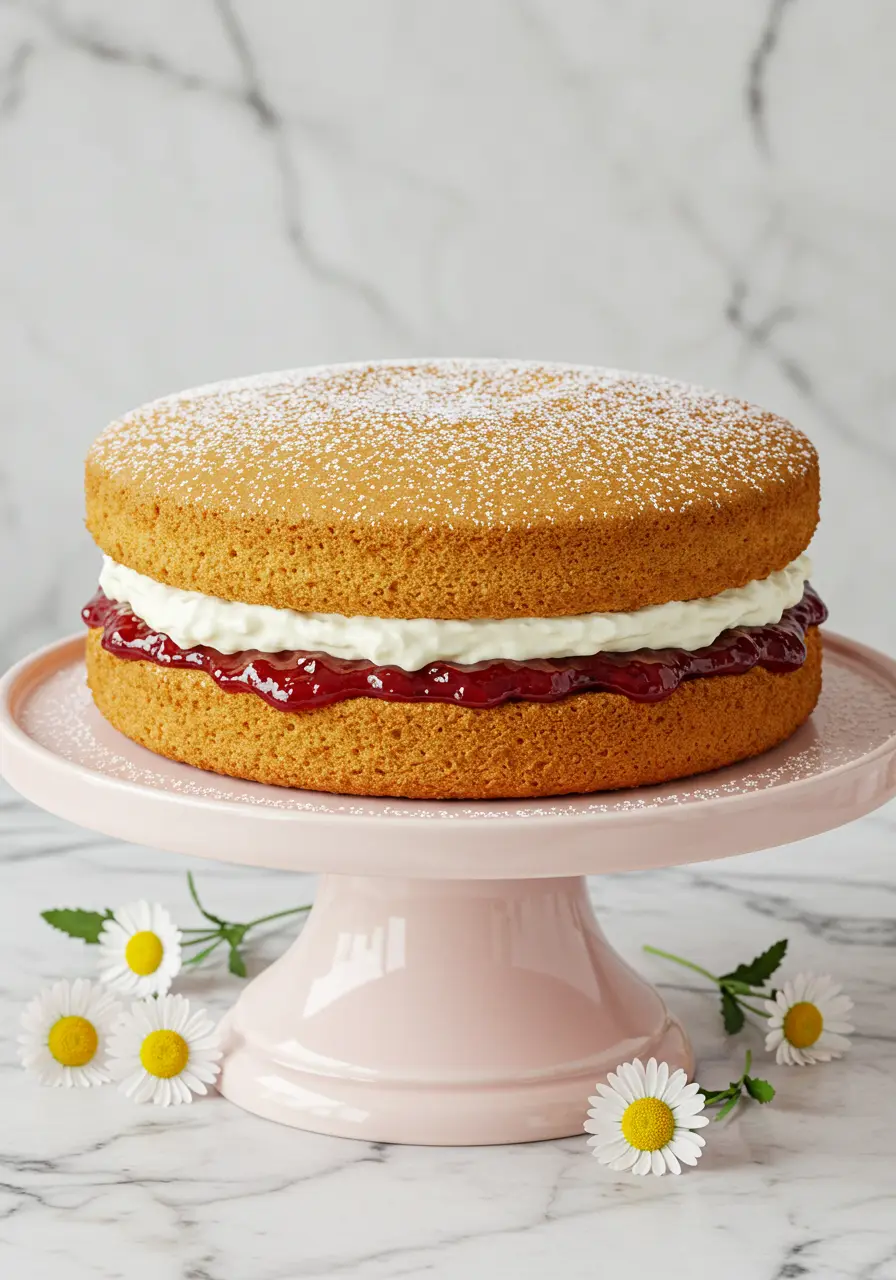
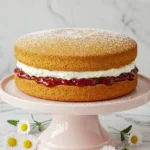
Top it off with the second layer of cake. For that beautiful finishing touch, dust the top of the cake with a light sprinkle of powdered sugar. It gives it that lovely, elegant look that makes Victoria sponge cake a showstopper!
What to Serve Your Victoria Sponge Cake With
- A cup of Earl Grey tea – The fragrant, floral notes of Earl Grey complement the lightness of the sponge and the sweetness of the jam perfectly.
- Fresh berries – Serve with a handful of raspberries, strawberries, or blueberries for a fresh, fruity twist that adds a burst of color.
- A scoop of vanilla ice cream – Who doesn’t love a little ice cream with cake? Vanilla’s smoothness balances the sweetness of the sponge beautifully.
4 Mistakes to Avoid When Making Victoria Sponge Cake
Skipping the room temperature ingredients
Using cold butter, eggs, or milk can cause your batter to seize up and make the cake dense. Let your ingredients come to room temperature for the best results. If you forget, a quick warm water bath for the eggs works wonders!
Overmixing the batter
Mixing too much can lead to a tough, dense cake. Gently fold in your dry ingredients and avoid overworking the batter. When it comes to mixing, less is better!
Not leveling the batter in the pans
To ensure your cakes bake evenly, tap the pans on the counter to release any air bubbles and level the batter. This gives you a perfectly uniform sponge.
Trying to frost too soon
Be patient and let your cakes cool completely before adding jam and whipped cream. If you rush, the warm cake will cause your filling to melt and make a mess. Trust me, it’s worth the wait!
Avoid these missteps, and you’ll have a fluffy, perfectly baked Victoria sponge cake every time!
How to Store Your Victoria Sponge Cake
- Room temperature – If you plan to eat it within 2–3 days, store your cake in an airtight container at room temperature. It’ll stay soft and moist.
- Refrigerate for longer freshness – For up to 5 days, store your cake in the fridge, but keep it covered to prevent it from drying out.
- Freeze for later – Slice the cake, wrap each piece tightly in plastic wrap, and place in a freezer-safe container. It will last up to 3 months!
Looking for another indulgent cake to try? Don’t miss out on my German chocolate cake, a rich and decadent treat that’s perfect for any occasion!
How to Make the Perfect Victoria Sponge Cake (Step-by-Step)
Ingredients
For the Cake:
- 2 cups self-rising flour 240g
- ¼ teaspoon baking powder
- ¼ teaspoon salt
- 1 cup unsalted butter softened (227g)
- 1 cup plus 1 tablespoon granulated sugar 225g
- 4 large eggs room temperature
- 1 tablespoon whole milk
- 2 teaspoons vanilla extract divided
For the Filling & Topping:
- ½ cup heavy cream 120ml
- 1 tablespoon powdered sugar
- ⅓ cup strawberry jam
Instructions
- Preheat your oven to 350°F (175°C). While it heats up, grease two 8-inch round cake pans with butter, ensuring to coat both the sides and bottoms.
- For extra non-stick assurance, line the bottoms with parchment paper, this guarantees easy removal of your cakes.
- In a medium bowl, thoroughly sift the self-rising flour, baking powder, and salt. Sifting eliminates any lumps and ensures the dry ingredients are evenly distributed for a light, airy cake.
- Next, beat together softened butter and granulated sugar in a large bowl on medium-high speed for about 2-3 minutes until smooth and fluffy. This is the base of your cake, giving it that rich, melt-in-your-mouth texture.
- After the butter and sugar are fully creamed, add the eggs one by one, mixing well after each addition.
- Scrape down the bowl to ensure everything is fully incorporated. Then, add 1½ teaspoons of vanilla extract and whole milk, beating until smooth and fully combined.
- With your mixer on low speed, gradually add the sifted dry ingredients to the batter. Mix until just combined, aiming for a thick yet smooth consistency.
- Divide the batter evenly between the prepared pans and use a spatula to level it out. This ensures your cake layers bake evenly.
- Bake the cakes for 25–30 minutes, or until the tops are golden brown, spring back when pressed, and the edges start to pull away from the sides of the pan.
- Once baked, let the cakes cool in the pans on a wire rack for about 10 minutes. Afterward, carefully remove the cakes from the pans and peel off the parchment paper. Allow them to cool completely before assembling.
- While the cakes cool, whip up the filling! In a medium bowl, combine heavy cream, powdered sugar, and ½ teaspoon of vanilla extract. Beat until soft peaks form, this will give you a light, airy whipped cream.
- To assemble, set the first cake layer on a cake stand. Spread a generous layer of strawberry jam, followed by the whipped cream.
- Top with the second layer of cake, and for the final touch, dust the top with powdered sugar. This adds an elegant finish to your delicious cake!
Notes
- Be sure to bring all your ingredients to room temperature before you start.
- Overmixing is another mistake to avoid, just gently combine the ingredients for a soft, airy cake
- When preparing your pans, tap them on the counter to get rid of air bubbles and make the batter level