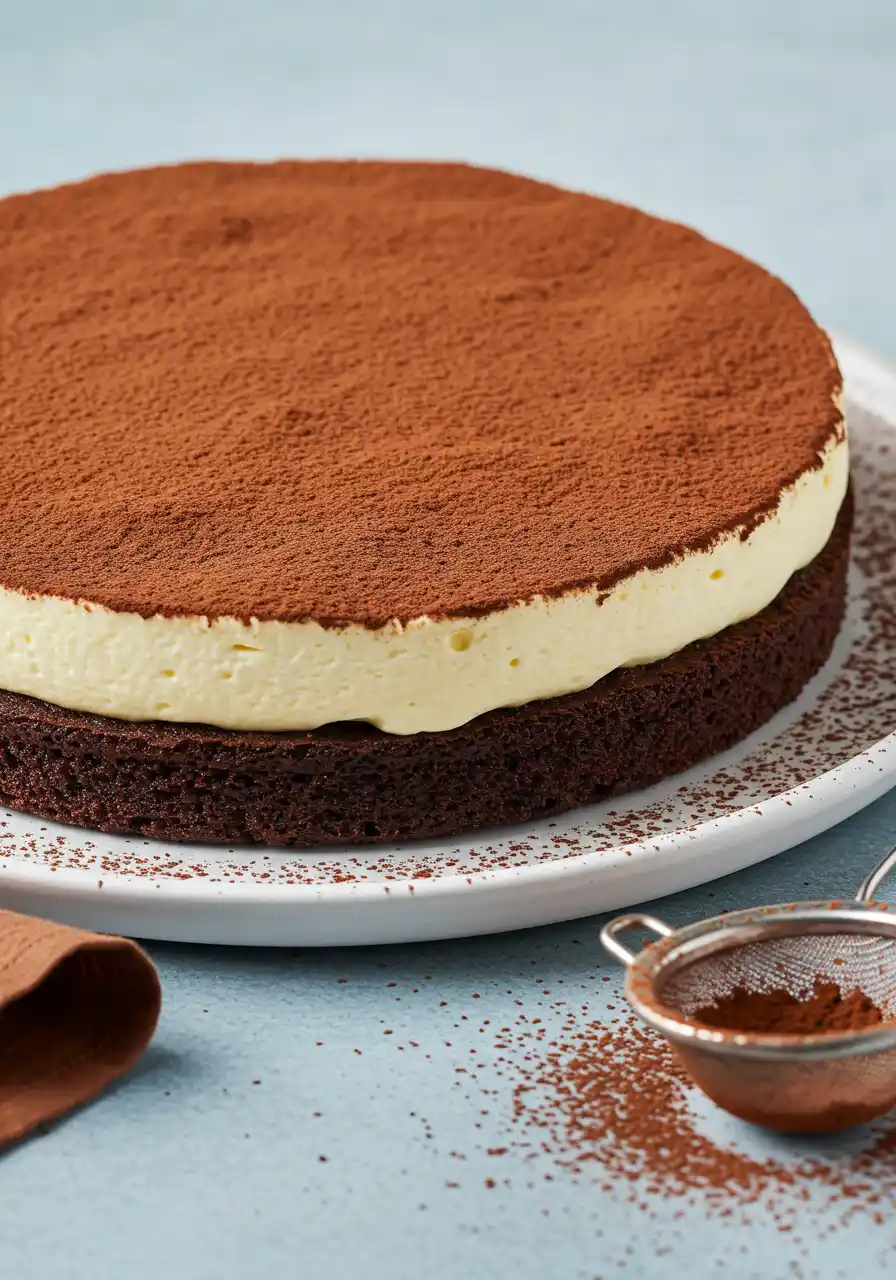
Let’s be honest, Italian desserts like tiramisu have this magical way of stealing the spotlight at any gathering. But what if you could enjoy that classic coffee-soaked bliss in a sliceable, fork-ready Tiramisu Cake? This tiramisu recipe takes everything you love about the traditional tiramisu recipe and transforms it into a rich, moist cake that’s just as impressive as it is delicious.
If you’re a longtime fan of Italian desserts or new to this creamy, coffee-infused treat, I’m here to show you how to make a version that’s easy, crowd-pleasing, and totally unforgettable.
What is so special about tiramisu cake?
It’s like the perfect hug in dessert form. Warm, comforting, and just the right amount of indulgence to make your day instantly better.
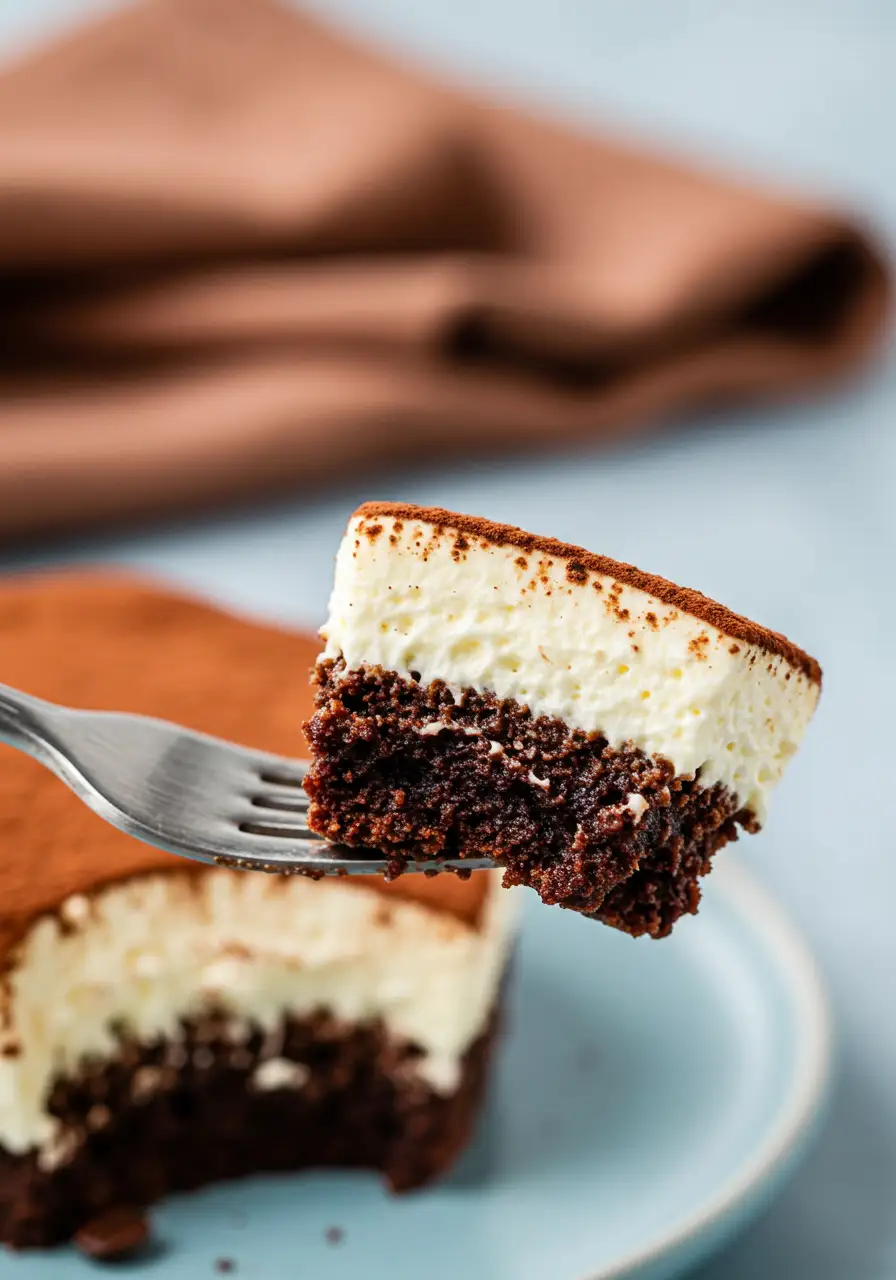
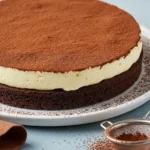
No soggy ladyfingers, no fuss. All the classic tiramisu flavors but with a sturdy, chocolatey cake base that holds together beautifully, so you can eat it without worrying about a mess.
Coffee lovers, this one’s your dream come true. The espresso-infused layers pack a rich, bold punch that tastes like your favorite coffeehouse treat—without the long line or overpriced latte.
No complicated equipment needed. You don’t have to be a pro or own fancy gadgets to nail this recipe—it’s made for home bakers who love flavor without the fuss.
Perfect for every season. Light enough for spring, cozy enough for winter, and stunning enough to impress year-round.
What You’ll Need for This Tiramisu Cake
- Brewed espresso: I love how this brings a deep coffee intensity that awakens and sharpens every layer of flavor in the cake. You can’t beat that authentic tiramisu vibe.
- Neutral oil: It’s best if you use a light oil like canola or vegetable, it keeps the cake moist without adding extra flavor that competes with the coffee and chocolate.
- Dutch-processed cocoa powder: I recommend it for its deep, rich chocolate flavor and that beautiful dark color that makes the cake look irresistible.
- Salt: Just a pinch does wonders. I like to add it because it balances all the sweetness and brightens the overall flavor.
- Flour: The base of everything.
- Baking soda & baking powder: You can think of these as the cake’s cheerleaders, they help it rise perfectly so it’s fluffy but still sturdy enough to hold all that cream.
- Pure vanilla extract: I always add vanilla for that warm, cozy aroma that brings the whole cake together. It’s best if it’s pure, not imitation.
- Buttermilk: It keeps the cake super tender and adds a subtle tang that pairs amazingly with the espresso.
- Eggs (whole and yolk): Maybe this is obvious, but eggs are key for structure and richness. I recommend adding an extra yolk for a softer, more velvety crumb.
- Granulated sugar & light brown sugar: You can mix these for the perfect balance, granulated sugar keeps it bright and clean, while brown sugar sneaks in a little caramel-y depth.
- Mascarpone cheese: It’s the creamy, dreamy base of the frosting, rich but not overpowering, and totally essential for that tiramisu feel.
- Heavy cream: Whipping this up lightens the mascarpone and creates that fluffy, silky texture you’ll want to dive into.
- Instant espresso powder: I recommend this for a quick, easy way to boost coffee flavor in the cream without watering it down.
Is there a difference between tiramisu and tiramisu cake?
“Wait, isn’t tiramisu already a cake?” Well, sort of—but not exactly. Traditional tiramisu is more like a layered dessert made with ladyfingers soaked in espresso, layered with creamy mascarpone, and dusted with cocoa powder. It’s soft, a little wobbly, and kind of delicate to serve.
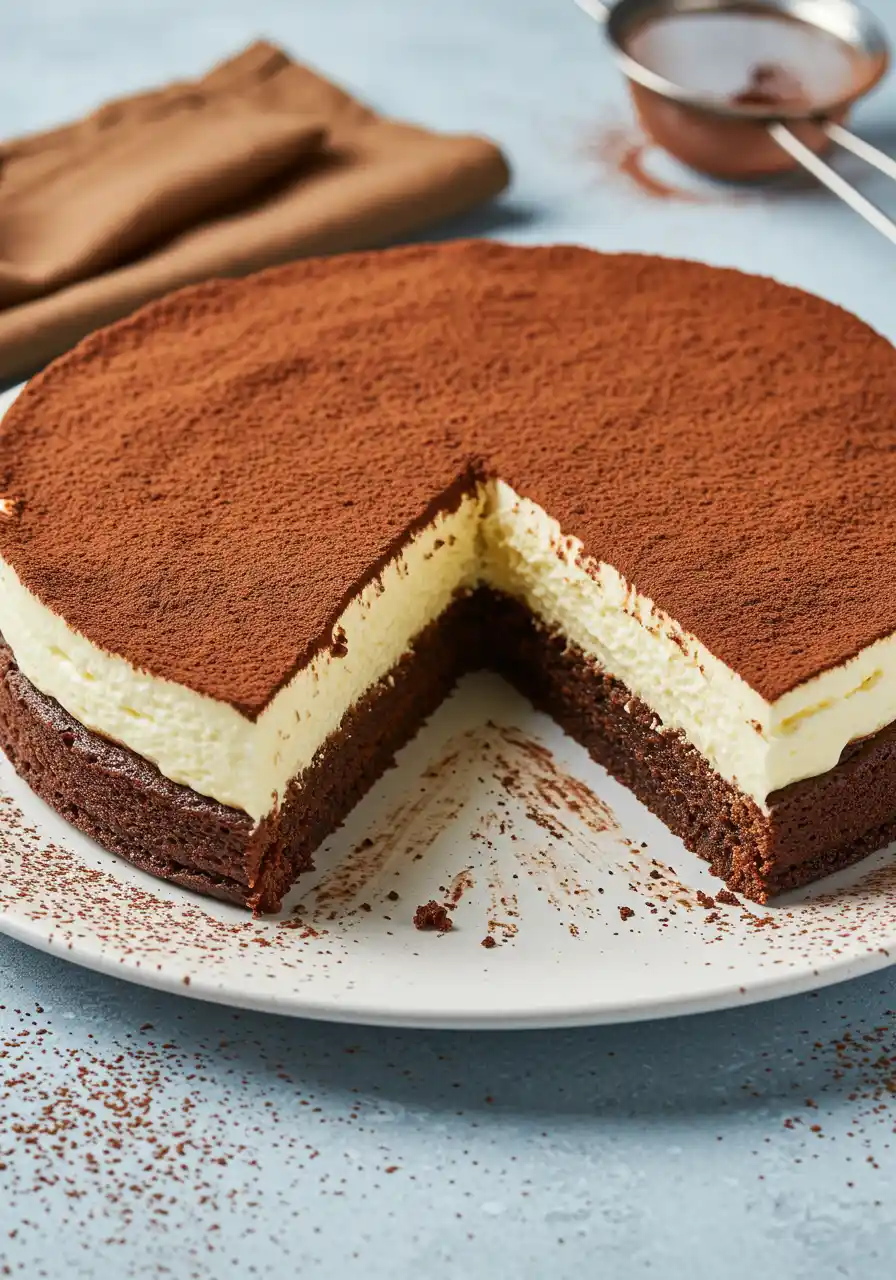
On the other hand, tiramisu cake takes all those delicious flavors—coffee, mascarpone, cocoa—and transforms them into a more structured, sliceable cake. Think of it as tiramisu’s sturdier cousin who’s perfect for birthdays or celebrations where you want neat slices without the mess.
So yes, they share the same soul and flavor profile, but the cake version is designed to be easier to handle and just as show-stopping on the table.
How to Make Your Tiramisu Cake
1. Warm up the oven and prep your pan.
First, set your oven to 350°F (175°C). Grab your trusty 9-inch springform pan and line the bottom with parchment paper. I like to give the sides a light brush of oil, so the cake slides right out without any drama later on.
2. Whisk together your dry squad.
In a roomy mixing bowl, blend the Dutch cocoa, flour, two types of sugar, salt, baking soda, and baking powder into a smooth, uniform mixture. Whisk it all together like you’re blending the perfect spell, this step makes sure every bite has that even chocolate and sweetness hit.
3. Add the wet heroes
Pour in the strong brewed espresso (yes, the star of the show), the neutral oil, tangy buttermilk, the whole egg plus the extra yolk for richness, and the vanilla extract. Use a whisk or mixer on low to gently marry everything into a silky, luscious batter. No overmixing, just smooth vibes here.
4. Into the pan and oven it goes.
Transfer your batter into the pan and spread it out so it’s nice and even on top. Pop it in the oven and let it bake for about 40 minutes.
Here’s my trick: start checking at 38 minutes with a toothpick, you want it clean or with a few moist crumbs, not wet batter. When done, set it aside to cool completely, patience pays off here!
5. Time for the creamy magic
While the cake chills, grab a large bowl and toss in the mascarpone and heavy cream. Beat them together gently at first, about 40 – 50 seconds, until they start to get cozy.
6. Sweeten and espresso-ify the cream.
Add white sugar, vanilla, salt, and that instant espresso powder that kicks it all up a notch. Now whip on medium-high until soft peaks form, you want it fluffy and luscious, but don’t go overboard or you’ll risk breaking the cream.
7. Layer it up and chill out.
Once your cake is cool to the touch, spread that dreamy espresso mascarpone cream evenly on top.
Cover it tightly with plastic wrap and give it a good rest in the fridge for at least 2 hours. This chilling step is where the flavors marry and get downright irresistible.
8. The grand finale, cocoa dust and serve.
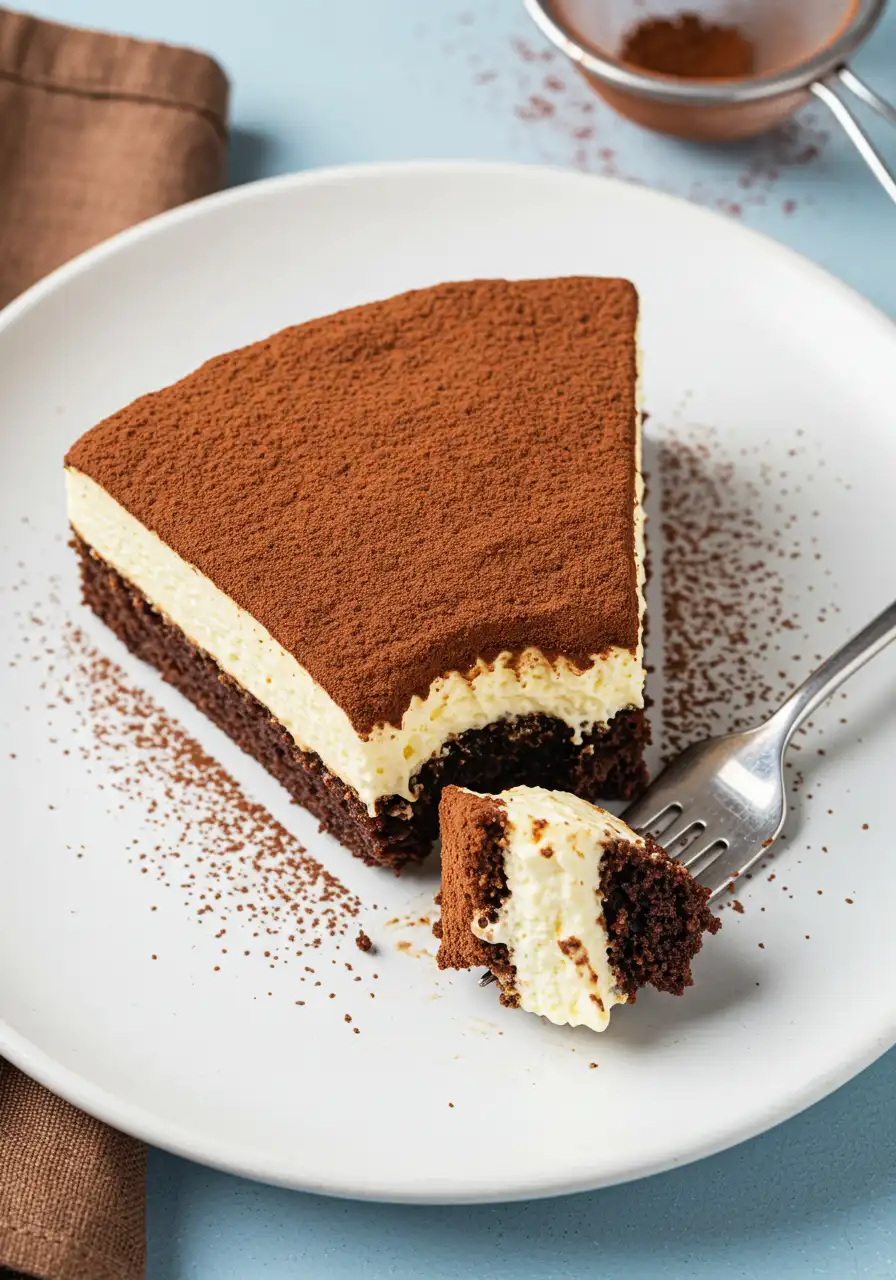
Give it a final flourish by sifting a rich layer of cocoa powder just before it hits the table. Slice it up and prepare for the “Wow, did you make this?” questions. Honestly, this cake is as much about the looks as it is the flavors, so own that moment!
What to Serve With Your Tiramisu Cake
- A bold espresso or cappuccino: Because why not double down on that coffee magic?
- Fresh berries (think raspberries or strawberries): Their bright tartness cuts through the richness like a dream.
- A scoop of vanilla bean ice cream: Creamy, cold, and the perfect partner for every bite.
- Chocolate-covered espresso beans: Crunchy little bursts of espresso flavor.
- Lightly toasted nuts: Pistachios or hazelnuts add a delightful crunch and extra depth.
- Sparkling water with a lemon twist: Keeps things fresh and balances the indulgence effortlessly.
Can’t get enough of that espresso-mascarpone combo? I’ve got a few more tiramisu-inspired treats. Try my tiramisu cookies – they taste like your favorite dessert got cozy in cookie form. Or dig into these gooey tiramisu brownies – they’re bold, chocolatey, and a little extra
Mistakes to Avoid When Making Your Tiramisu Cake
Don’t rush the chilling time. I know it’s tempting to dig in right away, but giving the cake at least 2 hours (5 hours is even better) lets the flavors meld and the cream set perfectly. Patience pays off big time!
Use the right pan and parchment. A lined springform pan makes it so much easier to remove your cake cleanly. It’s no fun trying to pull a cake out of a pan when it’s stuck.
Avoid mixing ingredients straight from the fridge. Cold buttermilk or eggs can cause your batter to clump or not blend smoothly. Just leave them out for about half an hour to warm up a bit.
Avoid using expired leaveners. It happens! Old baking powder or soda can lose its power, leaving your cake flat and dense. A quick freshness test: drop a bit of baking powder in hot water—if it fizzes, it’s good to go!
How to Store Your Tiramisu Cake
Use a cake dome or airtight container. This keeps fridge odors out and moisture in, so every slice tastes as fresh as day one.
Keep it chilled, always. The fridge is perfect for keeping the mascarpone cream on this cake fresh and delicious.
Avoid freezing if possible. Freezing can change the cream’s texture and make the cake a little watery when thawed.
Eat within 3-4 days. The fresher, the better! Mascarpone cream is delicate, and this cake is happiest enjoyed sooner rather than later.
Frequently Asked Questions
Is tiramisu cake too sweet?
Tiramisu cake strikes a lovely balance between sweet and rich without being overpowering. Because it combines bittersweet espresso, slightly tangy mascarpone cream, and just the right amount of sugar, it’s never too sugary. You can easily cut back on the sugar in the cream or cake if you prefer a milder sweetness.
What can I use instead of mascarpone cheese in tiramisu?
If you don’t have mascarpone on hand, a common substitute is mixing cream cheese with a little heavy cream or sour cream to mimic that rich, creamy texture. Some people also blend ricotta with a bit of heavy cream for a lighter version. Just keep in mind, mascarpone has a unique silky smoothness and mild sweetness that’s hard to exactly replicate.
Homemade Tiramisu Cake: Step-By-Step
Ingredients
The Rich Chocolate Base
- 3/4 cup all-purpose flour
- ¾ teaspoon salt
- ½ teaspoon baking powder
- 1 teaspoon baking soda
- ½ cup Dutch-processed cocoa powder
- ¾ cup granulated sugar
- ¼ cup light brown sugar
- 1 large egg
- 1 egg yolk
- ½ cup brewed espresso
- 4 tablespoons neutral oil canola or vegetable
- 2 teaspoons pure vanilla extract
- ½ cup buttermilk
The Creamy Espresso Layer
- 16 oz mascarpone cheese
- 2 cups heavy cream
- 3 tablespoons instant espresso powder
- 1½ teaspoons pure vanilla extract
- 6 tablespoons granulated sugar
- ½ teaspoon salt
- 5 tablespoons cocoa powder for dusting
Instructions
- Preheat your oven to 350°F (175°C). Cover the bottom of a 9-inch springform pan with parchment paper and gently grease the sides to help the cake release effortlessly once baked.
- In a large mixing bowl, whisk together the Dutch-processed cocoa powder, all-purpose flour, granulated sugar, light brown sugar, baking soda, baking powder, and salt. Mix until everything looks evenly combined and there are no lumps hiding.
- Add in the brewed espresso, oil, buttermilk, egg, egg yolk, and vanilla extract. Whisk gently until the batter is smooth and well blended—try not to overmix, just mix until everything comes together into a silky batter.
- Pour the batter into your prepared pan and spread the top so it’s level. Bake about 40 minutes. Make sure the cake has cooled all the way before moving forward.
- While the cake is cooling, make the cream layer. Beat mascarpone and cream in a big bowl at medium speed for 40–50 seconds until just smooth.
- Add the granulated sugar, vanilla extract, salt, and instant espresso powder. Continue beating until the mixture reaches soft peaks—light, fluffy, and stable, but not overwhipped.
- When the cake is fully cool, spread the espresso mascarpone cream smoothly over it. Cover the cake and refrigerate it for at least 2 hours so the flavors can set and the texture firms up nicely.
- Before serving, dust the top with cocoa powder. Slice and enjoy your rich, creamy tiramisu cake!
Notes
- Before assembling, give the espresso cream a quick taste. If it feels too bitter or flat, a tiny pinch more sugar or espresso powder can work wonders.
- Don’t skip covering the cake while it chills. It keeps it fresh and prevents it from drying out in the fridge.
- Always measure your cocoa and flour accurately. Too much of either can dry the cake out.