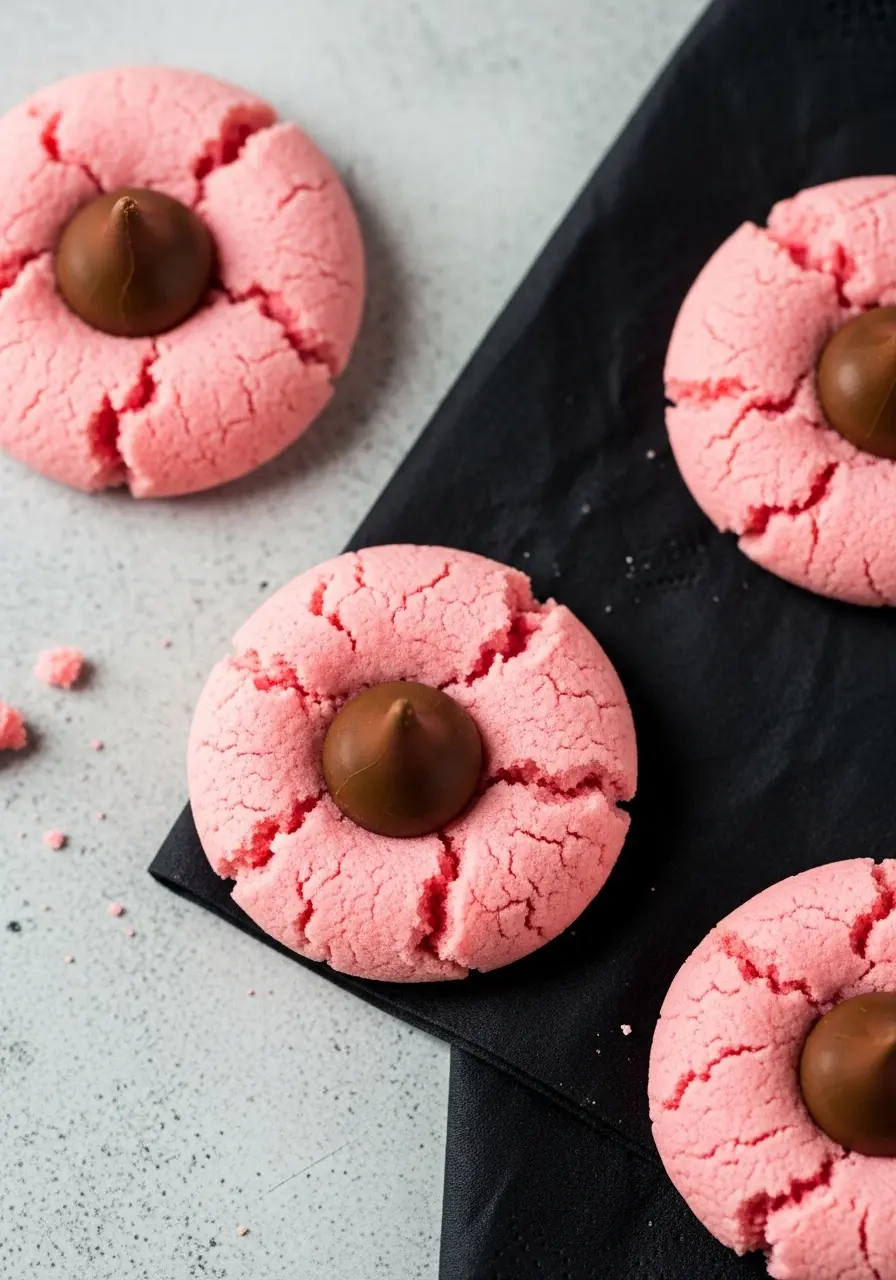
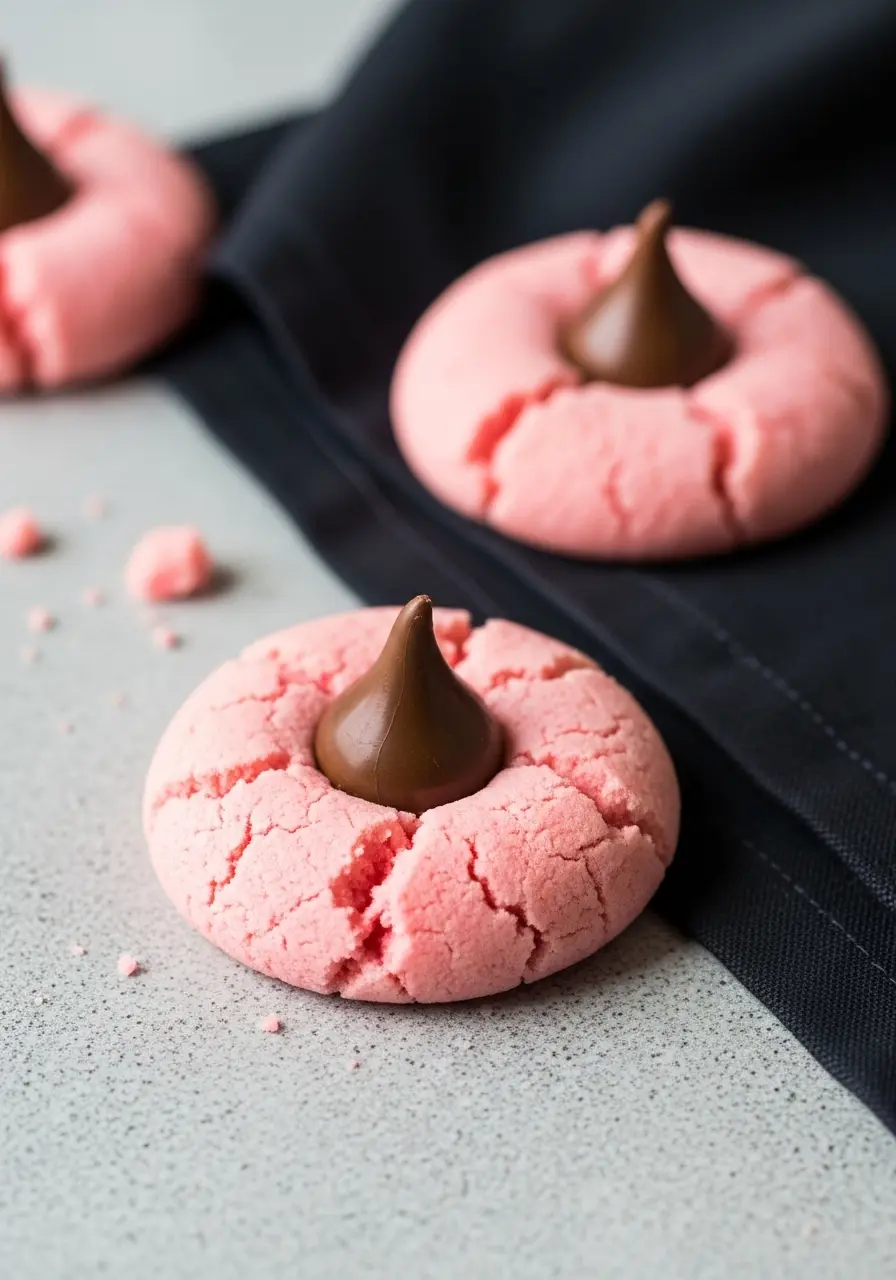
Sometimes the easiest cookies are the ones that feel like a little secret, soft, strawberry-scented, and hiding a chocolate surprise just for you. These Strawberry Kiss Cookies take a simple strawberry cake mix and turn it into irresistible Valentine cookies that everyone will swoon over.
Easy to bake, fun to roll, and totally worthy of being called the ultimate Valentines day treats, these cookies are all about joy in every bite.
Why Strawberry Kiss Cookies Are a Must-Bake
Ridiculously easy to make – even if baking isn’t your superpower, these cookies have your back.
Quick wins, big smiles – fancy enough to impress, easy enough to make spontaneously.
Cute, charming, and totally giftable – whip them up for friends, coworkers, or that special someone without stress.
Soft, tender, melt-in-your-mouth magic – no dry cookies here, just pure cookie happiness.
What You’ll Need
- Strawberry Cake Mix: This is your shortcut to amazing strawberry flavor without having to start from scratch. It keeps the cookies sweet, soft, and bursting with berry goodness.
- Vegetable Oil: Helps the cookies stay tender and moist while making the dough easy to mix and roll. You could swap in butter if you want a richer flavor.
- Large Eggs: They hold everything together and give the cookies just the right structure so they bake evenly.
- Whole Milk: Just a splash makes the dough smooth and easy to scoop without adding too much liquid. It helps everything come together perfectly.
- Hershey Kisses: The chocolate surprise in the center! They melt slightly while baking, giving every bite that little moment of indulgence that makes these cookies extra special.
Strawberry Kiss Cookies Step by Step
1. Wake up the dough: In a big bowl, mix your eggs and vegetable oil together until they’re smooth and glossy. This is the base for all the strawberry goodness, think of it like giving your cookies a little morning stretch before the fun begins.
2. Strawberry magic time: Sprinkle in the strawberry cake mix and stir gently. If the dough looks a little stiff or dry, splash in some milk, just enough so it comes together without being sticky. You want it soft and scoopable, but not gooey.
3. Chill out (literally): Cover the dough and pop it in the fridge for at least 40 minutes. This step is a game-changer: it keeps the cookies from spreading too much, makes them easier to handle, and gives that soft, tender bite everyone loves.
4. Ready, set, oven: Preheat your oven to 375ºF so it reaches the right temperature by the time your dough is ready. Using parchment paper on your baking sheets isn’t just for easy cleanup, it prevents the cookies from sticking, helps them bake evenly, and gives a nice clean bottom that looks as good as it tastes.
5. Shape the fun: Scoop or roll your dough into small balls. Don’t worry about making them perfect, they’re cookies, not sculptures!
6. Bake with care: Place the cookie balls on the prepared sheets, leaving a little space between each. Let them bake for 9–11 minutes, just until the outer rims have set while the middles stay tender. Don’t worry if they look slightly underdone, they’ll finish perfectly as they cool.
7. Chocolate kiss moment: As soon as the cookies come out of the oven, gently press a Hershey Kiss into the center. Just a soft nestle, let the heat do its magic without fully melting the chocolate.
8. Cool, savor, repeat: Let the cookies rest for a few minutes before moving them to a plate. Then… taste one (or a few), and get ready to repeat. These cookies are as much about joy as they are about flavor, so don’t rush!
If you love little chocolatey treats with a twist, you’ll definitely want to check out my Chocolate Peppermint Blossoms, they’re festive, fun, and totally irresistible!
Tips for Amazing Results
Scoop like a pro: Use a cookie scoop or two spoons to make uniform balls. Even sizes bake more evenly, so everyone gets that perfect bite.
Mind the oven timing: Every oven is a little different. Start checking your cookies a minute or two early, soft centers will set as they cool, so don’t overbake!
Even spacing matters: Leave at least 2 inches between cookie balls. They’ll spread a little while baking, and this ensures each cookie keeps its round, plump shape.
Room temperature eggs: Using eggs straight from the fridge can make the dough stiffer. Let them sit a few minutes at room temp for smoother mixing.
Cookie shaping hacks: Roll dough gently between your palms, don’t press too hard or the cookies will bake flatter.
How to Store Strawberry Kiss Cookies
Room temperature: Keep cookies in an airtight container for up to 4 days.
Freeze the dough: Roll dough balls, place on a tray to freeze, then transfer to a container. Bake straight from frozen, adding a minute or two to baking time.
Travel-friendly tip: For gifting, separate layers with parchment and store in a sturdy tin. Cookies stay intact, chocolate centers stay cozy, and they arrive looking picture-perfect.
I’d love to hear what you think! Give these kiss cookies a try and let me know how they turn out. Drop a comment below to share your baking wins, and tweaks.
More Strawberry Sweets

Homemade Strawberry Kiss Cookies
Ingredients
- 1 box strawberry cake mix
- 2 large eggs
- ¼ cup vegetable oil
- 1 box strawberry cake mix
- A quick splash of whole milk only if the dough needs softening
- 23 pieces Hershey Kisses, unwrapped
Instructions
- In a large bowl, beat the eggs and vegetable oil together until smooth and shiny, this is the soft, tender base that makes your cookies extra delicious. Sprinkle in the strawberry cake mix and fold gently until it comes together. If the dough feels too firm or dry, add just a tiny splash of milk so it’s soft and easy to scoop without becoming sticky.
- Cover the dough and chill it in the fridge for at least 40 minutes. This step is key: it keeps the cookies from spreading too much, makes them easier to handle, and gives them that soft, melt-in-your-mouth texture we all love. Preheat your oven to 375ºF and line your baking sheets with parchment paper to prevent sticking and help them bake evenly with a clean bottom.
- Once chilled, scoop or roll the dough into small balls. Don’t stress about perfect shapes, slightly uneven cookies are part of the homemade charm. Position them on the prepped pans. Bake for 9–11 minutes until the edges are set and the centers remain soft. They may look a bit underdone, but that’s perfect, they’ll firm up as they cool.
- Right out of the oven, gently press a Hershey Kiss into the center of each cookie. Just nestle it in lightly so the warmth softens the chocolate slightly without melting it entirely. Let the cookies cool for a few minutes on the sheet, then move them to a plate. Take a bite, savor the strawberry and chocolate combo, and enjoy.
Notes
- You can swap in white chocolate or flavored Kisses for a fun twist.
- Press the chocolate kiss gently, too much force can flatten the cookie.
- Use a small offset spatula or butter knife to lift cookies gently if they stick.