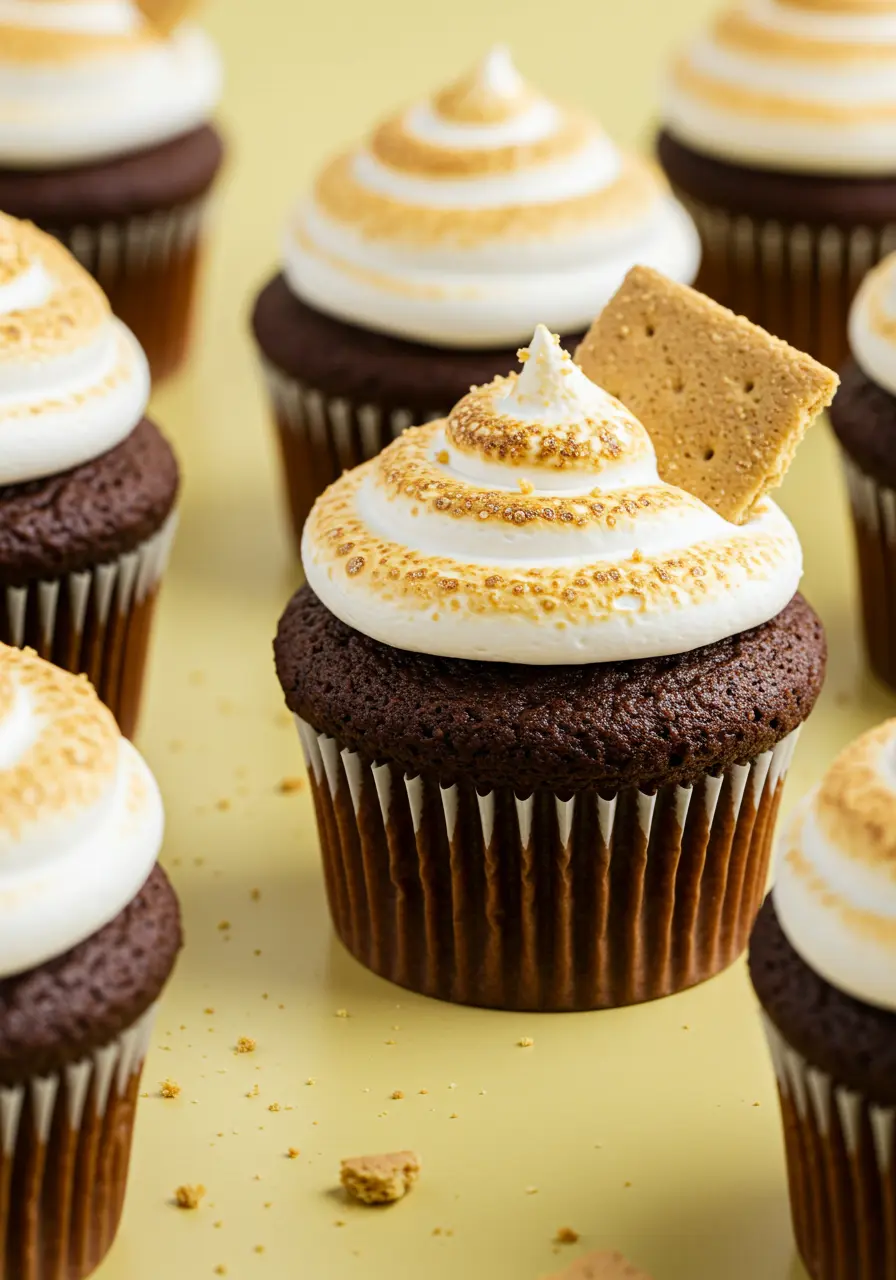
Let me tell you a little secret: the first time I bit into one of these S’mores Cupcakes, I legit had a flashback to childhood summers, sticky marshmallow fingers, crackling bonfires, and melted chocolate smudged on my cheeks. That’s the kind of cupcake we’re talking about here.
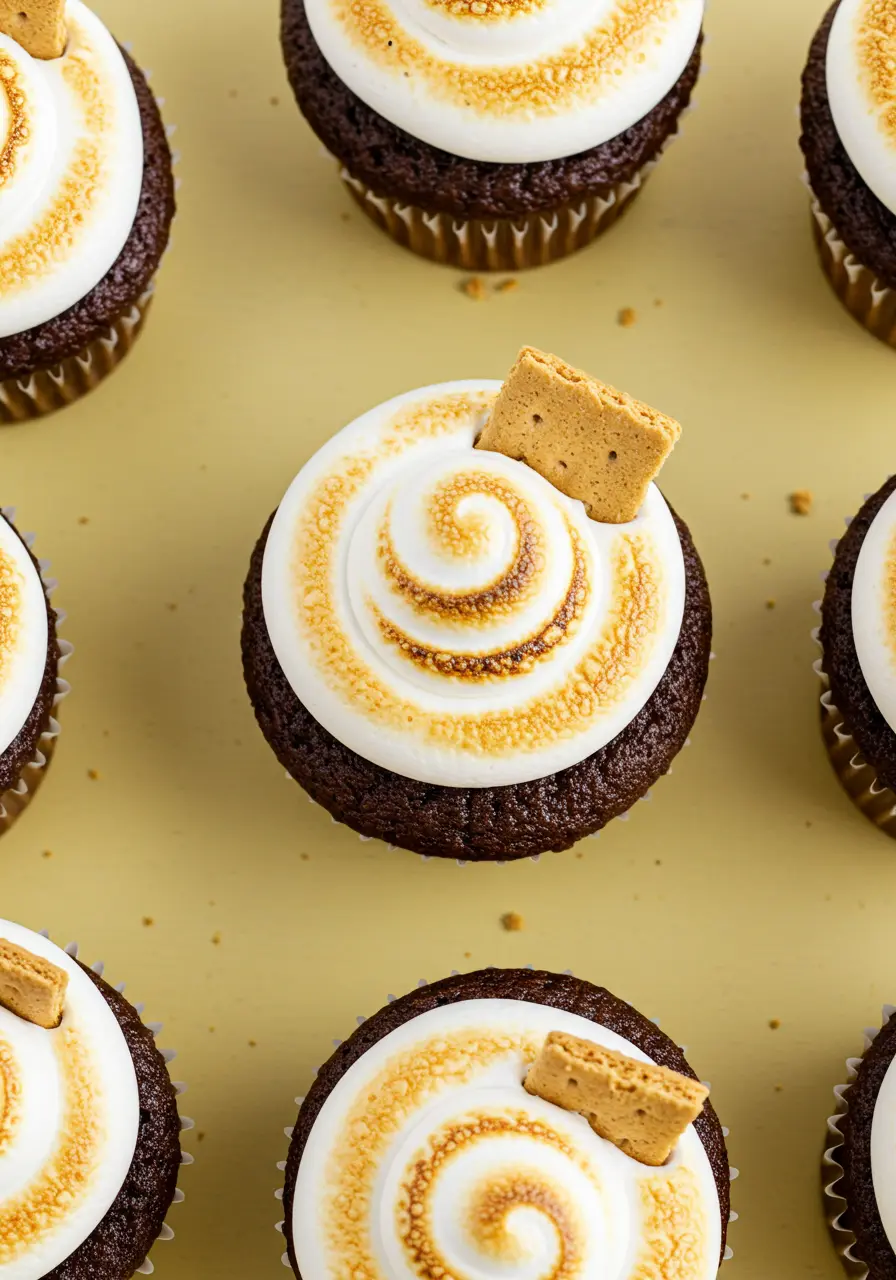
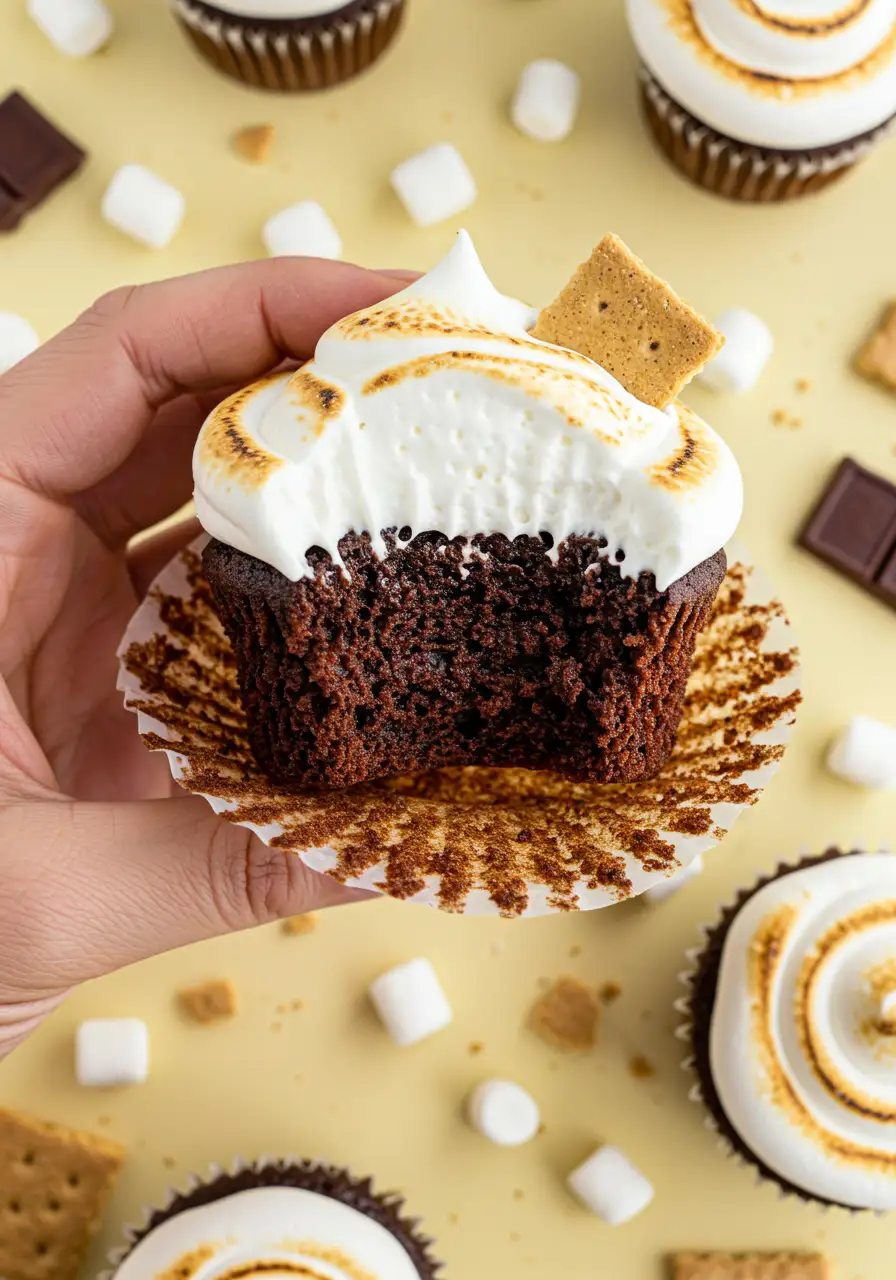
These aren’t just any chocolate cupcakes. They’re packed with everything we love about a classic campfire s’more, rich cocoa flavor, a soft and tender crumb, and that signature toasted marshmallow topping that tastes like it was kissed by fire.
If you’ve been craving that warm, gooey, chocolate-marshmallow-graham combo, this Smores cupcake recipe is for you.
No campfire? No problem.
This recipe brings the magic indoors, no smoke, no sticks, no mosquitoes. Just one bowl (okay, maybe two), a few simple steps, and boom, Campfire S’mores Cupcakes right from your oven.
Why You’ll Love These S’mores Cupcakes
These look like bakery cupcakes. They taste like bakery cupcakes. But they’re secretly simple enough for a lazy Sunday. Visually stunning, but their flavor takes it to another level.
Whether you’re baking for a birthday party, a bake sale, or just a cozy night with friends, these cupcakes are always a hit.
Hot brewed coffee is a secret weapon in the chocolate world. It makes the cupcakes richer, darker, and more complex. You’ll hardly taste it, but your chocolate will never have been so deep. Just don’t skip it!
Step-by-Step Guide
Step 1: Get the Oven Ready & Prep Your Muffin Tin
Start by setting your oven to 350°F (175°C) and let it preheat. While the oven heats up, line your muffin tin with paper liners. Trust me, this makes it WAY easier to take the cupcakes out when they’re done!
Step 2: Mix Your Dry Ingredients
Take a big bowl and add your granulated sugar, flour, cocoa powder, baking powder, baking soda, and a pinch of salt.
Give everything a good stir , this is the base for your rich, chocolaty cupcakes. Ensure the dry mix is perfectly balanced before adding the wet elements.
Step 3: Add the Wet Ingredients
Here’s where the magic happens. Incorporate the eggs, milk, oil, and vanilla into the dry blend to begin forming your batter.
Then, using a hand mixer (or if you’re feeling a little fancy, a whisk), beat it all together for about 1 minute. You’ll see everything come together into a nice, smooth batter.
Step 4: Stir in the Brewed Hot Coffee
This is where your secret ingredient , brewed hot coffee , comes in. Carefully pour in the coffee and stir it in. The batter will get a little thinner, but that’s exactly how it should be!
A splash of coffee deepens the cocoa notes, elevating your cupcakes with a richer chocolate essence. Trust me, you won’t even taste the coffee, but it will make all the difference.
Step 5: Fill the Cupcake Liners
Grab your batter and start filling your cupcake liners. You want to fill each one about two-thirds of the way full , not all the way to the top, or they’ll overflow when baking.
You can use a measuring cup with a spout to make this easier, or just go with a spoon. Whatever works for you!
Step 6: Bake Those Cupcakes
Place the muffin tin in the oven and bake for 22 to 24 minutes for perfectly baked cupcakes.
You’ll know they’re done when a toothpick emerges with only a few moist crumbs clinging to it.
I always set a timer, because distractions happen! Allow the cupcakes to cool in the tin for a few minutes, then move them to a wire rack to cool fully.
Step 7: Make the Marshmallow Frosting
While the cupcakes are cooling, let’s whip up that marshmallow frosting! Mix the egg whites, sugar, water, corn syrup, cream of tartar, and salt thoroughly in a heat-safe bowl.
Position the bowl over a pot of simmering water, ensuring it stays just above the liquid. Give it a gentle stir until the sugar melts and the mixture is pleasantly warm, which will take about 3 minutes.
Step 8: Whisk Away!
Now comes the fun part! Once everything’s dissolved and warmed up, take the bowl off the heat. Turn your mixer to medium-high and beat the mixture for 2 minutes, allowing it to become light, fluffy, and well-aerated.
It should start to get nice and fluffy! Don’t rush it , this is what gives you that perfect marshmallow texture.
Step 9: Add the Marshmallows
Place the mini marshmallows in the microwave for 30 seconds to 1 minute, watching for them to puff and melt.
Carefully add those melted marshmallows to your frosting mixture, and continue beating it on low.
Add a little vanilla extract for extra flavor, and keep mixing until it’s smooth and glossy. This frosting is pure marshmallow heaven!
Step 10: Frost the Cupcakes
When the cupcakes have cooled down, grab your piping bag, or use a simple spoon if you don’t have one. Frost each cupcake with your marshmallow frosting.
Feel free to get creative here , pipe it high, swirl it around, or go for a smooth finish. If you’ve got a kitchen torch, you can use it to lightly toast the frosting and make it look like it came straight from a campfire.

2 Mistakes to Avoid When Making S’mores Cupcakes
#1- Overmixing the Batter
When you add the wet ingredients to the dry ones, be sure to mix them together just until combined. Be careful not to overmix, unless dense, heavy cupcakes are your thing (and we know they’re not!) Keep it gentle and short.
#2- Overcrowding the Muffin Tin
Filling the liners to the top might be tempting, but it can lead to overflow and uneven baking, stick to about 2/3 full for that perfect rise.
How to Store S’mores Cupcakes
At Room Temperature
Place frosted cupcakes in a sealed container and keep them in a cool, shaded area. The marshmallow frosting holds up well at room temp for a couple of days and stays soft and fluffy.
In the Fridge
Cupcakes keep well in the fridge for 4–5 days, whether frosted or not. Use an airtight container to prevent drying out, and let them warm to room temp before digging in for maximum deliciousness.
In The Freezer
Only freeze unfrosted cupcakes! Wrap them tightly in plastic wrap, then pop them into a freezer bag or airtight container for up to 2 months. Thaw at room temp, then frost fresh when you’re ready to enjoy.
Similar Recipes to Try
The Best S’mores Cupcakes for Gooey, Chocolate Cravings
Let me tell you a little secret: the first time I bit into one of these S’mores Cupcakes, I legit had a flashback to childhood summers, sticky marshmallow fingers, crackling bonfires, and melted chocolate smudged on my cheeks. That’s the kind of cupcake we’re talking about here.
Ingredients
Chocolate Cupcake Ingredients
- 1 ¾ cups all-purpose flour
- ¾ cup unsweetened cocoa powder
- 2 cups granulated sugar
- 1 ½ teaspoons baking powder
- 1 ½ teaspoons baking soda
- 1 teaspoon fine salt
- 3 large eggs at room temperature
- 1 cup whole milk
- ½ cup vegetable oil or any neutral oil you prefer
- 2 teaspoons pure vanilla extract
- ¾ cup freshly brewed hot coffee
Marshmallow Frosting Ingredients
- 2 large egg whites
- 1 cup granulated sugar
- 6 tablespoons water
- 1 tablespoon light corn syrup
- ½ teaspoon cream of tartar
- ¼ teaspoon salt
- 1 cup miniature marshmallows you can also use 8 large ones, chopped
- 1 ½ teaspoons pure vanilla extract
Instructions
- Start by preheating your oven to 350°F (175°C), then line a standard muffin tin with cupcake liners so they’re easy to remove later without sticking.
- While the oven gets hot, grab a large mixing bowl and whisk together your dry ingredients, this includes the flour, cocoa powder, sugar, baking powder, baking soda, and a pinch of salt.
- Add the eggs, milk, oil, and vanilla extract into the bowl next.
- Use a hand mixer and mix everything until the batter is smooth and well blended.
- Once it’s all looking nice and silky, it’s time for the special touch, slowly pour in the brewed hot coffee and gently stir it in. The batter will be a bit thin, but don’t worry, that’s totally normal.
- And if you’re not into using coffee, you can absolutely swap it for hot water instead, it still works great!
- Fill each cupcake liner about two-thirds of the way with batter to give them room to rise. A measuring cup with a spout can make this part less messy, but a spoon works just fine too.
- Bake for 22 to 24 minutes at 350°F (175°C), or until a toothpick inserted in the center reveals a few tender crumbs.
- Allow the cupcakes to cool slightly in the pan, then carefully transfer them to a wire rack to cool all the way.
- While they cool, get started on the marshmallow frosting. Whisk the egg whites, sugar, water, corn syrup, cream of tartar, and salt in a heat-safe bowl.
- Position the bowl over a pot of simmering water, without letting it touch the liquid, and stir until the sugar dissolves and the mixture becomes warm, about 3 minutes.
- After removing from the heat, beat the mixture with a hand mixer on medium-high until it becomes fluffy.
- Meanwhile, melt the mini marshmallows in the microwave until puffed and gooey, then add them to the fluffy frosting along with the vanilla extract.
- Beat everything together until smooth and glossy.
- Once the cupcakes are cool, spoon or pipe the frosting on top however you like. If you’ve got a kitchen torch, you can give the tops a little toast for that classic campfire look. Enjoy!
Notes
- Using expired baking powder or soda? That’s a cupcake killer. Always double check those dates or test a small amount in water before baking.
- Not letting the cupcakes cool completely before frosting is a recipe for a melted mess. Be patient, cool cupcakes = perfect frosting.
- Not a coffee fan? You can swap it with ¾ cup boiling water instead. Your cupcakes will still bake up rich and tasty,