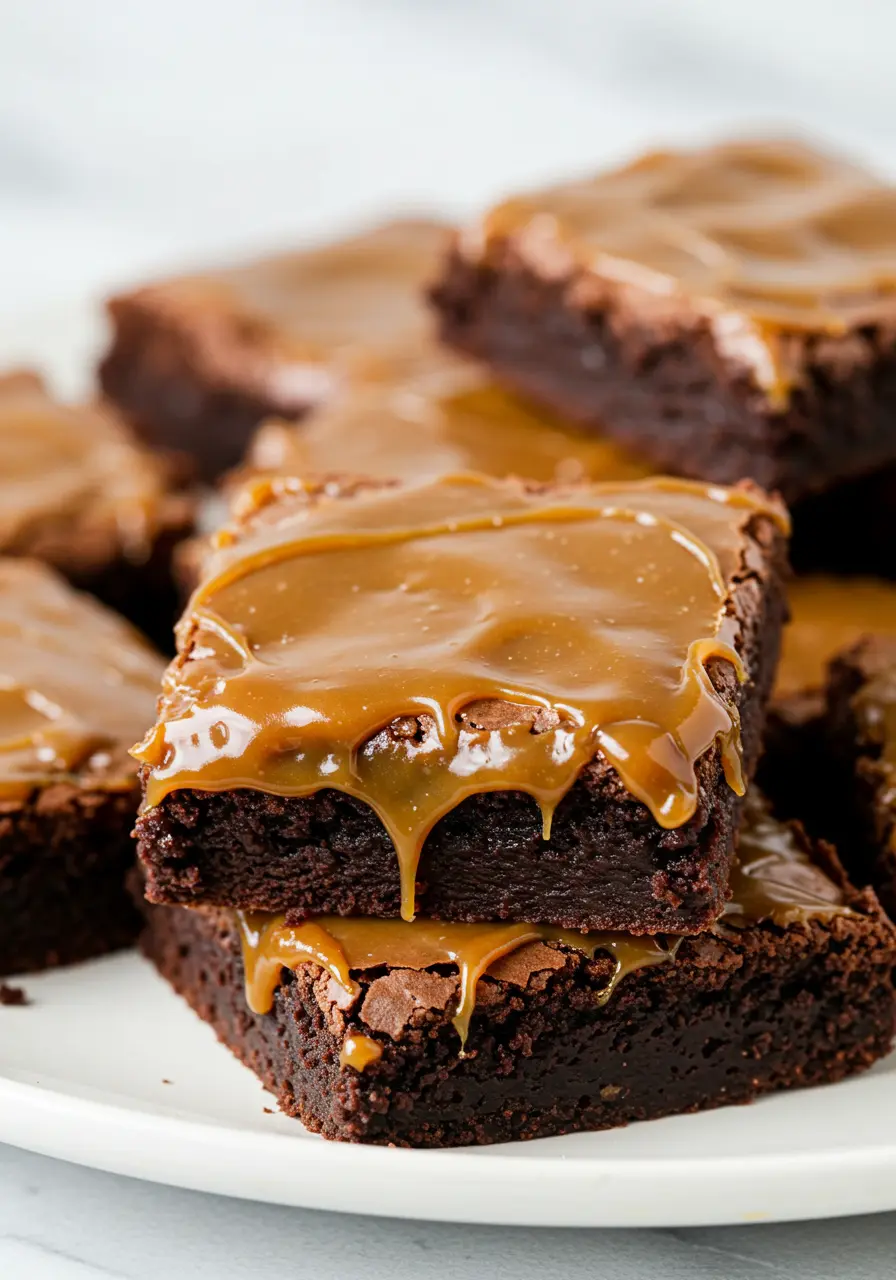
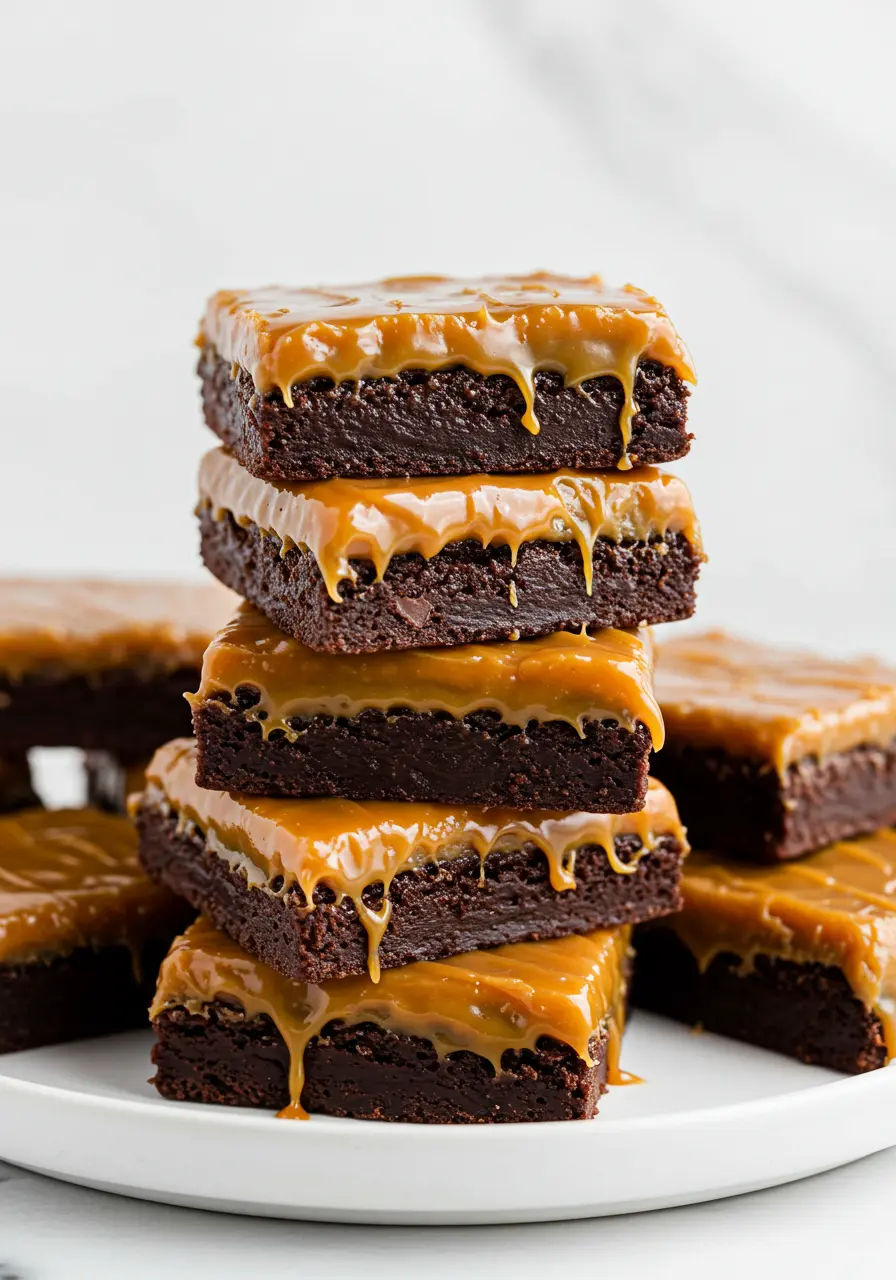
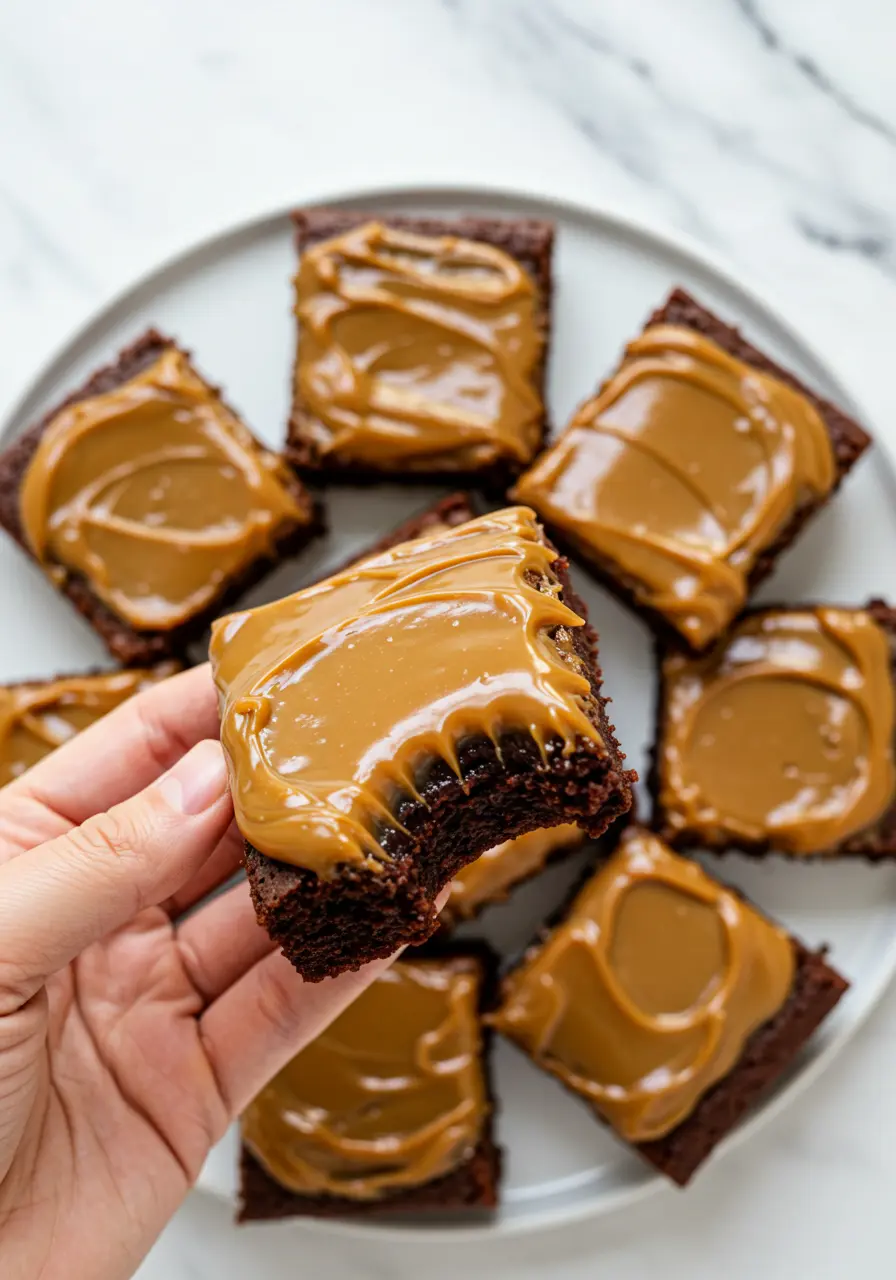
There’s a moment when you take a bite of salted caramel brownies, and everything just clicks. The rich, fudgy chocolate brownie melts in your mouth, and then the warm, smooth caramel layer hits your taste buds, creating the perfect balance of sweet and salty.
I remember the first time I made these brownies, the kitchen filled with the heavenly scent of caramel, and I knew I was onto something unforgettable.
If you’re a fan of chocolate caramel brownies (who isn’t?), then this caramel brownies recipe is everything you’ve been dreaming of. It combines a rich, fudgy base with that indulgent caramel topping that turns an ordinary brownie into something special. It’s simple, yet decadent, just what you need for a show-stopping dessert.
Jump to
And if you’re loving that sweet-and-salty combo, you’ve got to try my pecan pie brownies next, they’re the perfect next step on your brownie journey.
Why You’ll Love These Salted Caramel Brownies
If you’re wondering whether these salted caramel brownies are worth your time, let me convince you. Once you make these, you’ll be hooked, and here’s why:
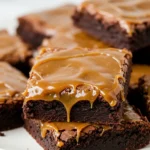
- Gooey caramel topping: That caramel layer isn’t just for show. It’s a luscious, silky topping that melts in your mouth. It adds the perfect amount of sweetness, making these Salted Caramel Brownies irresistible. Plus, that layer sets just enough to give you that perfect caramel crunch without losing its gooey texture.
- So easy to make: Don’t be intimidated by the thought of making homemade caramel! With this recipe, you don’t need to be a pro baker to get perfect caramel. Just follow a few simple steps and you’ll have a dessert worthy of any bakery.
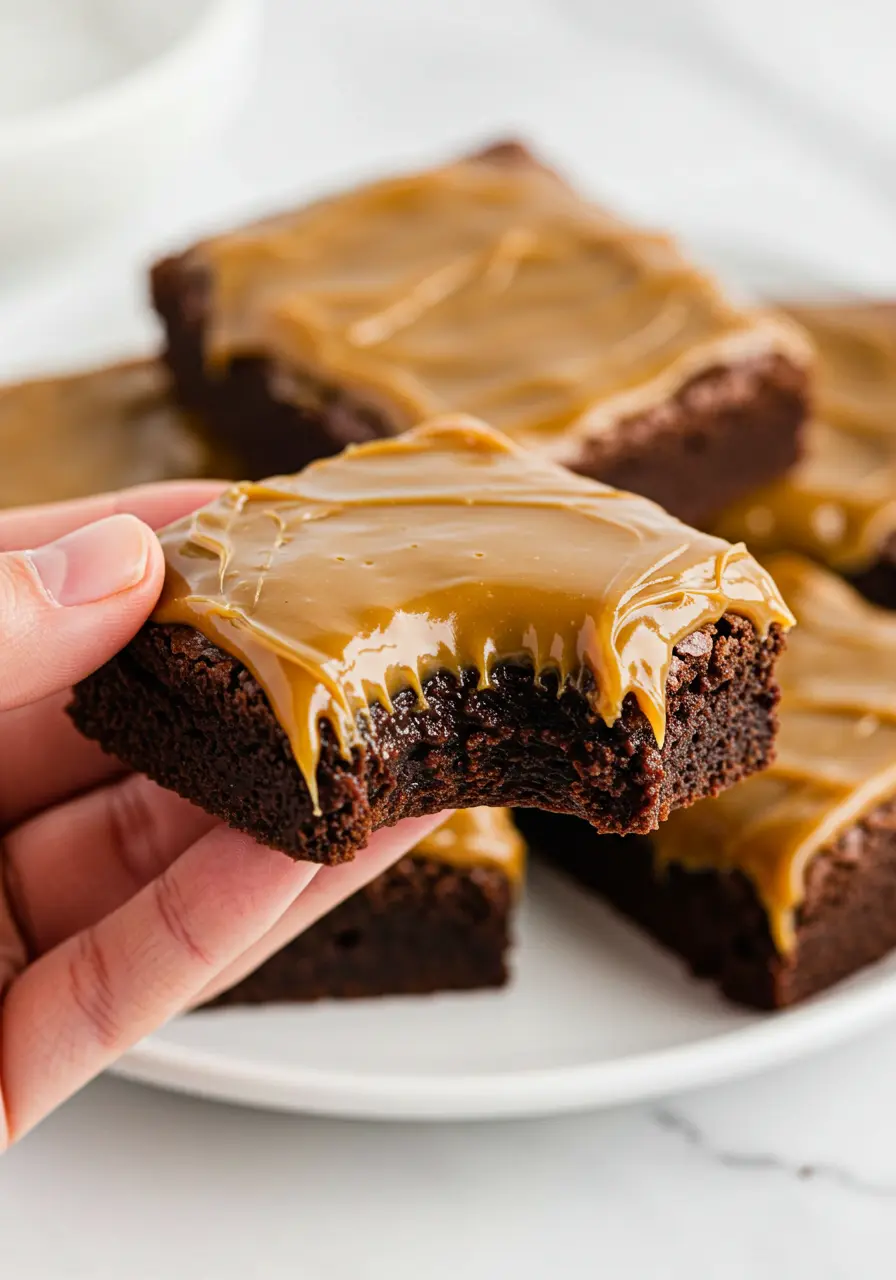
- Chewy and fudgy: These brownies are the ideal texture. The brownie base is rich and dense, giving you that soft, chewy bite you crave. Every slice is a perfect balance of texture and flavor.
- The perfect crowd-pleaser: Whether you’re hosting a dinner party, baking for a potluck, or just sharing with family, these brownies will steal the show. They’re that kind of dessert everyone gathers around, and they’ll be the first thing to disappear from the table!
The Ingredients You’ll Need
- Unsweetened Cocoa Powder: This is the core ingredient for that deep, rich chocolate flavor that makes the brownie base so irresistible. It ensures your brownies are perfectly chocolatey without being too sweet.
- Granulated Sugar: The sweetness that balances the bitterness of the cocoa and creates a perfectly fudgy texture in the brownies.
- Brown Sugar: Adds a touch of caramel-like richness and moisture to the brownies, making them even more decadent.
- Eggs: Eggs give structure to the batter, while also contributing to that soft, chewy texture we all love in a good brownie.
- Butter (melted): Butter brings richness, flavor, and moisture to the brownie base, giving it that melt-in-your-mouth quality.
- All-Purpose Flour: The essential ingredient for structure. Flour helps the brownies hold together while keeping them soft and fudgy inside.
- Vanilla Extract: Adds depth and warmth to the flavor, enhancing the chocolate and caramel components.
- Salt: Elevates all the flavors, helping to balance the sweetness and bring out the richness of both the brownie and the caramel layers.
- 70% Dark Chocolate (chopped): These chocolate chunks create pockets of molten chocolate in every bite, giving your brownies a burst of extra chocolatey goodness.
- Espresso Powder (optional): A secret ingredient that amplifies the chocolate flavor. It won’t taste like coffee, but it deepens the richness of the cocoa for a more intense chocolate experience.
- Heavy Whipping Cream (room temperature): Gives the caramel a velvety, luxurious texture. It makes the caramel silky smooth and easy to spread over the brownies.
- Coarse Sea Salt: The star of the salted caramel! The coarse salt adds the perfect balance of salty and sweet, making every bite of these brownies a flavor-packed experience.
How to Make Salted Caramel Brownies
Let’s break it down, step by step, so you can follow along and get those gooey, indulgent brownies with a silky salted caramel topping.
Prepare the Brownie Batter
First things first, get your oven preheated to 350°F (175°C) and line your 9×13 baking pan with parchment paper or grease it lightly. This will help your brownies come out clean and easy to cut later.
In a large bowl, combine the unsweetened cocoa powder, granulated sugar, and brown sugar. Whisk them together until smooth. This is the base of your brownie, and the cocoa powder gives it that deep chocolate flavor we all crave.
Add the melted butter, eggs, and vanilla extract into the mix. Stir everything together until you have a silky batter that looks super rich and glossy.
Now, add the all-purpose flour, salt, and espresso powder (if you’re using it). Stir again until everything is fully incorporated and you have a thick, decadent brownie batter.
Lastly, fold in the chopped dark chocolate chunks for that extra gooey chocolate experience.
Bake the Brownies
Pour your brownie batter into the prepared pan, spreading it out evenly.
Place the pan in the oven and bake for 35 to 40 minutes, or until a toothpick inserted in the center comes out with a few moist crumbs (you don’t want it completely clean).
Remember, brownies continue to cook a little even after you take them out of the oven, so it’s okay if the center is slightly fudgy. Let the brownies cool completely in the pan on a wire rack before adding the caramel layer.
Make the Salted Caramel
While the brownies are cooling, it’s time to make that glorious salted caramel topping. In a medium saucepan over medium heat, begin melting a small amount of the granulated sugar, stirring constantly.
Gradually add the remaining sugar, a little at a time, allowing each addition to melt completely before adding more.
This will help prevent the sugar from burning and give you a smooth, golden caramel.
Once all the sugar has melted and turned golden, add the butter and stir until fully combined. The mixture will start to bubble, so handle it with care! Slowly pour in the heavy whipping cream, stirring continuously as the caramel thickens.
Keep stirring until you have a silky-smooth caramel sauce. Finally, remove from heat and stir in the coarse sea salt to bring everything together.
Assemble the Brownies
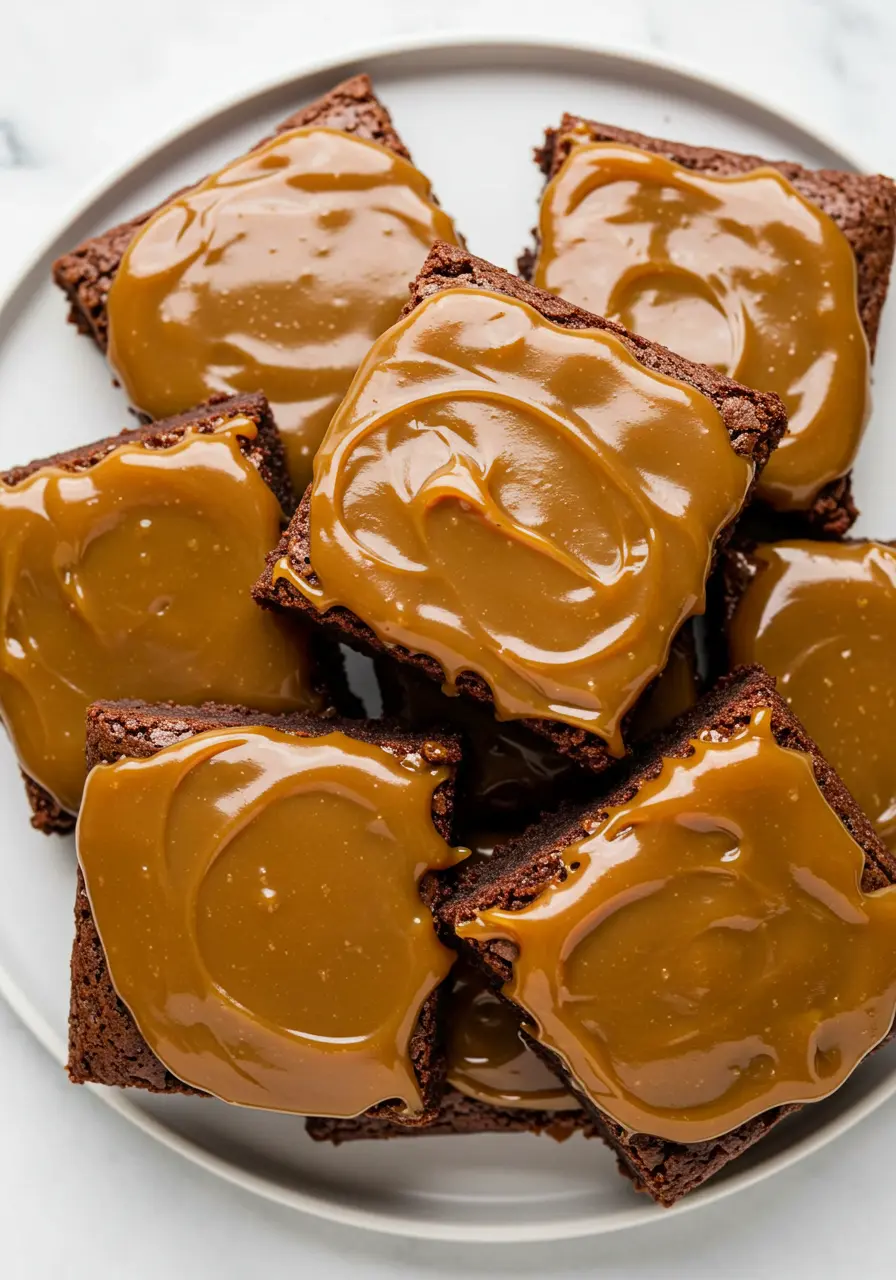
Once the brownies are cool and your salted caramel is ready, pour the caramel over the brownies, spreading it evenly across the surface.
The warm caramel will melt into the brownies just a little, adding a luscious, sweet, and salty layer on top. Let the caramel set for a few minutes, but don’t wait too long, digging in while it’s still slightly warm is part of the magic!
Slice and Enjoy
Once the caramel has set up a bit, slice your salted caramel brownies into squares. If you’re feeling extra, a little sea salt sprinkled on top just before serving makes them look fancy (and taste even better!).
See? Not too complicated, right? You just follow the steps and enjoy the ride. Once you’ve taken that first bite of gooey, salty-sweet bliss, you’ll know it was totally worth it.
If you’re a brownie fan like me, you’ve got to try these brownies with cream cheese frosting next, because why settle for just one irresistible brownie recipe when you can have two?
3 Mistakes to Avoid
Making salted caramel brownies can be a breeze, but even the smallest slip-ups can lead to less-than-perfect results. To help you get it right every time, here are some important mistakes to avoid:
Skipping the cooling time for the brownies
It might be tempting to add the caramel while the brownies are still warm, but this can cause the caramel to slide off or soak into the brownies too much.
Let the brownies cool completely before adding the caramel layer. This helps the caramel set properly on top, giving you that luscious, gooey topping without making the brownies soggy.
Overbaking the brownies
Brownies can easily go from fudgy to dry if left in the oven too long. When baking, always check your brownies a few minutes before the suggested time by inserting a toothpick.
It should have a few soft crumbs but no raw batter. This ensures that your brownies stay soft and chewy, just the way they should be.
Not watching the caramel closely
Caramel is one of those things that needs a bit of attention. Don’t leave the sugar unattended while it melts, it can burn quickly if you’re not stirring.
Keep a close eye on it and make sure you stir constantly when adding the butter and cream.
If you overcook the caramel, it can become too hard and brittle, so remove it from the heat as soon as it’s smooth and glossy.
How to Store Salted Caramel Brownies
Room Temperature: Keep your brownies in an airtight container at room temperature for up to 3-4 days.
Refrigerate for Longer Freshness: If you need to store them for more than a few days, place the brownies in the fridge. This keeps the caramel firm and fresh, but make sure to let them come to room temperature before serving, as they’ll taste even better when they’re slightly warm.
Freeze for Future Cravings: For longer-term storage, freeze individual brownie squares in plastic wrap or foil, then place them in an airtight container or zip-top bag. They’ll retain their freshness for as long as three months. To enjoy, let them thaw at room temperature or warm them up in the microwave for a few seconds for that freshly baked taste.
How to Make the Best Salted Caramel Brownies at Home
Ingredients
For The Brownies:
- 1 ⅔ cups unsweetened cocoa powder
- 2 ¾ cups granulated sugar
- ¼ cup brown sugar
- 4 large eggs
- 1 ½ cups butter melted
- 1 cup all-purpose flour
- 1 tablespoon vanilla extract
- 1 teaspoon salt
- 3 ½ oz 70% dark chocolate chopped
- ½ teaspoon espresso powder optional but enhances the chocolate flavor!
For The Salted Caramel:
- 2 cups granulated sugar
- ¾ cup butter room temp
- ¾ cup heavy whipping cream room temp
- 1 ¾ teaspoons coarse sea salt
Instructions
- Preheat your oven to 350°F (175°C) and line your 9×13 baking pan with parchment paper or lightly grease it to ensure easy removal later.
- In a large bowl, whisk together unsweetened cocoa powder, granulated sugar, and brown sugar until smooth.
- Add the melted butter, eggs, and vanilla extract, stirring until the batter is rich and glossy.
- Mix in the all-purpose flour, salt, and optional espresso powder until everything is combined into a thick, decadent batter.
- Fold in the chopped dark chocolate for extra gooeyness.
- Transfer the batter into your prepared pan, spreading it out evenly.
- Bake for 35 to 40 minutes, or until a toothpick inserted comes out with a few moist crumbs. Allow the brownies to cool fully on a wire rack.
- While the brownies cool, make the salted caramel: in a medium saucepan, start by melting a small amount of the granulated sugar over medium heat, stirring constantly.
- Gradually add the remaining sugar, little by little, ensuring each addition fully melts before adding more. This process helps prevent the sugar from burning and ensures a smooth caramel.
- Once all the sugar is melted and golden, add the butter, stirring until fully incorporated.
- Slowly pour in the cream and stir continuously until the mixture thickens into a smooth, silky caramel.
- Remove from heat and stir in the coarse sea salt.
- Once the brownies have cooled and the caramel is ready, pour the caramel over the brownies, spreading it evenly.
- Let the caramel set for a few minutes, then slice your brownies into squares. If you like, sprinkle a little more sea salt on top for that perfect finishing touch!
- Enjoy while still warm for the best flavor.
Notes
- Don’t rush the sugar melting process for the caramel; add it slowly and stir constantly to keep it from burning.
- Make sure your brownies are fully cooled before adding the caramel, otherwise, it might slide right off!
- Keep an eye on the baking time; underbaking slightly is better than overbaking, so your brownies stay fudgy.
- Don’t skip the sea salt, it's the key to balancing the sweetness with that perfect salty touch!