If you’ve ever dreamed of a cake that’s as elegant as it is easy, this Red Velvet Bundt Cake is it.
It’s that perfect blend of rich cocoa, soft buttery crumb, and that iconic deep-red hue that feels a little extra, without being over the top. This isn’t one of those fussy, layer-by-layer desserts. Nope. This is the kind of cake you bake on a cozy Sunday, let it cool on the counter, drizzle that creamy frosting, and watch everyone’s eyes light up when you slice into it.
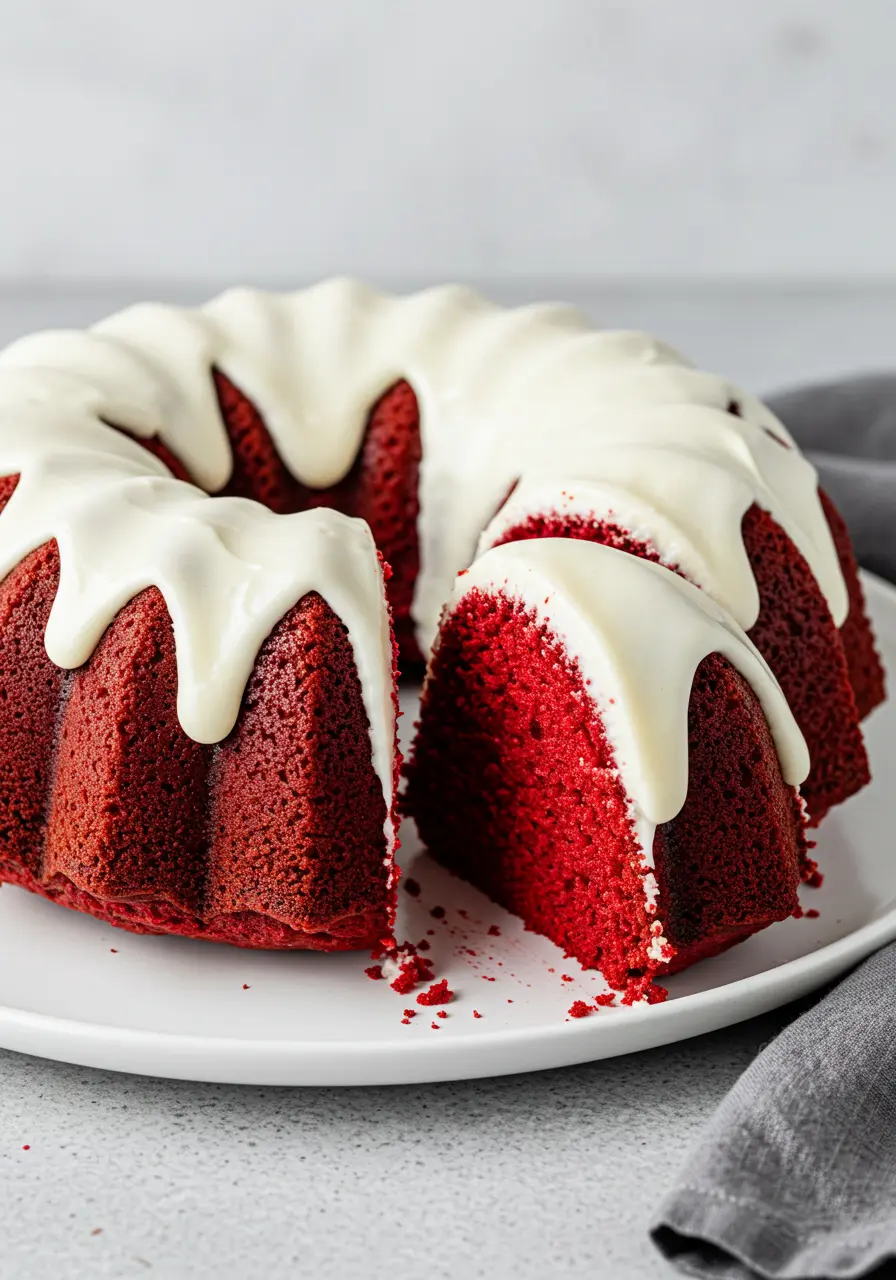
You get all the classic red velvet flavor, tangy, buttery, perfectly sweet, in a shape that always looks stunning, even if you’re not a pro decorator. It’s simple, satisfying, and seriously hard to mess up.
Why You Need This Red Velvet Bundt Cake
All the red velvet charm, minus the drama. No stacking layers or fancy piping bags here. Just pour, bake, and watch your Bundt pan work its magic.
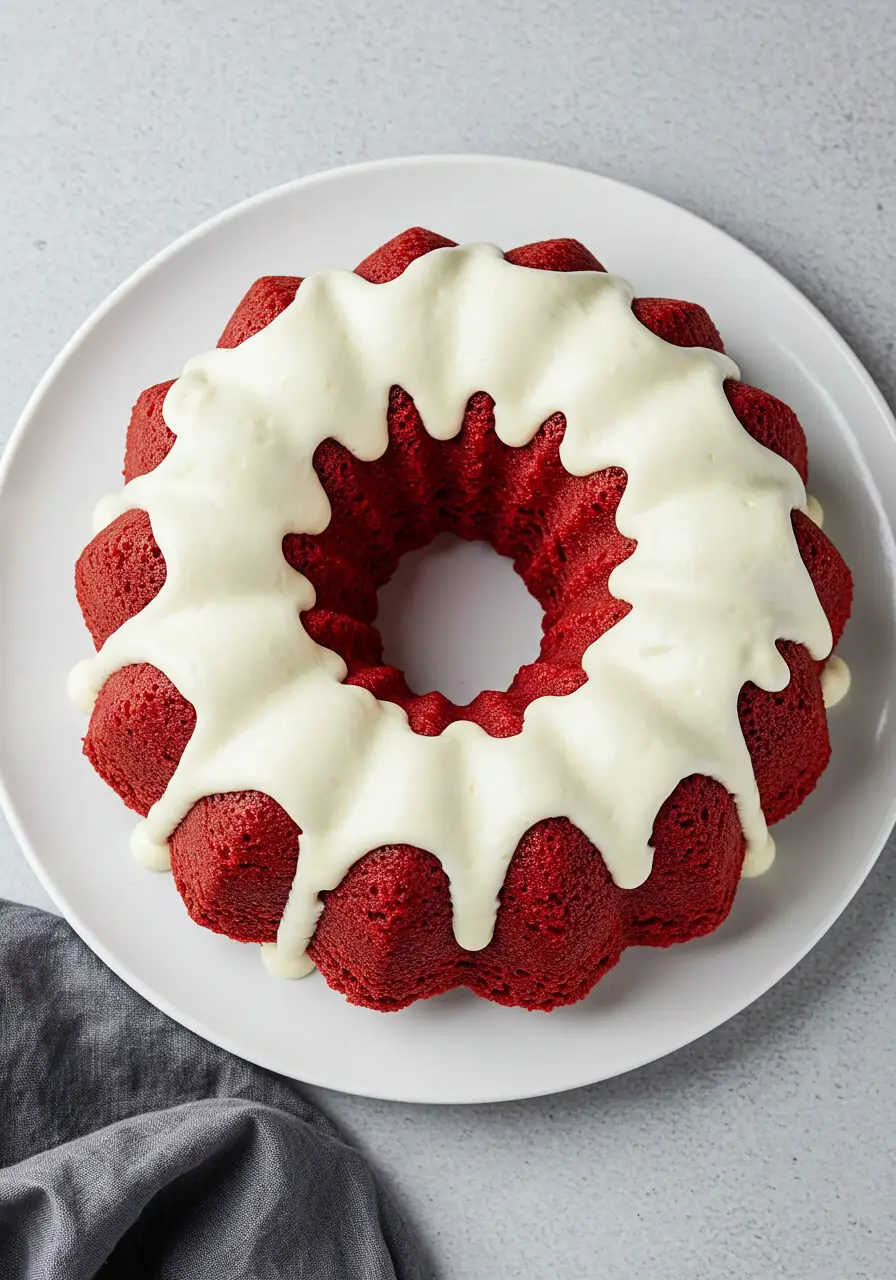
That color, though. The bold red hue against creamy frosting? Instant showstopper. It’s the kind of cake that makes people go “wow” before they even taste it.
A frosting that feels like a hug. Creamy, sweet, and just the right amount of tang, it drapes beautifully over the curves of the Bundt and ties every flavor together.
Perfect for holidays and celebrations. Its rich red color and festive vibe make it ideal for Christmas, Valentine’s Day, or any gathering where you want to wow your family and friends.
Gather Your Ingredients
- Cake Flour: This is what keeps your Red Velvet Bundt cake tender and soft. Using cake flour instead of all-purpose gives you that delicate crumb that melts in your mouth.
- Unsweetened Cocoa Powder: Just a little goes a long way to bring that classic red velvet flavor. It deepens the taste without making it a chocolate cake.
- Baking Soda: This is your secret rising agent. It reacts with vinegar to make your cake light, airy, and perfectly soft.
- Salted Butter: Using salted butter adds just a hint of balance, so your cake never tastes flat.
- Granulated Sugar: Sweetness is key, but sugar also helps the cake stay tender. It creates that fine crumb we all love.
- Eggs: Eggs bind everything together and give structure.
- Buttermilk: Adds tang and keeps the cake moist. The acidity helps with a softer crumb and enhances that classic red velvet flavor.
- White Vinegar: This might seem small, but it’s important! It reacts with baking soda to give the cake lift and helps the red color pop.
- Vanilla Extract: A little splash of vanilla adds warmth and depth. It’s the flavor layer that makes every bite taste like a treat.
- Red Gel Food Coloring: This is the showstopper. Gel coloring is concentrated, so you get a gorgeous red hue without adding extra liquid to the batter.
- Cream Cheese: This makes the frosting creamy, tangy, and dreamy. It complements the cake perfectly and gives that classic red velvet vibe.
- Powdered Sugar: For a smooth, silky frosting, powdered sugar is the best.
- Milk: A little milk adjusts the frosting’s consistency so it drizzles perfectly over the Bundt without being runny.
If you’re in the mood for something sweet but a little more down-to-earth, try my banana bundt cake, it’s moist, simple, and ridiculously good with coffee.
How to Make Your Red Velvet Bundt Cake
Step 1: Prep for Success
Start by preheating your oven to 350°F, this gives your cake the perfect start. Grab your Bundt pan and show it some love: spray generously with cooking spray, then dust lightly with flour. Tap out excess flour so it doesn’t make a powdery layer on the cake. This little prep makes removing your cake smooth and stress-free.
Step 2: Cream the Butter and Sugar
In a large mixing bowl, beat your softened butter and sugar together. Don’t rush this step! Take your time until it’s pale, fluffy, and smells like sweet, buttery heaven.
Step 3: Prep Your Dry Team
Whisk together your cake flour and cocoa powder in a separate bowl. This ensures every bite has an even, gentle chocolate flavor without clumps. Pro tip: gently spoon and level your flour to avoid packing it, it makes a subtle but noticeable difference in the texture.
Step 4: Mix the Wet Ingredients
In another bowl, whisk your eggs, buttermilk, vanilla extract, and white vinegar. This combo is what keeps your cake moist, gives a slight tang, and reacts with the baking soda to make your Bundt light and airy.
Step 5: Combine With Care
Now the fun part: fold in the dry mixture and wet mixture alternately into the creamed butter-sugar base. Start and end with dry ingredients. Mix gently but thoroughly, we want smooth batter, not rubbery cake.
Step 6: The Red Velvet Touch
Mix your red gel food coloring with a tiny splash of buttermilk (just enough to loosen it a touch). Fold this into your batter until the color is even and vibrant.
Step 7: Into the Oven
Pour the batter into your prepared Bundt pan. Smooth the top with a spatula (or just gently shake it a bit to settle the batter). Bake for 40–45 minutes, check at 35 minutes with a toothpick; it should come out clean or with a few moist crumbs. Ovens vary, so trust your instincts.
Step 8: Cool and Be Patient
Let the cake cool in the pan for about 25 minutes. Turn it over delicately and set it atop a wire rack to rest. Patience is key here: a cake too warm can ruin your frosting, and nobody wants that. Give it plenty of time to cool completely.
Step 9: Make the Frosting Magic
Blend the cream cheese, powdered sugar, and vanilla extract until you achieve a smooth, creamy texture. Add milk gradually, aiming for a silky, drizzleable consistency. Taste it, it should be creamy, slightly tangy, and just sweet enough. Pro tip: if it’s too thick, a teaspoon of milk at a time is better than adding too much at once.
Step 10: Glaze, Admire, Enjoy
Pour the frosting over your cooled Bundt. Let it pool in the curves, it looks gorgeous naturally, no need to be perfect. Allow about 30 minutes for the glaze to set so you can cut clean slices. Then, grab a slice, admire the swirls of red and creamy frosting, and savor every bite of your cozy, homemade masterpiece.
Don’t Make These Mistakes
Skipping the pan prep: Don’t just rely on spray, dusting lightly with flour prevents sticking and keeps your Bundt cake looking flawless when you unmold it.
Overmixing the batter: It’s tempting to beat everything thoroughly, but too much mixing can make your cake dense. Fold gently and let the ingredients do the work.
Rushing the cooling: A Bundt needs a little patience, it holds together better and slices more cleanly after cooling.
Adding too much food coloring at once: A bold red is stunning, but too much gel can affect the batter’s texture. Add gradually and check the shade as you go.
Skipping a toothpick check at the edges: Sometimes the center is done but the sides need a few extra minutes. Test in multiple spots to avoid an undercooked edge.
Serve These with Red Velvet Bundt Cake
- Warm berries: Strawberries, raspberries, or cherries add a bright, tangy contrast.
- A scoop of vanilla ice cream: Because who says cake can’t be dessert + dessert?
- Hot coffee or latte: The slight bitterness of coffee makes the red velvet flavor shine even more.
- Creamy hot chocolate: Double the indulgence for cozy nights in.
- Toasted nuts on the side: Pecans or walnuts add a subtle crunch without stealing the spotlight.
Don’t forget to make my lemon bundt cake too, it’s absolutely wonderful!
How to Store Your Red Velvet Bundt Cake
Room Temperature: Keep it in an airtight cake dome or container for up to one day. Perfect if you plan to enjoy it quickly, it stays soft and fluffy without drying out.
Refrigerator: Wrap slices or the whole cake in plastic wrap, then cover lightly with foil. Lasts up to 5 days. Tip: bring slices to room temp before serving to get that melt-in-your-mouth texture back.
Freezer: Slice or keep whole, wrap tightly in plastic wrap, then place in a freezer-safe bag. Can last up to 3 months. Pro trick: thaw overnight in the fridge, then warm a few minutes in the oven for a fresh-baked vibe.
Glaze Storage Tip: If the cream cheese glaze is already on the cake, store in the fridge. Let it sit at room temperature 20–30 minutes before serving so the frosting softens and flavors shine.
Other Red Velvet Favorites
Super Easy Red Velvet Bundt Cake
Ingredients
For the Moist Cake
- 2½ cups cake flour measured and leveled
- 1½ teaspoons unsweetened cocoa powder
- 1 teaspoon baking soda
- 1 cup salted butter softened
- 2 cups granulated white sugar
- 2 large eggs room temperature
- 1⅛ cups buttermilk
- 1¼ teaspoons white vinegar
- 1½ teaspoons vanilla extract
- 1 tablespoon red gel food coloring added gradually
For the Creamy Glaze
- 1 cup powdered sugar sifted
- 4 oz cream cheese softened
- 1½ teaspoons vanilla extract
- 1 to 3 tablespoons milk added gradually
Instructions
- Preheat your oven to 350°F and spray it well with cooking spray, then dust lightly with flour. Tap out any extra so your cake slides out easily later.
- In a large bowl, beat the softened butter with sugar until it’s fluffy and pale, it should smell sweet and buttery. Don’t rush this part; it’s what makes the cake soft and tender.
- In another bowl, mix your cake flour and cocoa powder together. This ensures even flavor and a smooth batter without clumps. Tip: spoon the flour gently into the cup and level it for the best texture.
- Whisk the eggs, buttermilk, vanilla, and vinegar in a separate bowl. This liquid mix keeps your cake moist.
- Now fold the dry and wet mixtures alternately into your butter-sugar mixture, starting and ending with the dry ingredients. Mix gently, you want a smooth batter, not a tough cake.
- Mix the red gel coloring with a tiny splash of buttermilk, then fold it into the batter until the color is evenly distributed.
- Pour the batter into the prepared Bundt pan, smooth the top, and gently tap the pan to release any air bubbles. Bake for 40–45 minutes, but start checking at 35 minutes with a toothpick; it should come out clean or with just a few moist crumbs.
- Let the cake cool in the pan for about 25 minutes, then carefully invert it onto a wire rack to cool completely. A fully cooled cake is essential for glazing without melting the frosting.
- For the frosting, beat the cream cheese, powdered sugar, and vanilla until smooth. Gradually add milk until you reach a silky, pourable consistency.
- Drizzle the frosting over the cooled Bundt, letting it naturally flow into the curves. Give it about 30 minutes to set before slicing. Then, serve yourself a generous piece, enjoy the creamy frosting with every bite, and soak in that homemade, cozy goodness.
Notes
- Room temperature ingredients always mix better, it makes the cake extra tender.
- A wire rack is best for cooling so the cake doesn’t get soggy.
- If you like a little crunch, sprinkle finely chopped pecans or walnuts on top of the glaze.