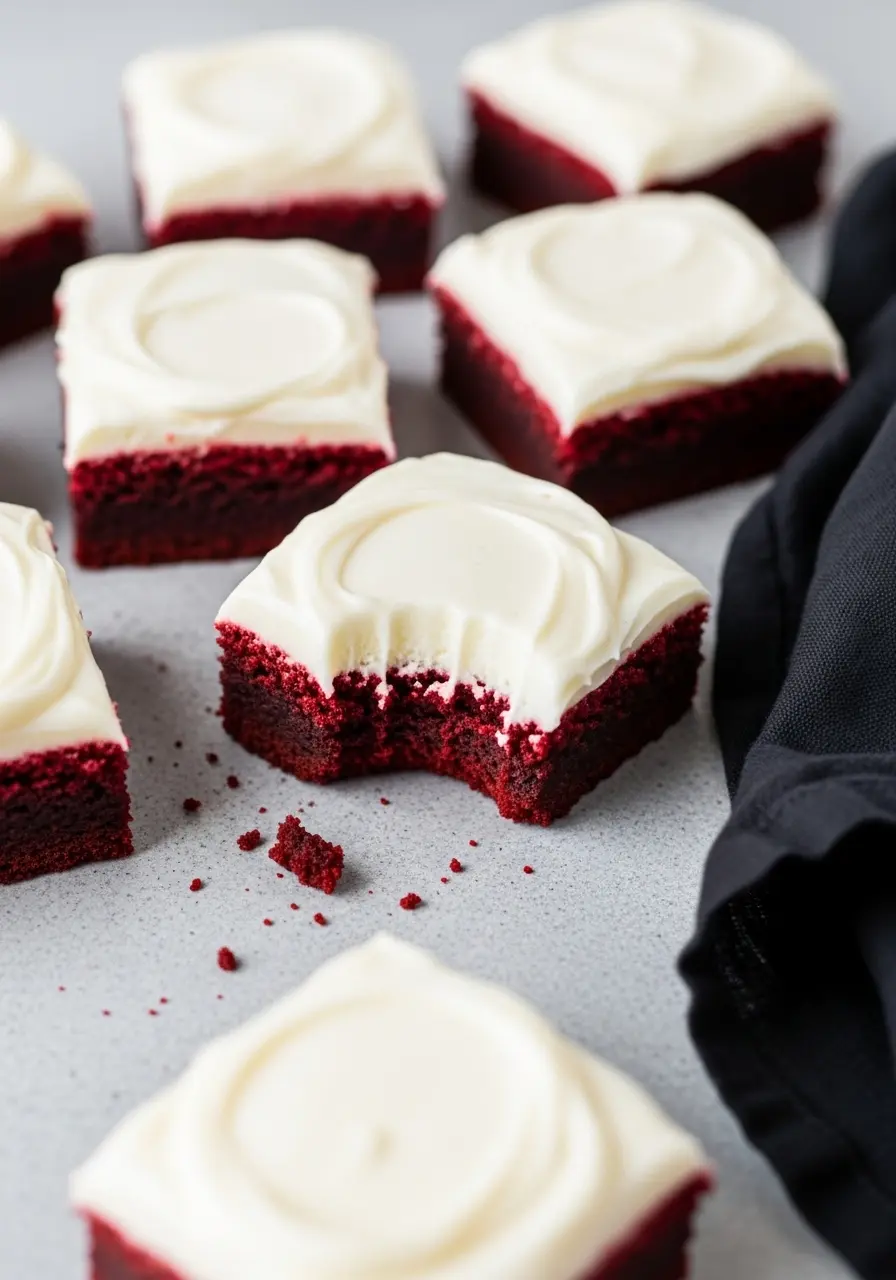
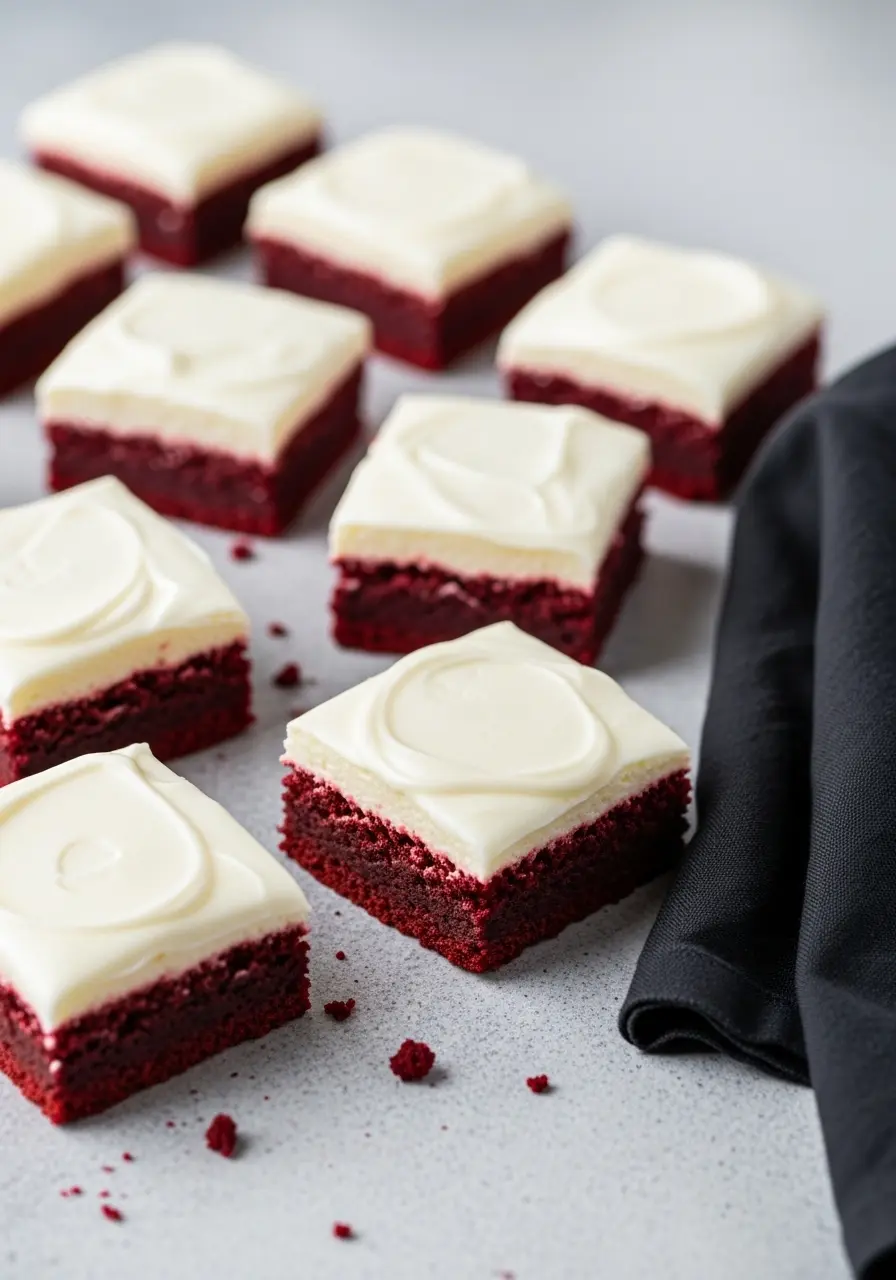
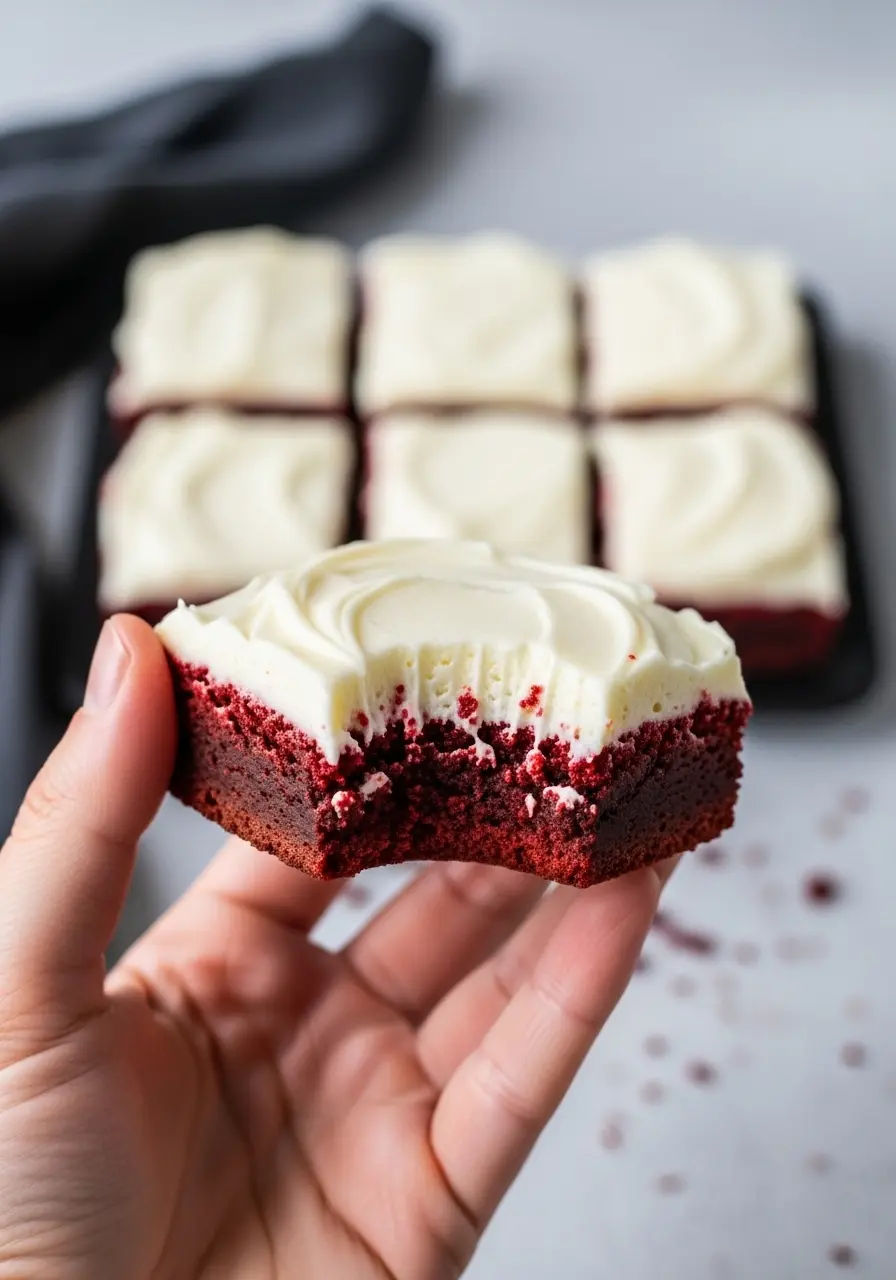
Okay, friends… let’s talk about brownies, but not just any brownies. I’m talking Red Velvet Brownies that are fudgy, rich, and topped with the creamiest cream cheese frosting you’ll ever meet. They’re the kind of treat that makes you pause, grab a fork, and maybe even hide one for yourself.
If you’re a fan of Red Velvet Desserts, or you’ve been hunting for fudgy brownies that feel indulgent but are actually easy to make, you’re in the right place. Bonus: they double as perfect Valentine’s Day treats (or a little “treat yourself” moment any day of the week). Stick around, I’m about to walk you step by step so you get brownies that are chewy, tender, and just the right kind of irresistible
Why Everyone Loves Red Velvet Brownies
Fudgy, not dry – Every bite melts in your mouth, giving you that perfect balance between rich and tender. No crumbly disappointments here.
Quick, surprisingly easy – You don’t need hours in the kitchen. Mix, bake, frost, and enjoy, simple as that.
Sweet meets tangy perfection – The cream cheese frosting gives just the right pop of flavor to balance the sweetness.
Kitchen Staples for This Recipe
Butter + Sugars: The heart of your brownies, melted butter brings richness, while granulated and brown sugar balance sweetness and keep your brownies fudgy and tender.
Eggs + Vanilla: These are your flavor and structure heroes. Eggs hold everything together and make the brownies soft, while vanilla adds that cozy, homemade warmth.
Gel Food Coloring + Cocoa Powder: The magic makers of Red Velvet. Cocoa gives a subtle chocolate depth, and the gel coloring gives that classic, show-stopping red without affecting the taste.
Flour: The foundation. Flour gives your brownies structure so they cut nicely.
Cream Cheese + Butter + Powdered Sugar + Milk: Your dreamy frosting combo. Cream cheese brings tangy creaminess, butter adds silkiness, powdered sugar sweetens smoothly, and milk adjusts the consistency so it’s perfectly spreadable and irresistible.
How to Make Red Velvet Brownies
1. Warm up your kitchen
Preheat your oven to 350°F (175°C). Line an 8×8-inch baking pan with parchment paper, leaving a little overhang on two sides so you can lift the brownies out like a pro later. Lightly grease the paper, this little step saves you from sticky frustrations.
2. Sweet buttery goodness
In a medium bowl, whisk together your melted salted butter with granulated sugar and brown sugar. Make sure everything is smooth, shiny, and lump-free. This combo is what keeps your brownies fudgy but soft.
3. Eggs, vanilla, and that perfect red
Add your eggs, one at a time, whisking until smooth. Pour in the vanilla extract and gel food coloring, stirring until the batter turns a beautiful, deep red. Tip: if your red looks a little shy, add a tiny extra dab of color, it won’t affect taste, just gives that wow factor.
4. Chocolatey structure
Sift together your flour, and your Dutch-process cocoa. Gently fold it into the wet mixture, scraping the sides as needed. Stop once there are no dry streaks, you want tender, fudgy brownies, not dense ones. Overmixing is the sneaky enemy here!
5. Spread, smooth, and bake
Gently transfer the batter into the pan, spreading it into a smooth, even layer. Bake for 25–30 minutes, keep an eye on it after 25 minutes. You want a toothpick that comes out with a few moist crumbs, not bone-dry. Your nose will help too, when the kitchen smells like chocolate + caramel, you’re close.
6. Cool like a champ
Allow the brownies to cool fully in the pan while resting on a wire rack. Patience is key, frosting warm brownies can turn into a sticky mess. If you’re impatient (no judgment), pop the pan in the fridge for 10–15 minutes to speed things up.
7. Whip up the dreamy frosting
In a bowl, beat the cream cheese until silky. Add butter and mix until smooth, then gradually add powdered sugar and a splash of milk. Stop when it’s fluffy, creamy, and spreadable. Quick tip: if your frosting is too soft, chill it for 10 minutes before spreading, it makes piping or smoothing much easier.
8. Frost and show off
Spread the frosting generously over the cooled brownies. For a fun twist, swirl it with a spoon or spatula for a marbled effect. enjoy!
Mistakes to Avoid (So Your Brownies Turn Out Perfect!)
Overmixing the batter – I get it, it’s tempting to whisk until everything looks flawless. But here’s the truth: overmixing = tough brownies. Treat your batter gently, fold until the flour disappears, and stop before it loses that fudgy magic.
Skipping the parchment overhang – It might feel like an extra step, but trust me… this little “handle” is a life-saver. No scraping, no frustration. Just lift, slice, and serve like a pro.
Going overboard with food coloring – Bold red is stunning, but too much can slightly change the taste. Add your gel color little by little and stop when it’s just right.
What to Serve With Red Velvet Brownies
- A scoop of vanilla ice cream – The creamy cold contrast makes each fudgy bite even more irresistible.
- Whipped cream with a sprinkle of cocoa – Light, airy, and perfect for sharing… or sneaking bites solo.
- Fresh berries – Strawberries, raspberries, or cherries add a fruity pop that balances the richness.
- Espresso or a latte – Your choice.
- Chocolate drizzle or ganache – Because can you ever have too much chocolate? Nope.
How to Store Red Velvet Brownies
Unfrosted brownies – Wrap tightly in plastic wrap or keep in an airtight container at room temperature for up to 2 days. Pro tip: place a slice of bread in the container to keep them extra soft and chewy.
Frosted brownies – Store in the fridge in an airtight container. Frosting keeps best when chilled, and brownies stay moist. Bring to room temperature for 10–15 minutes before serving for the perfect bite.
Freezing option – Unfrosted brownies freeze beautifully. Wrap individually or as a slab in foil + plastic wrap, freeze for up to 3 months. Thaw at room temperature or warm slightly for that fresh-baked feel. Frost after thawing for best results.
More Red Velvet Treats You’ll Love
- Red Velvet Cake Pops
- Red Velvet Whoopie Pies You’ll Love
- Red Velvet Crinkle Cookies
- Red Velvet Cheesecake
Fudgy Red Velvet Brownies
Ingredients
For The Red Velvet Brownies
- 1 ¼ cups all-purpose flour
- ¼ cup Dutch process cocoa powder
- ¾ cup salted butter melted
- ¾ cup granulated sugar
- ⅔ cup brown sugar
- 2 meduim eggs at room temperature
- 1 ½ teaspoons vanilla extract
- 1 teaspoon of gel food coloring more as needed
For The Cream Cheese Frosting
- 4 oz cream cheese softened
- 3 tablespoons salted butter softened
- ½ cup powdered sugar sifted
- ½ –1 tablespoon milk to reach desired frosting consistency
Instructions
- Preheat your oven to 350°F (175°C) and line an 8×8-inch pan with parchment paper, leaving a little extra overhang so you can lift the brownies out easily later. Lightly grease the paper to make sure nothing sticks and clean slices are guaranteed.
- In a medium bowl, whisk together your melted salted butter with both the granulated and brown sugar until the mixture is silky, shiny, and completely smooth. This little step is what gives the brownies that irresistible fudgy texture.
- Add the eggs one at a time, whisking well after each addition, then mix in the vanilla and gel food coloring. Stir until the batter turns a gorgeous, deep red. If it looks a bit shy on color, add a tiny dab more.
- Sift together the flour, and Dutch-process cocoa, then gently fold them into the wet mixture. Stop as soon as you see no streaks of flour; overmixing will make the brownies heavy instead of soft and fudgy.
- Pour the batter into your pan and smooth the top evenly with a spatula. Bake for 25–30 minutes, keeping an eye on it after 25 minutes. A toothpick should come out with just a few moist crumbs attached.
- Set the pan on a wire rack and allow the brownies to cool down entirely before moving them. If you can’t wait, pop them in the fridge for 10–15 minutes, cooling them slightly helps the frosting go on smoothly.
- For the frosting, beat the cream cheese until silky and smooth, then mix in the butter. Gradually add the powdered sugar and a splash of milk, stopping when the frosting is fluffy, creamy, and spreadable. If it feels too soft, chilling it for a few minutes makes it easier to handle.
- Spread the frosting generously over the cooled brownies. Enjoy!
Notes
- Use a warm knife when slicing frosted brownies for cleaner edges.
- If your brownies bake faster on the edges, rotate the pan halfway for even baking.
- If you like a bolder chocolate flavor, a tiny pinch of espresso powder in the batter works wonders.