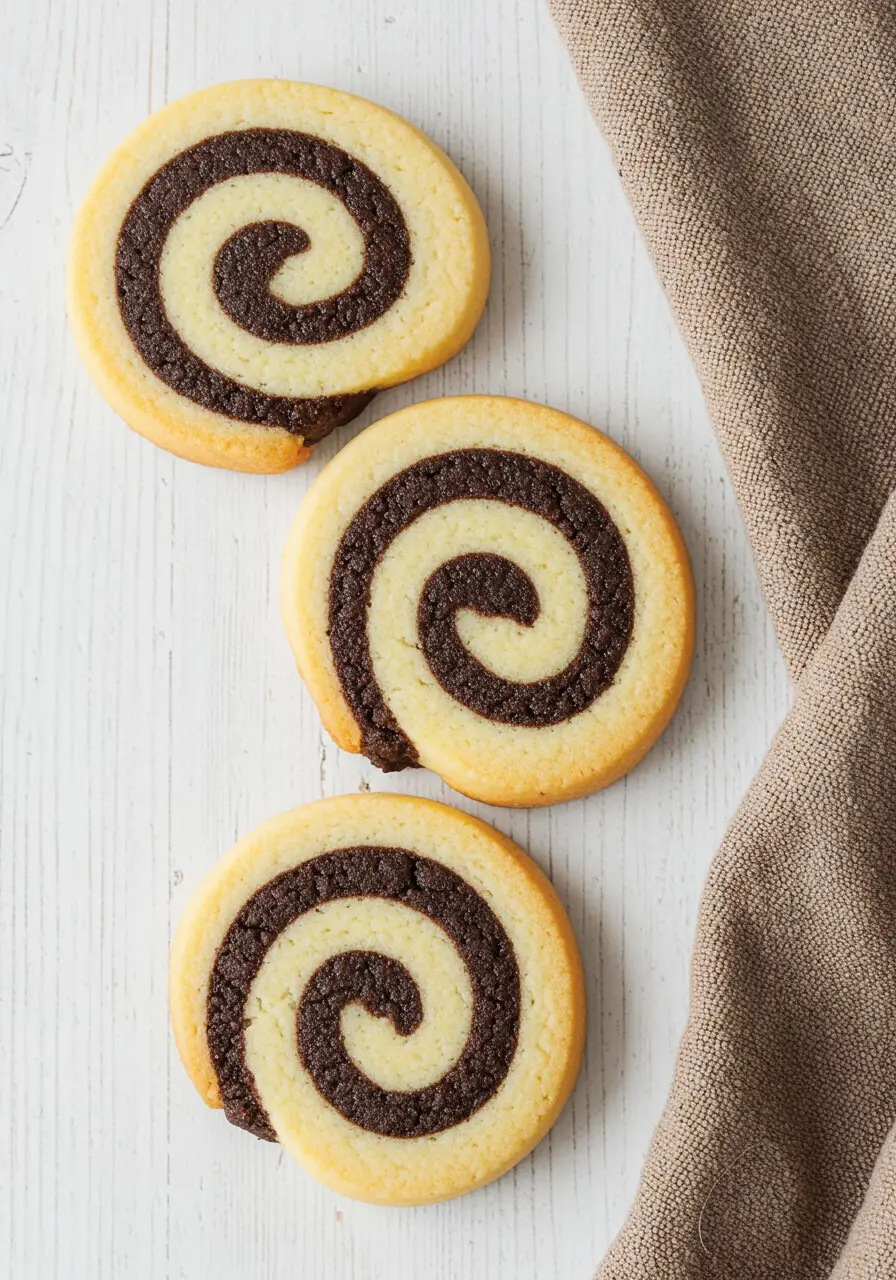
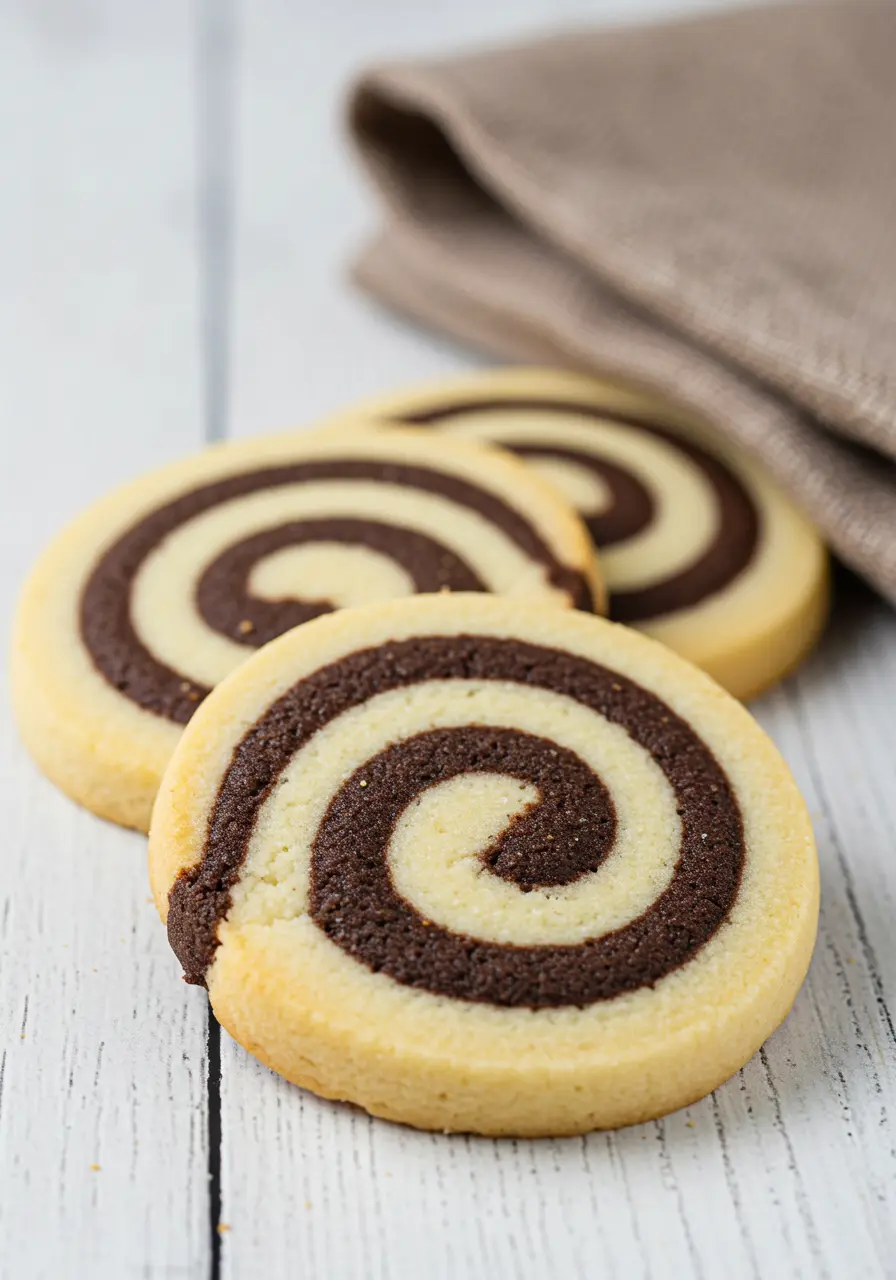
If there’s one cookie that never fails to impress during the holidays, it’s Pinwheel Cookies. Those perfect little swirls of vanilla and chocolate don’t just look festive, they taste like pure comfort. The best part? They’re way easier to make than they look.
This is the kind of cookie recipe that makes you feel like a pro baker, even if it’s your first time rolling out dough. The buttery vanilla layer, the rich chocolate swirl, and that beautiful slice-and-bake moment, it’s cookie magic you can actually pull off at home.
Why These Pinwheel Cookies Are Totally Worth It
A cookie for both moods. Can’t choose between chocolate or vanilla? These cookies say, why not both!
Make-ahead friendly. You can chill, slice, and bake whenever you need a fresh batch.
Perfect for gifting (and showing off). Wrap them in parchment, tie with a ribbon, and boom, homemade happiness in cookie form.
These pinwheel cookies remind me of my black and white cookies, both are buttery, and impossible to resist.
What You’ll Need To Get Started
- Salted Butter: This is your base for rich, flavorful cookies, it keeps them soft and gives that perfect buttery taste everyone loves.
- Brown Sugar: Adds chewiness and a deep caramel-like flavor, making your cookies taste extra cozy and homey.
- Granulated Sugar: Helps balance the sweetness and adds a tiny crisp edge so the cookies aren’t too soft.
- Egg: Think of it as the glue, it binds everything together and helps your cookies hold their shape.
- Vanilla Extract: This little powerhouse boosts flavor, turning simple dough into something that smells irresistible.
- All-Purpose Flour: Provides structure so your cookies aren’t crumbly but still soft and tender, the perfect canvas for swirls.
- Baking Powder: A gentle lift for your cookies, keeping them soft and slightly puffed instead of flat.
- Cinnamon (optional): Just a pinch gives warmth and a cozy holiday vibe without overpowering the chocolate or vanilla.
- Dutch-Process Cocoa Powder: The chocolate part of the swirl, smooth, rich, and gives your cookies that satisfying chocolate kick.
How to Make Pinwheel Cookies
Step 1: Mix the Dry Stuff
In a medium bowl, whisk together all-purpose flour, baking powder, and cinnamon (if you want that cozy holiday hint). Whisking now means no surprises later, each bite will be evenly fluffy and soft. Set this aside while we move on to the fun part: the butter.
Step 2: Cream the Butter and Sugars
Grab your salted butter, brown sugar, and granulated sugar and beat them together until light and fluffy (use a stand mixer or the hand one). This is where your kitchen starts smelling amazing. Scrape the sides a few times so nothing gets left behind.
Step 3: Add the Egg and Vanilla
Add your egg and vanilla extract, mixing until silky smooth. This is your dough’s personality moment, it should feel soft and inviting, not stiff.
Step 4: Bring in the Dry Ingredients
Lower the mixer and gradually add your flour mixture. Mix just until it comes together, overmixing will make your cookies tough, and we’re going for tender, buttery perfection here. At this point, you should have a soft, slightly sticky dough.
Step 5: Split and Customize
Divide your dough in half. Leave one as the classic vanilla layer. For the chocolate half, stir in Dutch-process cocoa powder until it’s rich, smooth, and beautifully dark. Here’s a tiny pro tip: if it feels a little stiff, rub it gently between your fingers to evenly blend it, no lumps, no stress.
Step 6: Roll Out the Layers
Lightly flour your parchment and roll each half into a rectangle (roughly 9″ x 12″). So you’ll end up with two rectangles, each one with its own piece of parchment paper.
Step 7: Layer, Trim, and Roll
Place the chocolate rectangle on top of the vanilla rectangle so the vanilla wraps around it. Gently peel off the parchment from the top and trim any uneven edges. Then roll it up slowly like a jelly roll. Tiny touch: press gently as you roll to keep the layers snug, but don’t squeeze too hard, you want swirls, not smooshed dough.
Step 8: Chill Out
Wrap your dough log tightly in plastic wrap and freeze for 1 hour. Chilling is key, it keeps your slices tidy and prevents chocolate from smearing into the vanilla.
Step 9: Slice, Bake, and Admire
Warm the oven to 350ºF (175ºC) and line a baking tray with parchment to prevent sticking. Use a sharp knife to slice the log into thin rounds. Place them a little apart, they won’t spread much, but each cookie deserves its own space.
Bake for 8 to 9 minutes, watching for the edges to develop a soft, golden hue.Tip: the centers might still look soft, and that’s perfect, they’ll set as they cool.
Step 10: Taste, Share, Repeat
Once cooled, admire your swirls before eating (or gift them to make someone’s day). Each bite is buttery, chocolatey, and a tiny celebration of homemade goodness.
Watch Out for These Cookie Slip-Ups
Slicing with a dull knife: A dull knife squishes your dough and ruins the swirl. Use a sharp, long knife and wipe it between slices if the dough sticks.
Baking too long: These cookies bake quickly! Edges lightly golden, centers soft, that’s perfect. Overbaking = dry cookies. Set a timer, check a minute early, and pull them when in doubt.
Rushing the cooling: Hot cookies are delicate. Give them a few minutes on the tray before moving to a wire rack, this keeps the swirls intact and avoids breakage.
Keep Your Pinwheel Cookies Fresh
Airtight & Cozy: Keep your cookies in a snug airtight container at room temperature for up to 3 days. Layer them with parchment paper to protect those beautiful swirls, nobody likes squished spirals!
Little Chill Magic: Pop them in the fridge if you want firmer cookies or need to store them a bit longer (up to 2 weeks). They hold their shape beautifully and still taste buttery and soft.
Freeze for Anytime Treats: Wrap the cookie log tightly in plastic wrap, then foil, or freeze baked cookies in a sealed container. Dough lasts 3 months, baked cookies about 1 month. Slice and bake straight from frozen for fresh, “just-made” cookies whenever you want.
Mini Reheat Hack: If cookies feel a bit firm from storage, pop them in the oven for 3–5 minutes or microwave for 5–10 seconds. They’ll come back soft, and warm.
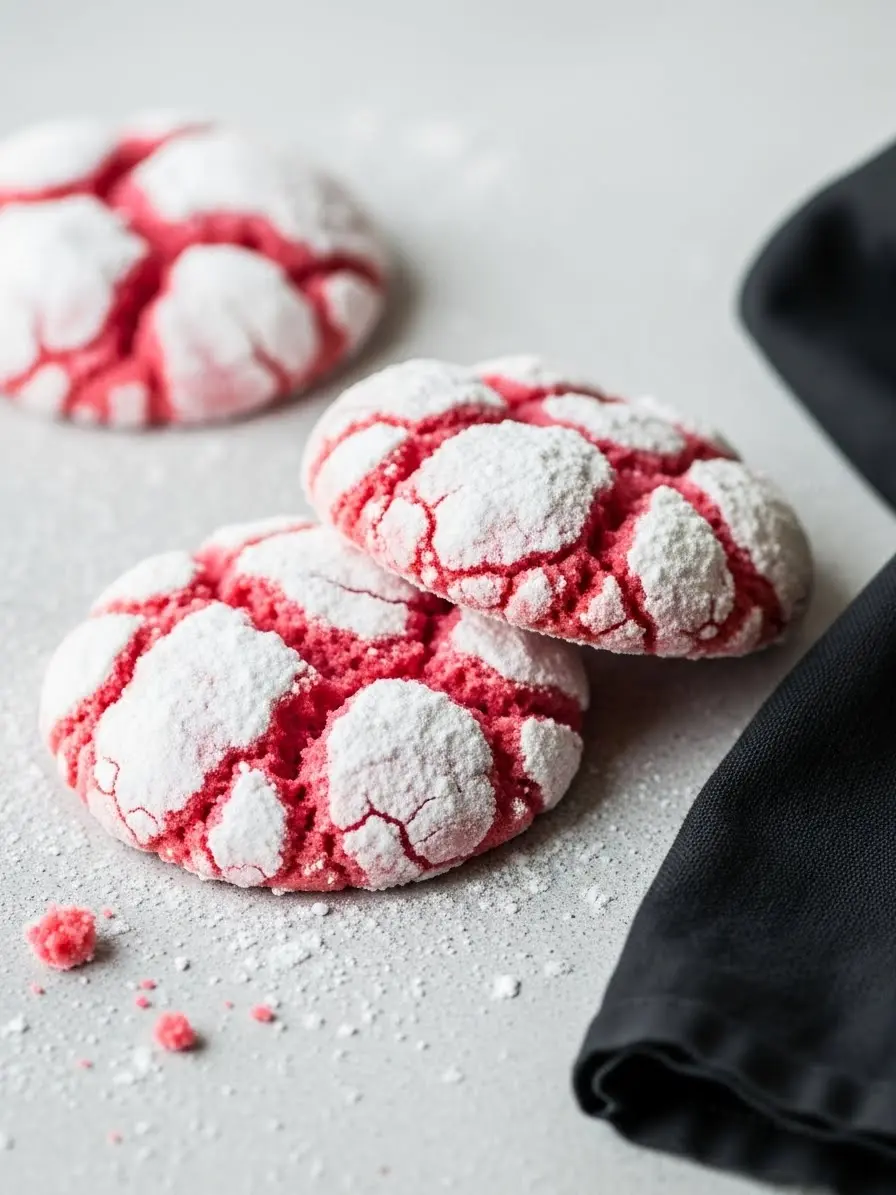
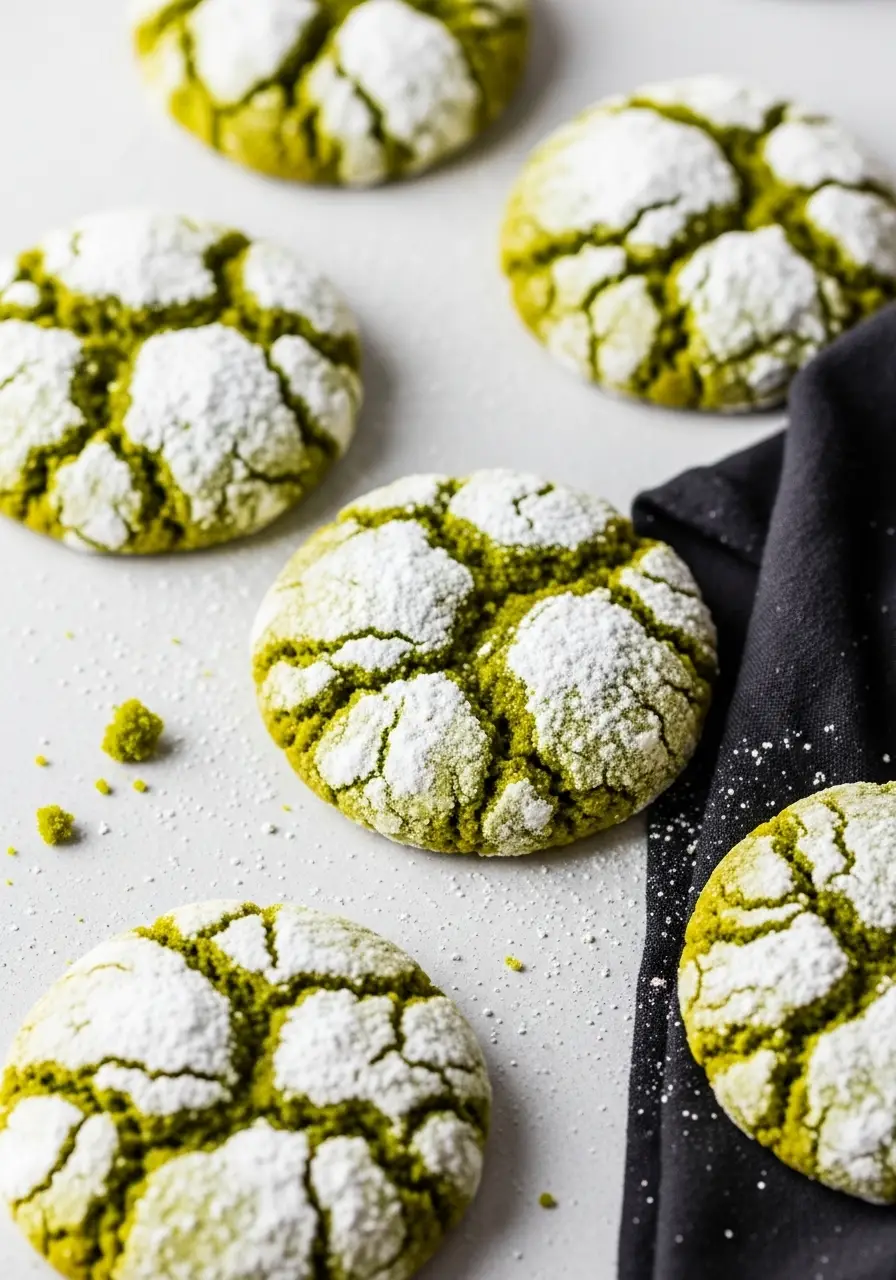
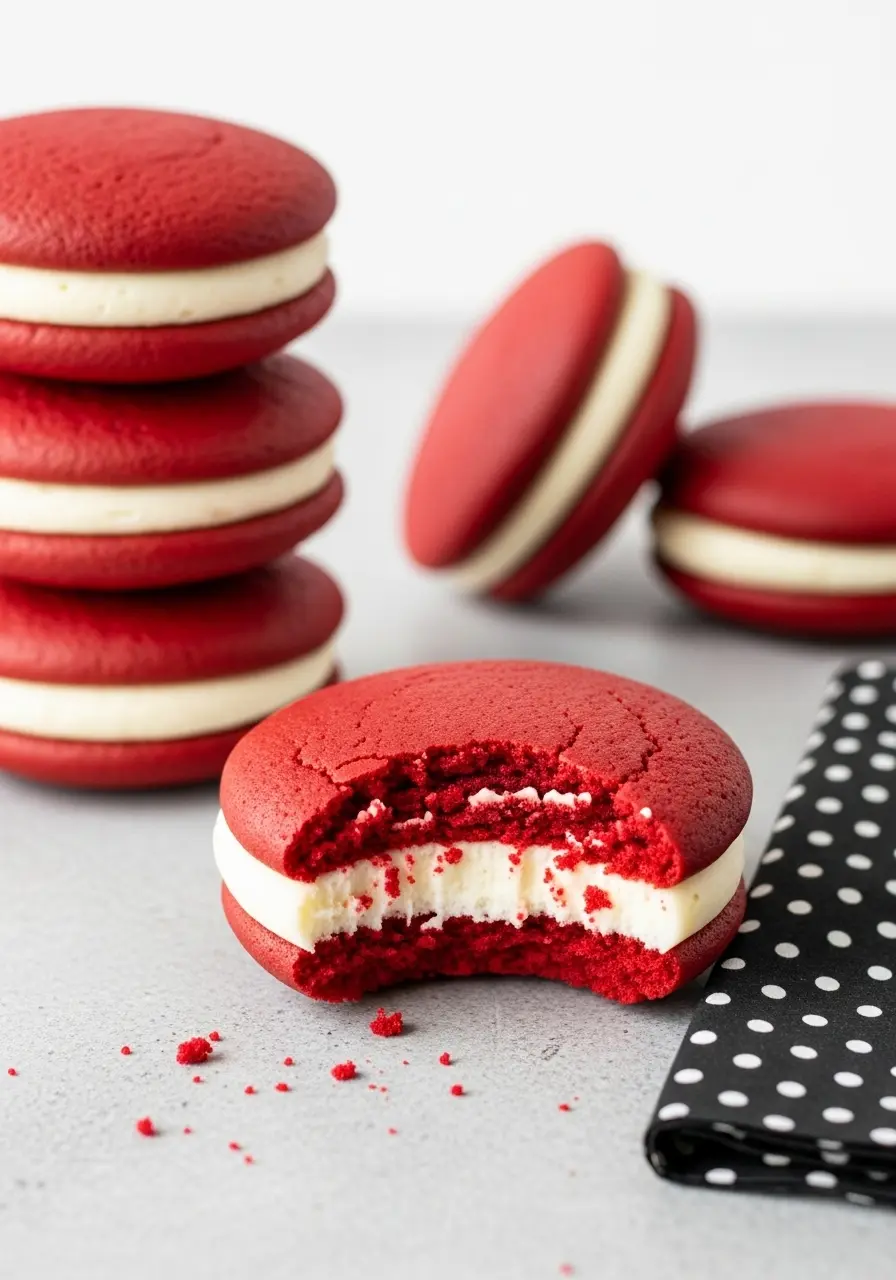
More Delicious Holiday Treats
Fun And Easy Pinwheel Cookies
Ingredients
- ½ cup salted butter softened
- ¾ cup packed brown sugar
- ¼ cup granulated sugar
- 1 large egg
- 1½ teaspoons pure vanilla extract
- 2 cups all-purpose flour spooned and leveled
- ¾ teaspoon baking powder
- ¼ teaspoon ground cinnamon optional
- 2 tablespoons Dutch-process cocoa powder
Instructions
- In a medium bowl, whisk together the flour, baking powder, and cinnamon (if you’re feeling that cozy holiday vibe). This step keeps every cookie soft and evenly textured. Set it aside while we move on to the fun part.
- Beat the salted butter with the brown sugar and granulated sugar until it’s light, fluffy, and smelling amazing. A hand mixer or stand mixer works great. Scrape down the sides a couple times so everything gets mixed in, you don’t want any sugar hiding out!
- Incorporate the egg and vanilla, stirring until the mixture is silky and well combined. Your dough should feel soft, silky, and ready to be shaped.
- Slowly fold in the flour mixture, just until everything combines. Don’t overmix, we want tender, buttery cookies, not tough ones. You’ll end up with a soft, slightly sticky dough that’s perfect for rolling.
- Divide the dough in half. Keep one half as your vanilla layer, and stir the Dutch-process cocoa powder into the other half until it’s rich and chocolatey.
- Lightly flour your two pieces of parchment paper and roll each dough half into a rectangle, about 9″ x 12″, keeping each on its own parchment.
- Place the chocolate rectangle on top of the vanilla one so the vanilla wraps around it. Carefully peel off the top parchment and trim any uneven edges. Roll it up gently, like a jelly roll, pressing lightly so the layers stay snug but not squished.
- Wrap the dough log tightly in plastic wrap and freeze for about an hour. Chilling keeps the slices neat and prevents the chocolate from blending into the vanilla layer, plus, it makes slicing much easier.
- Set the oven to 350ºF (175ºC) and line a baking sheet with parchment for an easy, nonstick surface. Slice the chilled log into thin rounds and space them apart on the sheet. Let them bake for about 8–9 minutes, watching for the edges to turn a light golden. The centers may still look soft, and that’s perfect, they’ll firm up as they cool. Enjoy!
Notes
- You can add a tiny pinch of espresso powder to the chocolate dough for a deeper, richer flavor.
- Rotate your baking sheet halfway through baking for even golden edges.
- Remember to keep slices uniform in thickness so all cookies bake evenly.