Let me guess, you’ve got a sweet tooth and not a lot of patience. Same here. That’s why I keep coming back to this Peanut Butter Pie. It’s the kind of dessert that feels like a hug in a slice: smooth, creamy, a little crunchy on top, and totally addictive.
What you’ll love most? It’s one of those rare quick desserts that doesn’t taste quick at all. No fuss, no complicated steps, just honest, simple ingredients that come together like magic. Out of all the peanut butter desserts you’ve tried, this one is always the star of the table.
So pull up a chair, grab your mixing bowl, and let’s make a pie that proves dessert doesn’t need to be fancy to be unforgettable.
Why You’ll Love This Peanut Butter Pie
It’s a no-stress wonder. No ovens, no fancy tools, just a mixing bowl and a craving for something sweet.
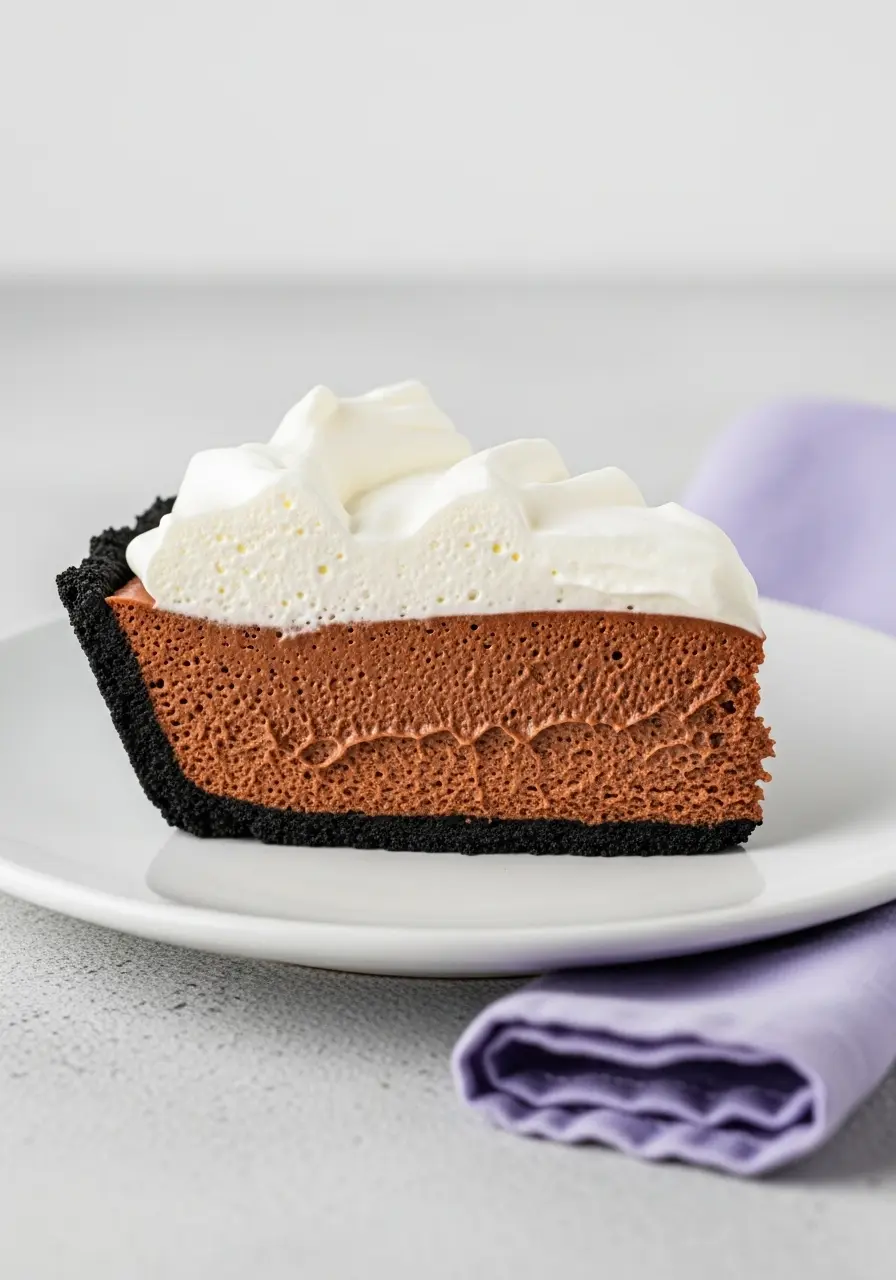
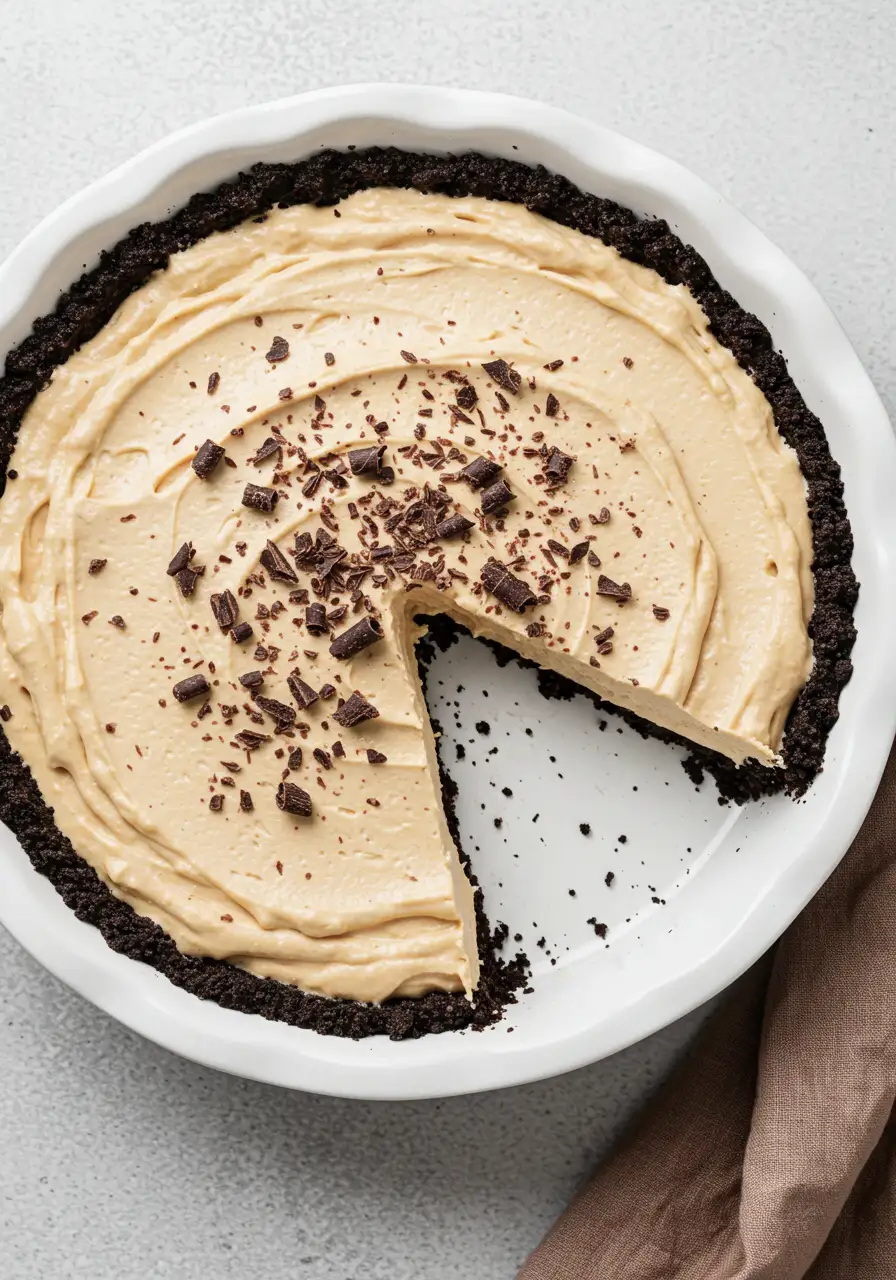
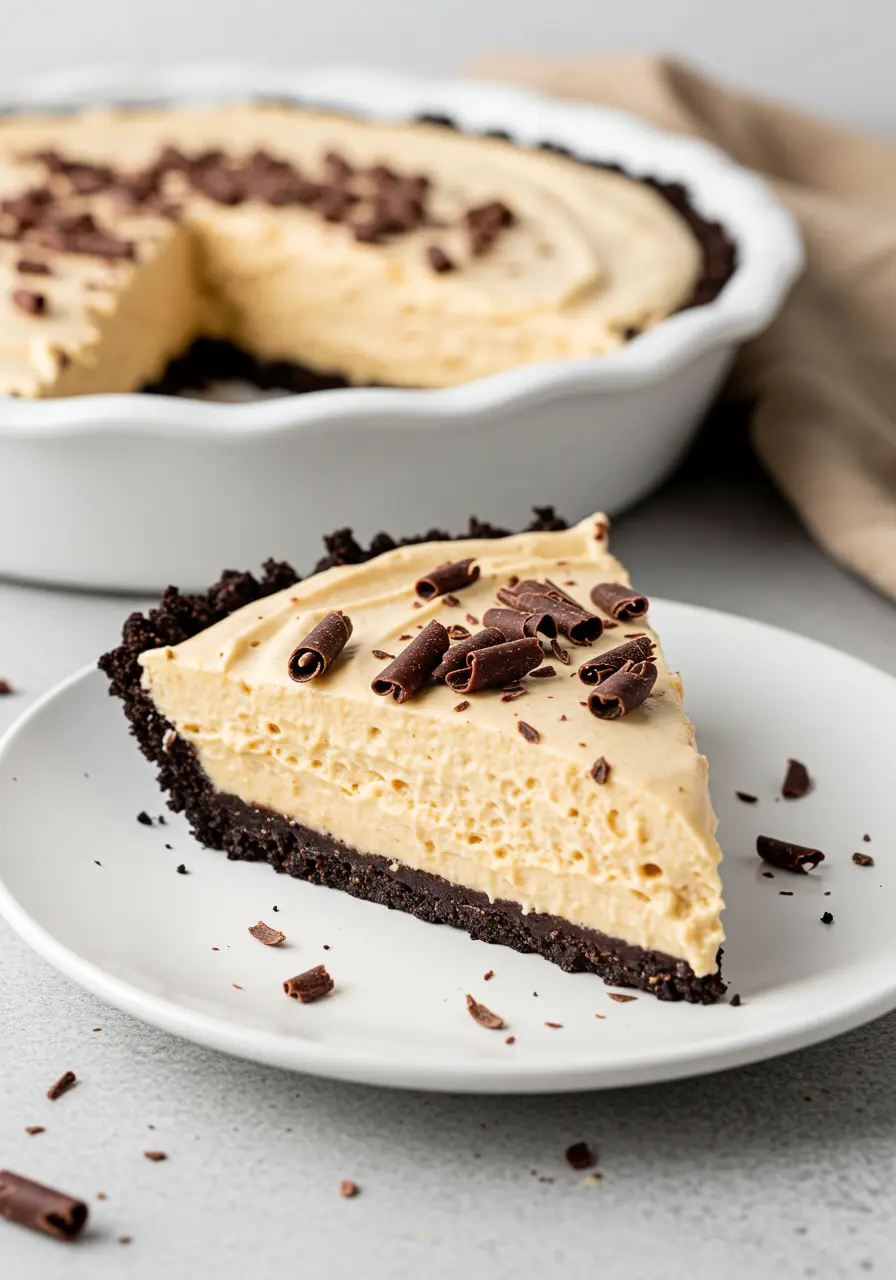
Creamy meets crunchy. Smooth peanut butter filling, velvety cream, and a chocolate cookie crust… It’s the dream team of textures.
Crowd-pleaser guaranteed. From picky kids to dessert snobs, everyone’s going back for seconds (so maybe hide a slice for yourself first).
Customizable fun. Top it with chopped peanuts, drizzle some chocolate, or even sneak in mini peanut butter cups, it’s your canvas.
Kid-approved (and adult-obsessed). The creamy peanut butter and chocolate combo hits every sweet spot.
This is the kind of dessert that doesn’t just sit on the table, it disappears.
Peanut Butter Pie Essentials
- Oreo cookies: The chocolatey crunch that forms the perfect base for your pie, giving every bite a satisfying texture.
- Salted butter: Helps bind the crumbs together while adding a rich, buttery flavor that balances the sweetness.
- Cream cheese: Creates that silky, creamy filling that holds everything together and makes the pie feel indulgent.
- Smooth peanut butter: Adds that classic nutty flavor and creamy texture that makes this pie unmistakably peanut buttery.
- Pure vanilla extract: Enhances all the flavors in the pie and adds a subtle warmth to every bite.
- Powdered sugar: Sweetens the filling smoothly without any graininess, keeping the texture light and creamy.
- Heavy whipping cream: Whips into soft peaks to make the filling fluffy, airy, and irresistibly soft.
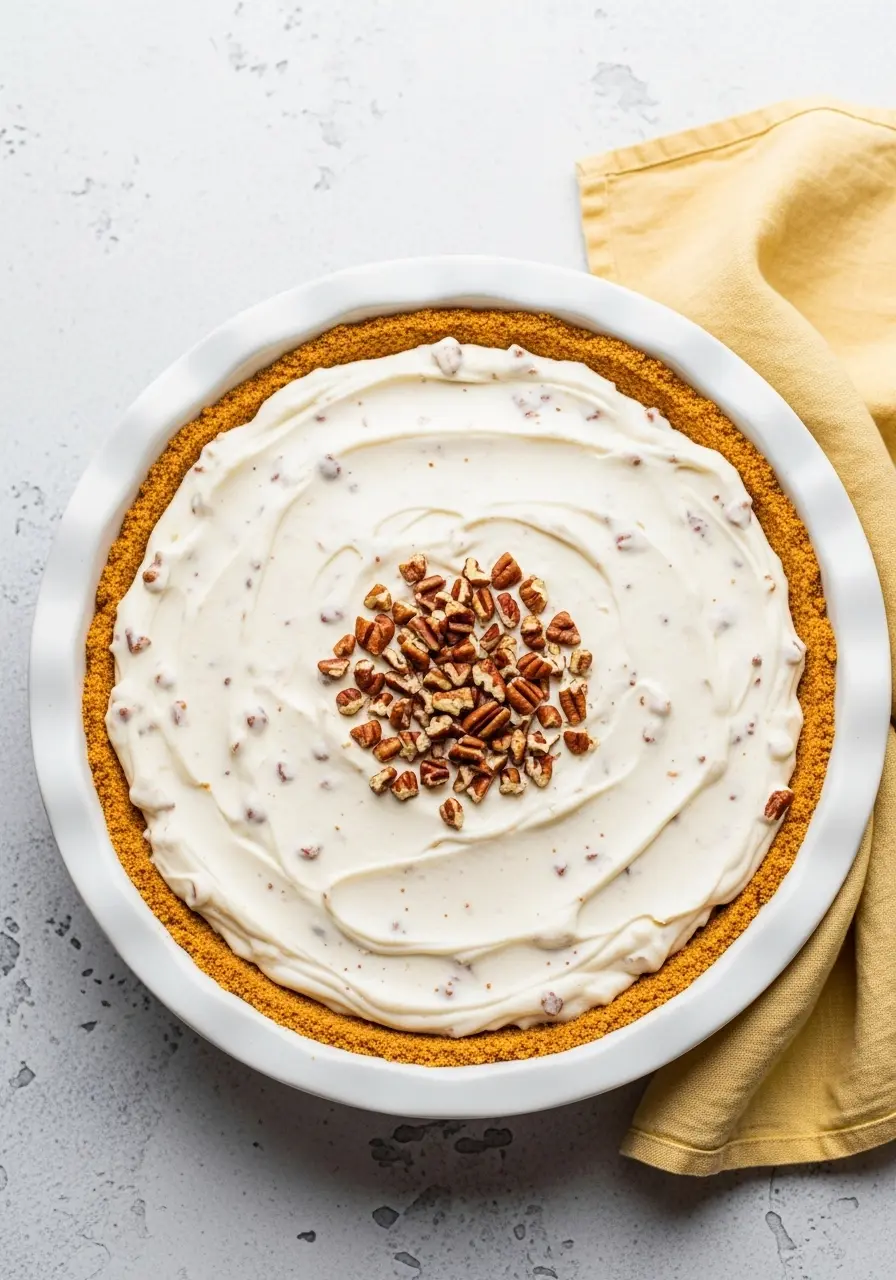
- Chopped peanuts: Adds a crunchy topping that contrasts beautifully with the creamy filling and gives a nutty finish.
If you love creamy, dreamy desserts, you’ll want to check out my Oreo pie, it’s every bit as indulgent and totally irresistible.
How to Make Your Peanut Butter Pie
Step 1: Build the Chocolatey Base
Grab those pulsed Oreo cookies and your melted salted butter. Mix until all crumbs are coated and smelling like heaven. Press the mixture firmly into the bottom and slightly up the sides of your pie dish. Tip: Use the bottom of a glass to press the crust evenly, it makes slicing later way easier. Pop it in the fridge while you tackle the filling.
Step 2: Smooth & Creamy Magic
In a large bowl, beat your cream cheese until silky smooth. No lumps allowed! Scrape the sides of the bowl a couple of times, it makes the mixture perfectly smooth and prevents tiny clumps from sneaking into your filling.
Step 3: Peanut Butter & Vanilla Bliss
Add your smooth peanut butter and that teaspoon of pure vanilla extract. Beat until fully combined.
Step 4: Sweeten Without Mess
Add the powdered sugar gradually, mixing at low speed until combined. This keeps your kitchen sugar-free (mostly!). Extra tip: Sifted sugar is key, it keeps the filling silky and avoids any graininess in your bite.
Step 5: Fluff It Up
Pour in your cold heavy whipping cream. Mix on low just until it starts to blend, then crank it up to high until thick and fluffy. Friendly reminder: Don’t over-whip, once it’s soft and airy, you’re golden. This is the part that gives your pie that dreamy, light texture.
Step 6: Assemble Like a Pro
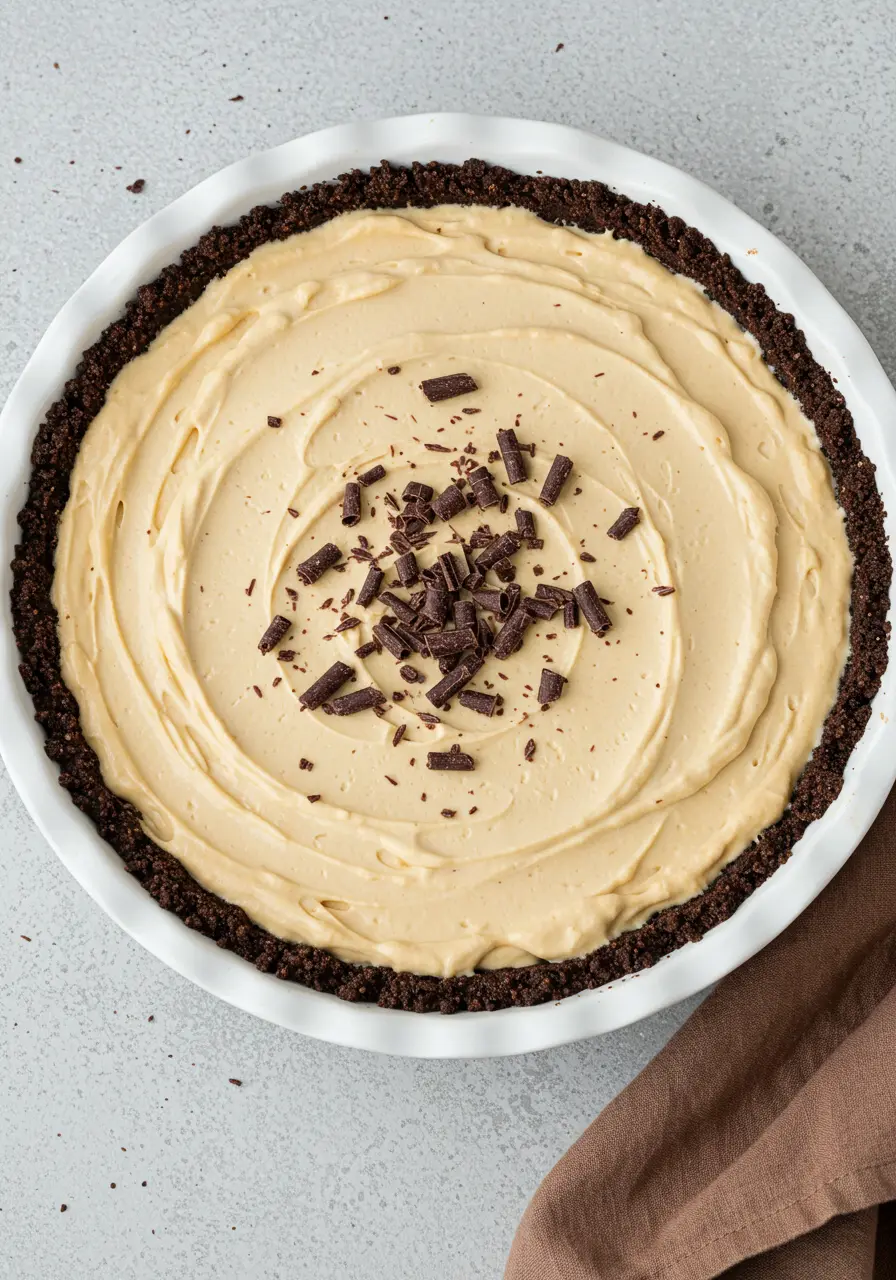
Spread the peanut butter filling into your chilled crust, smoothing the top. Use an offset spatula or the back of a spoon for that perfect, even layer that looks gorgeous without effort.
Step 7: Chill & Let the Magic Happen
Cover your pie and refrigerate for at least 4 hours, or overnight if you’re a planner. The longer it chills, the better the flavors marry. Trust me, the wait is worth it.
Step 8: The Grand Finale
Sprinkle chocolate shavings over the top for a little extra flair. Feeling fancy? Drizzle a bit of melted chocolate or a pinch of sea salt to really make it shine.
Avoid These Slip-Ups
Skipping the crust chill: It might seem fine to skip the fridge, but a firm crust makes slicing clean and keeps the filling from sliding. Chill the crust while you make the filling, it’s like giving your pie a strong foundation.
Adding sugar too fast: Dumping all the powdered sugar at once can make a mess and leave a gritty texture. Add gradually and mix slowly, your filling will stay silky smooth and evenly sweet.
Using room-temp cream: Cold cream whips better, giving airy, fluffy filling. Tiny trick: Chill your mixing bowl too for extra lift.
Topping Ideas For Your Peanut Butter Pie
- Chopped roasted peanuts – Crunchy, nutty, and classic.
- Mini peanut butter cups – Bite-sized chocolate + peanut butter heaven.
- Drizzle of melted chocolate – Simple, elegant, and extra indulgent.
- Crushed pretzels – Adds a playful sweet-salty crunch.
- Whipped cream swirls – Soft, fluffy clouds on top of creamy pie.
- Caramel drizzle – Sweet, buttery touch for extra depth.
If you’re a peanut butter fan, there’s a whole world of treats waiting for you. From fudgy peanut butter brownies to light and fluffy peanut butter cupcakes, or even a quick and cozy peanut butter mug cake, these little desserts are perfect for sneaking in a moment of indulgence any time of day.
How to Store Your Peanut Butter Pie
Refrigerate, always – Keep your pie covered in the fridge. It stays creamy, firm, and fresh for up to 5 days. Wrap it lightly with plastic wrap or use a pie dome to prevent fridge odors sneaking in.
Slice before freezing – If you want to freeze, cut into portions first. Why: Easier to grab a slice without thawing the whole pie.
Freeze for long-term – Wrap slices tightly in plastic wrap and foil, then freeze for up to 2 months. Let slices thaw in the fridge for a few hours before serving to keep the filling silky.

The Easiest No-Bake Peanut Butter Pie Ever
Ingredients
- 25 whole Oreo cookies finely pulsed
- ½ cup melted salted butter
- 1 ½ cup smooth peanut butter
- 16 oz cream cheese softened
- 1 teaspoon pure vanilla extract
- 1 ½ cup powdered sugar sifted
- 1 ½ cup heavy whipping cream high fat
- Chocolate shavings for topping
Instructions
- Start by mixing the pulsed Oreo cookies with the melted salted butter until every crumb is coated and smelling irresistible. Press the mixture firmly into the bottom and slightly up the sides of your pie dish, using the bottom of a glass works great to get a smooth, even crust. Put it in the fridge while you make the filling.
- In a large bowl, beat the cream cheese until it’s completely smooth and creamy, scraping the sides a couple of times to make sure there are no lumps hiding in there. Add the smooth peanut butter and the vanilla extract, and mix until everything is combined into a silky, nutty filling.
- Gradually add the powdered sugar while mixing on low so the filling stays smooth and creamy. Then pour in the cold heavy whipping cream, starting on low speed until it’s just blended, and then whip on high until the mixture becomes light, fluffy, and holds soft peaks. Be careful not to over-whip.
- Spoon the fluffy peanut butter mixture into the chilled crust and smooth the top with a spatula or the back of a spoon for an even, polished layer. Cover the pie and refrigerate for at least four hours, or overnight if you can wait, the flavors really come together the longer it chills.
- Before serving, sprinkle chopped peanuts or chocolate shavings on top for a bit of crunch and extra flair. For a little finishing touch, drizzle melted chocolate or add a pinch of sea salt to make every bite pop with flavor.
Notes
- If your peanut butter is super thick, warm it slightly in the microwave for a few seconds so it blends smoothly with the cream cheese.
- If your crust feels a bit crumbly after chilling, press it gently again with a glass before adding the filling, it helps everything hold together.