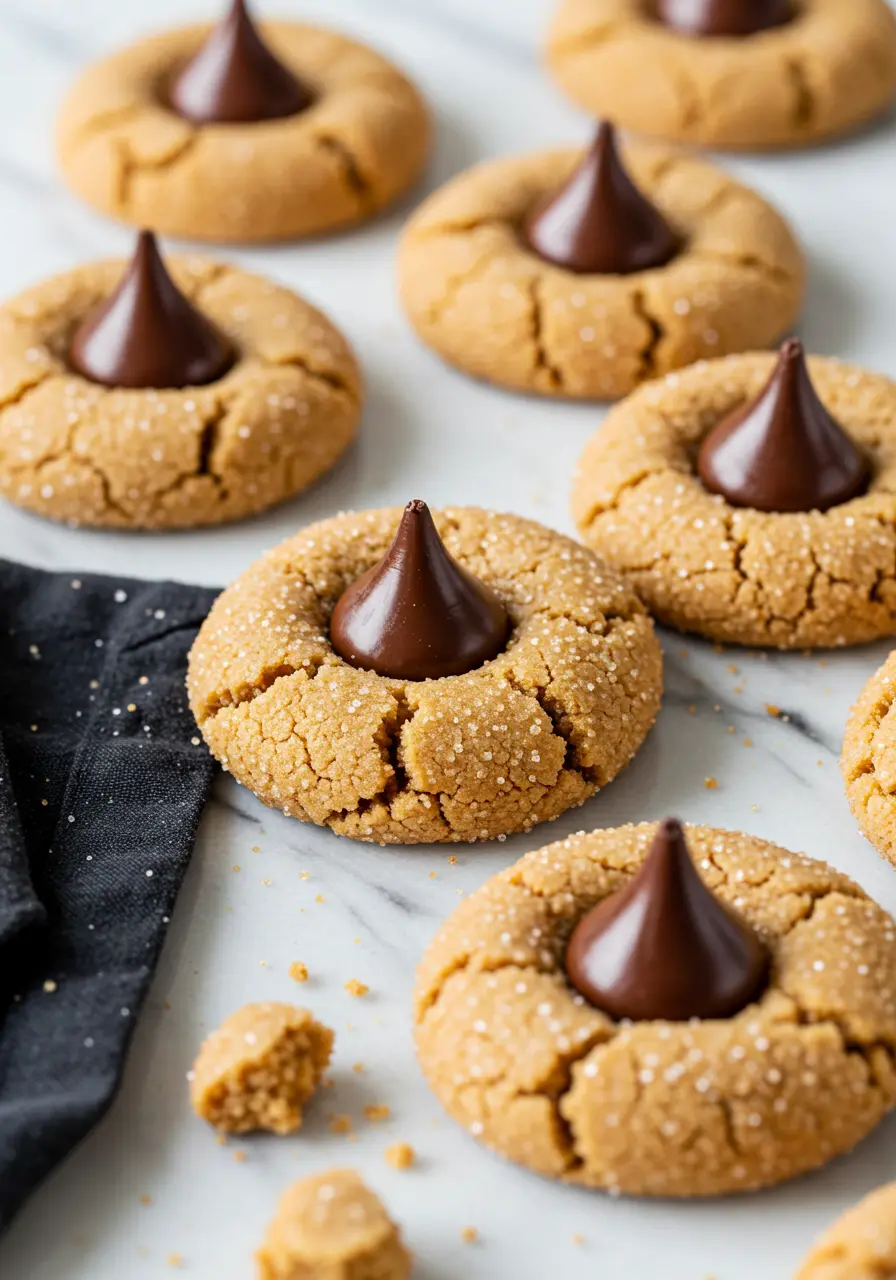
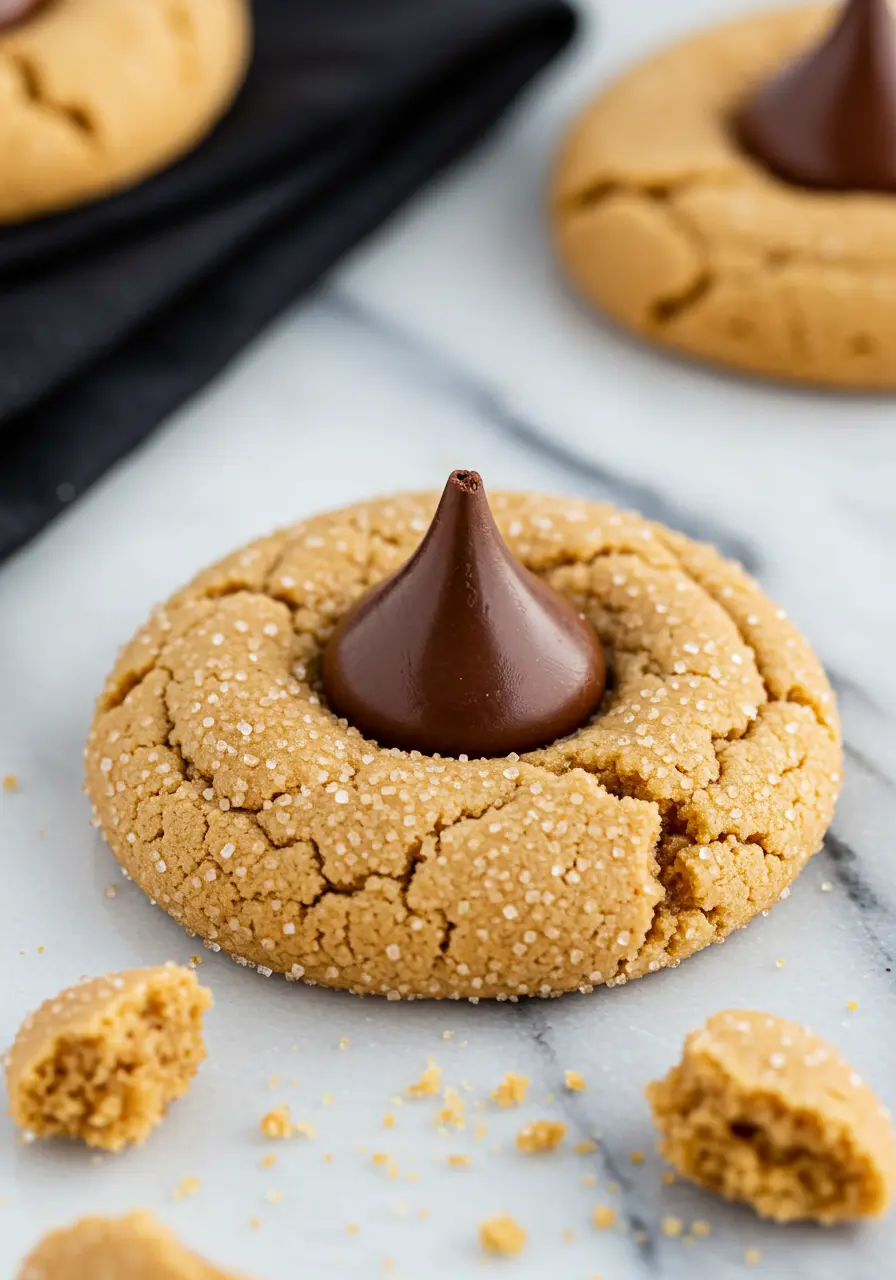
You know those cookies that disappear from the plate before you’ve even had a chance to sit down? Yep, that’s what Peanut Butter Blossoms do. They’re the cookies people hover around in the kitchen for, waiting for them to cool just enough so they can grab one. There’s something about that sugar-dusted peanut butter base and the little chocolate kiss in the center that feels playful, nostalgic, and honestly… kind of magical.
The best part? You don’t need to be a “perfect baker” to pull them off. These cookies forgive, they flatter, and they always deliver. If you’ve got peanut butter in the pantry and a bag of chocolate kisses, you’re halfway there already. Let’s make a batch that’ll make your kitchen smell like pure happiness.
Why These Peanut Butter Blossoms Are a Must-Bake
They’re sneaky show-offs. Everyone thinks they’re fancy, but really, you just roll, bake, and press on a chocolate kiss. Instant applause.
Kid-approved and adult-adored. Little hands love unwrapping the chocolates, and grown-ups? They’ll fight you for the last one.
They double as gifts. Wrap a few in a cute bag and suddenly you’re “that amazing friend” everyone wants around the holidays.
They’re almost impossible to mess up. Even if your mixing gets a little messy, the cookies still turn out soft, chewy, and irresistible.
Ingredients You’ll Need
- Salted Butter: I recommend using softened butter for a creamy base that blends easily with peanut butter.
- Creamy Peanut Butter: It’s best if you use a smooth variety so the cookies stay soft and perfectly nutty.
- Dark Brown Sugar: Adds chewiness and a subtle caramel flavor; always lightly packed for the right texture.
- Granulated Sugar: Helps the cookies hold their shape and gives a nice sweetness that balances the peanut butter.
- Large Egg: I recommend room temperature eggs to help everything mix smoothly and keep the cookies tender.
- Heavy Cream: Adds moisture and makes the dough silky, so it’s easy to scoop and roll.
- Vanilla Extract: Always add pure vanilla if you can, it elevates all the flavors naturally.
- All-Purpose Flour: The structure of the cookie depends on this; I recommend measuring carefully for perfect softness.
- Baking Soda: Helps the cookies spread just right and gives a light, airy texture.
- Hershey’s Chocolate Kisses: It’s best if you press them in right after baking so they melt slightly and stay glossy.
How to Make Peanut Butter Blossoms
Step 1: Get the Dry Stuff Ready
First things first, whisk together your all-purpose flour and baking soda in a medium bowl. Think of this mixture as the foundation of the cookies; be sure it’s smooth and evenly combined, with no lumps lurking. Set it aside; it’ll meet the wet ingredients soon enough.
Step 2: Cream Your Buttery Peanut Base
In a big mixing bowl, toss in your salted butter, creamy peanut butter, granulated sugar, and dark brown sugar. Beat it on medium-high until it’s silky, light, and slightly fluffy. You want that dreamy peanut-buttery aroma to fill the kitchen. Scrape down the sides of the bowl halfway through, you’ll get every little bit of buttery goodness mixed evenly.
Step 3: Bring in the Wet Team
Add your egg, heavy cream, and vanilla extract to the buttery mix. Beat gently until fully incorporated. The dough should feel soft and rich, not stiff.
Step 4: Marry Wet and Dry
Lower your mixer speed and gradually add the flour mixture to the wet ingredients. Mix until just combined. The dough should be slightly sticky, not runny, not tough. This is what keeps your cookies chewy and tender.
Step 5: Chill for Magic
Cover the bowl with plastic wrap or transfer the dough to a sealed container. Chill for 2 hours. This step isn’t just about “waiting”, it controls the spread and makes the cookies perfectly soft in the middle with slightly crisp edges.
Step 6: Shape and Sugar-Coat
Preheat your oven to 375°F (190°C) and line two baking sheets with parchment paper. Measure out the dough and roll into 1-inch balls, then coat each one in granulated sugar for a sparkling look and light crunch—if you’re in the mood. Place them 2 inches apart.
Step 7: Bake Round One
Bake the cookies for 7 minutes. You want the edges just set and the centers soft.
After baking, remove the cookies and nestle a Hershey’s Kiss gently into the heart of each. Pop them back in the oven for 2 more minutes so the chocolate softens slightly and hugs the cookie.
Step 9: Cool, Admire, and Devour
Allow the cookies to settle on the baking sheet for 5 minutes before moving them onto a cooling rack to finish setting. The edges should be just firm enough to hold, while the centers stay soft and chewy.

Mistakes to Avoid When Making Peanut Butter Blossoms
Skipping the chill: I know, waiting is hard. But chilling the dough is key, it keeps the cookies from spreading too much and keeps them soft in the middle. Even 30 minutes is better than nothing!
Overmixing the dough: Mix until combined, then stop. Overmixing can make the cookies dense and less tender. Treat your dough gently, it deserves it.
Adding the chocolate too soon: Press the Hershey’s kiss only after the first bake. Adding it too early can make it melt flat or burn. Timing is everything!
Skipping the cooling step: A short rest on the pan is worth it; those few minutes let the cookies set properly and keep them from falling apart when lifted.
Ignoring ingredient temperature: Room temperature eggs, softened butter, and slightly warmed peanut butter all make your life easier and your dough smoother.
Perfect Pairings for Peanut Butter Blossoms
- Warm Milk with a Cinnamon Stick – They bring a cozy charm, the kind that feels like sipping warmth straight from a mug.
- Salted Caramel Drizzle – Pour over a few cookies or on vanilla ice cream for a sweet-salty twist.
- Hot Chocolate – Chocolate-on-chocolate vibes… because why not indulge?
- Nutty Snack Board – Pair with almonds, cashews, or even peanut clusters for a crunchy combo.
- Espresso or Mocha – That nutty, chocolatey cookie flavor pairs beautifully with coffee notes.
Storing Your Peanut Butter Blossoms
Room Temperature – Keep in an airtight container for up to 5 days.
Refrigerator – Store in an airtight container for up to 2 weeks. Great if you like a slightly firmer cookie and a cool chocolate kiss.
Freezer – Freeze unbaked dough balls or baked cookies for up to 3 months. Bake or thaw as needed for a “freshly made” experience anytime.
Reheat – Warm slightly in the microwave for 10–15 seconds to bring back that soft, just-baked feel. Perfect for cozy snack cravings.
FAQs
Why do my Peanut Butter Blossoms fall apart?
This usually happens when the dough isn’t holding together properly. I recommend making sure your butter and peanut butter are well-creamed with the sugars, that’s what binds the dough. Also, be gentle when pressing the Hershey’s kiss on top.
Can I swap the Hershey’s Kisses for another chocolate?
Yes! You can experiment with dark, caramel, or flavored chocolate kisses. Just press them in after the first bake so the chocolate melts slightly but doesn’t completely flatten.
Other Treats to Make
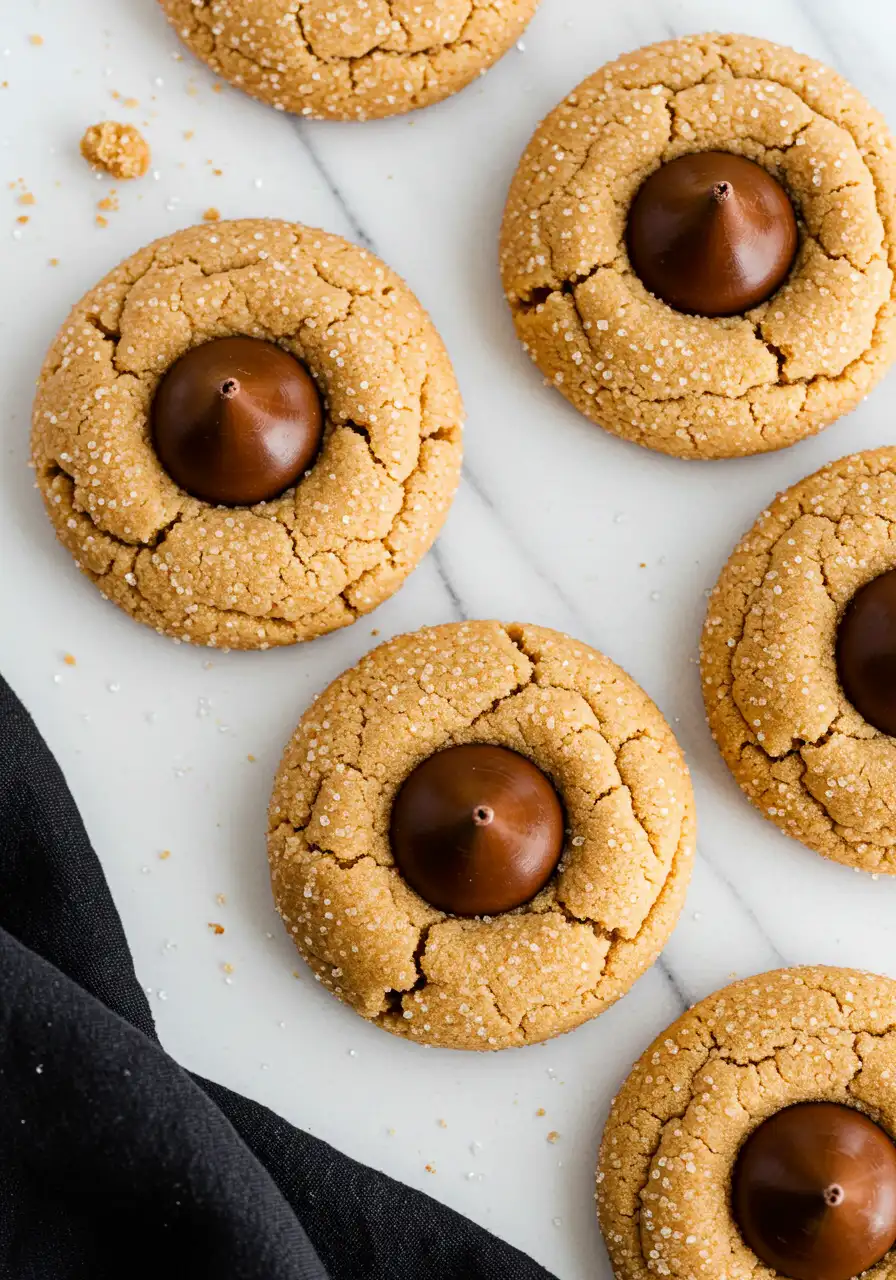
Chewy Peanut Butter Blossoms You’ll Love
Ingredients
- ½ cup salted butter softened
- ½ cup creamy peanut butter
- ½ cup dark brown sugar lightly packed
- ½ cup granulated sugar
- 1 large egg room temperature
- 2 tablespoons heavy cream
- 1 ½ teaspoons pure vanilla extract
- 1 ¾ cups all-purpose flour
- 1 teaspoon baking soda
- 11 ounces Hershey’s chocolate Kisses
Instructions
- Start by combining the all-purpose flour and baking soda in a medium bowl. Stir until the mixture is uniform and smooth—no clumps hiding here! This is the foundation of your cookies, so mix thoroughly, then let it rest until needed.
- In a large bowl, add the salted butter, creamy peanut butter, granulated sugar, and dark brown sugar. Beat on medium-high speed until the mixture is creamy, light, and slightly fluffy. Make sure to scrape down the sides of the bowl so all the buttery bits are evenly mixed in.
- Next, mix in the egg, heavy cream, and vanilla extract. Beat gently until the dough comes together into a smooth, soft, and rich mixture. It should feel silky, not dry or stiff.
- Slowly add in the flour mixture while mixing at low speed, just until fully combined. The dough should be slightly sticky, not too wet, not too dry. This texture is what keeps your cookies soft in the middle and tender on the edges.
- Cover the dough with plastic wrap or transfer it to a sealed container, then chill it for about 2 hours. Chilling isn’t just a “wait step”, it helps the cookies hold their shape while baking and ensures a soft, chewy center with lightly crisp edges.
- Once you’re ready to bake, heat the oven to 375°F (190°C) and prepare two baking sheets by lining them with parchment paper. Scoop out the dough and roll it into roughly 1-inch balls. For a little extra sparkle and crunch, roll them lightly in granulated sugar (this step is optional). Place the dough balls about 2 inches apart so they have room to spread.
- Bake for 7 minutes, just until the edges start to set and the centers are still soft. Remove the cookies from the oven and gently press a Hershey’s chocolate kiss into the center of each one. Pop them back in the oven for 2 more minutes so the chocolate softens.
- Give the cookies a brief 5-minute pause on the baking sheet, then gently shift them to a cooling rack to set. Enjoy.
Notes
- Rolling the dough in sugar is optional, but it gives a little sparkle and crunch that makes the cookies feel extra special.
- Swap heavy cream for milk if that’s what you have; the cookies will still come out soft and delicious.
- If your peanut butter is super thick, warm it in the microwave for 10–15 seconds so it blends easier.