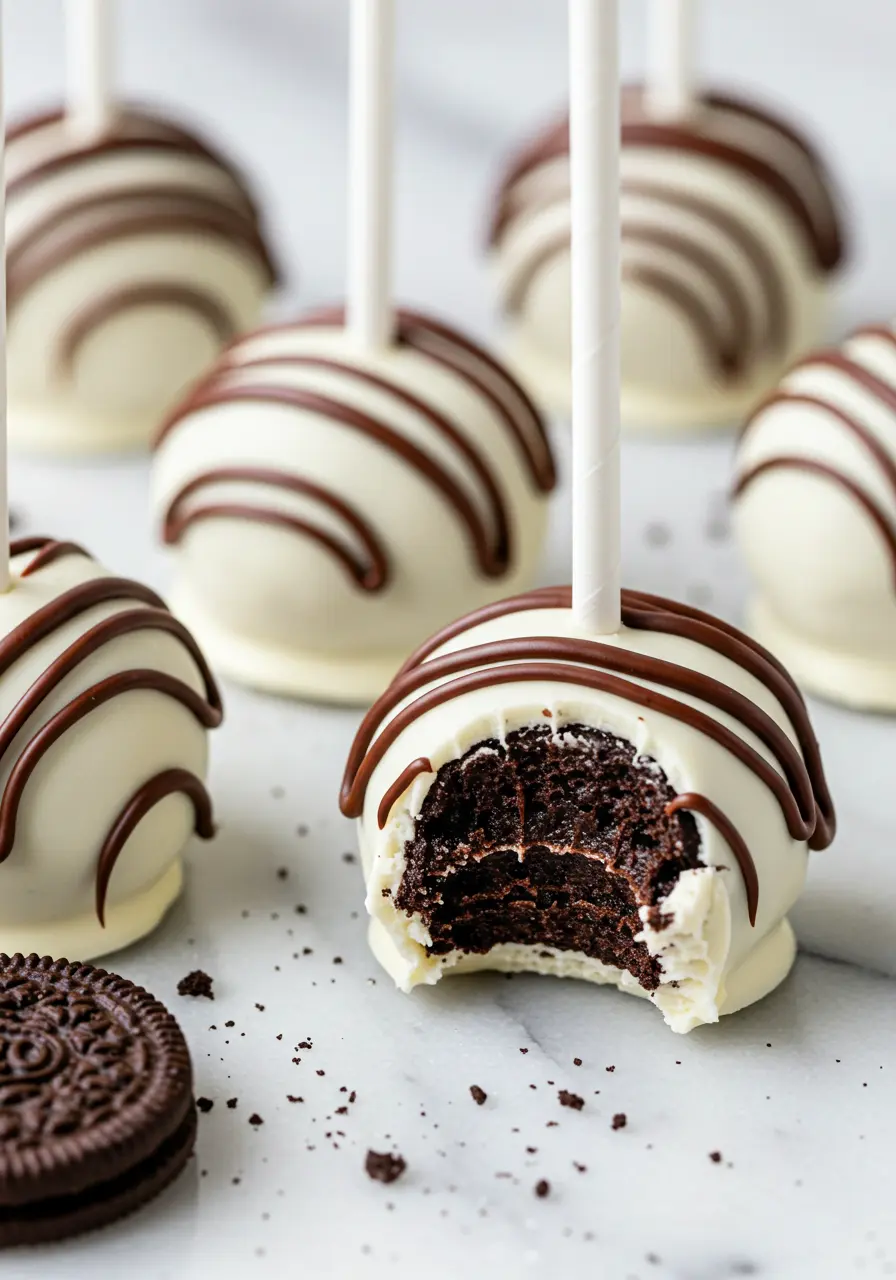
Alright, let’s get real for a second, who doesn’t love Oreos? Now imagine taking those crunchy, chocolatey classics and transforming them into little pops of pure joy that melt in your mouth. That’s exactly what these Oreo Cake Pops are all about.
But here’s the kicker, they’re No Bake Oreo Cake Pops, which means zero oven time and zero fuss. Just a few simple steps, a little bit of mixing, rolling, and dipping, and bam, you’ve got yourself an irresistible treat that looks way fancier than it actually is.
Whether you’re a baking newbie or a dessert pro, these cake pops are the kind of recipe that makes you feel like a magician in the kitchen. So, grab your Oreos, your cream cheese, and your favorite dipping chocolate, because we’re about to turn snack time into party time, with barely any effort at all.
What’s Awesome About Oreo Cake Pops
Snack-sized happiness: These pops are the perfect little bites of joy, making it super easy to satisfy your sweet tooth without going overboard.
Party trick level: expert: Impress friends and family with a dessert that looks fancy but feels like a fun secret only you know. Watch their jaws drop when you say, “No baking required!”
Instant conversation starters: Everyone’s curious about these cute little bites, making them the perfect icebreaker at parties or gatherings.
Surprise ingredient magic: Using crushed Oreos and cream cheese turns these into something unexpected, cake pops that taste like a truffle but way easier to make.
Kids can’t get enough of them: These Oreo Cake Pops are a huge hit with little hands and big smiles.
What are the ingredients in Oreo cake pops?
- Classic Oreos: They bring that perfect crunch and chocolatey flavor that makes these cake pops so irresistible.
- Cream cheese at room temp: You can think of this as the creamy binder that turns Oreo crumbs into a smooth, easy-to-shape mixture. It’s best if it’s softened to mix easily.
- White chocolate chips (or chopped white chocolate bars): Maybe white chocolate isn’t your go-to, but I recommend it here for that sweet, shiny coating that makes these pops look and taste like a treat.
- Coconut oil: I like to add a bit of this to thin out the chocolate coating so it dips smoothly and dries with a nice gloss, plus, it makes your cake pops look super professional.
How to Make Oreo Cake Pops
Step 1: Crush those Oreos into chocolatey dust
Toss your classic Oreos into a food processor and pulse them until they’re nothing but fine, even crumbs. Not chunky. Not halfway crushed. We’re talking full-on Oreo sand.
No processor? No problem. You can totally seal them in a zip bag and go to town with a rolling pin.
Step 2: Mix in the cream cheese magic
Add your room-temp cream cheese to the crushed cookies. I usually just pulse it a few times in the food processor until the mixture looks smooth, rich, and slightly fudgy.
Doing this by hand? Go for it. A spoon or your fingers will work, just be ready to get a little chocolatey. Worth it.
Step 3: Roll into cozy little cake balls
Scoop out the mixture, about a tablespoon per ball, and roll it gently between your palms until it’s nice and smooth. Don’t stress over perfect circles here. These are handmade and meant to be a little rustic. That’s the charm.
Pro tip from me: if the mix feels too soft, pop it in the fridge for 10 minutes, it’ll roll like a dream.
Step 4: Freeze to firm them up
Place your cake balls on a baking sheet lined with parchment (or honestly, whatever flat tray fits in your freezer), and chill them for about 10-20 minutes. Just enough time for them to hold their shape when we add the sticks.
Step 5: Stick them (but not too deep!)
Melt a little bit of white chocolate, just a spoonful. Dip the tip of each stick into it before inserting halfway into each chilled cake ball.
Why this extra step? Because it acts like edible glue and keeps the pop from sliding off later.
Once they’re all “stuck,” I like to chill them for a few minutes, just to lock everything in place.
Step 6: Melt and prep your coating
In a microwave-safe bowl, melt your white chocolate chips in short bursts (20 seconds at a time), stirring in between. Once smooth, stir in the coconut oil, this little addition helps the chocolate flow like a dream and gives it a glossy, bakery-style finish.
Step 7: Time for the dip!
Pour the melted chocolate into a small cup or jar (something tall enough to dunk the whole pop). Dip each cake pop straight down, then lift it out slowly. Let the excess drip off naturally.
Step 8: Let them set and snack away
Place your dipped pops upright in a cake pop stand, or even a cup with rice or sugar. Let them set at room temp or pop them in the fridge for a quick chill. Once that coating’s firm, you’re ready to snack.
If you’re loving these no-bake Oreo cake pops, you’ll want to try my no bake cookies too. Easy, tasty, and zero oven needed!
Fun Decoration Ideas
Here’s how to make your Oreo cake pops extra special (and maybe even a little fancy):
- Drizzle of melted dark chocolate: Adds contrast and looks so bakery-style.
- Sprinkle party: Rainbow, pastel, or even crushed freeze-dried berries for a pop of color.
- Crushed Oreo dust: Finish with a layer of delicate Oreo crumb topping to double down on the decadent cookie flavor.
- White chocolate with food coloring: Tint it light pink, blue, or whatever fits your vibe!
- Edible glitter or gold dust: When it’s party time, or you’re just feeling fancy.
Mistakes to Avoid When Making Oreo Cake Pops
Skipping the chill time: I know, it’s tempting to rush, especially when everything smells amazing already. But if the cake balls aren’t cold enough, they’ll fall apart when you dip them.
Not crushing the Oreos enough: You want fine, even crumbs. If they’re too chunky, the mixture won’t come together as smoothly, and shaping will be a pain.
Using cold cream cheese: I recommend using room temp cream cheese. It blends way better and gives you that creamy, fudgy texture we’re after.
Overheating the chocolate: Melt your white chocolate slowly. Short bursts in the microwave (15–20 seconds) and lots of stirring in between is your best friend here. Burnt chocolate is a sad, sad thing.
Dipping too fast or swirling the stick: Don’t swirl! Just dip straight in, then lift gently. Swirling might mess up the coating or even make the pop fall off the stick.
Not thinning your chocolate coating: If you’re using white chocolate chips like I do, a little coconut oil goes a long way. It makes dipping way easier and gives you that smooth, glossy finish.
Frequently Asked Questions
Can I freeze Oreo Cake Pops?
Yep! Just freeze them in a single layer first (so they don’t stick together), then transfer to a sealed container or bag. Allow them to defrost slowly in the refrigerator just before serving. Still super delicious and surprisingly sturdy.
Do Oreo Cake Pops need to be refrigerated?
Yes, especially if your kitchen is usually warm. Because they’re made with cream cheese, it’s best to keep Oreo Cake Pops chilled in the fridge to stay fresh and safe to eat.
Can I use a different type of Oreo?
Absolutely, this is where you can get creative. Try Golden Oreos for a vanilla twist, Mint Oreos for a refreshing flavor, or even seasonal ones like red velvet. Just know that flavored varieties can slightly change the color and consistency, but that’s part of the fun!
More Oreo Recipes I Love

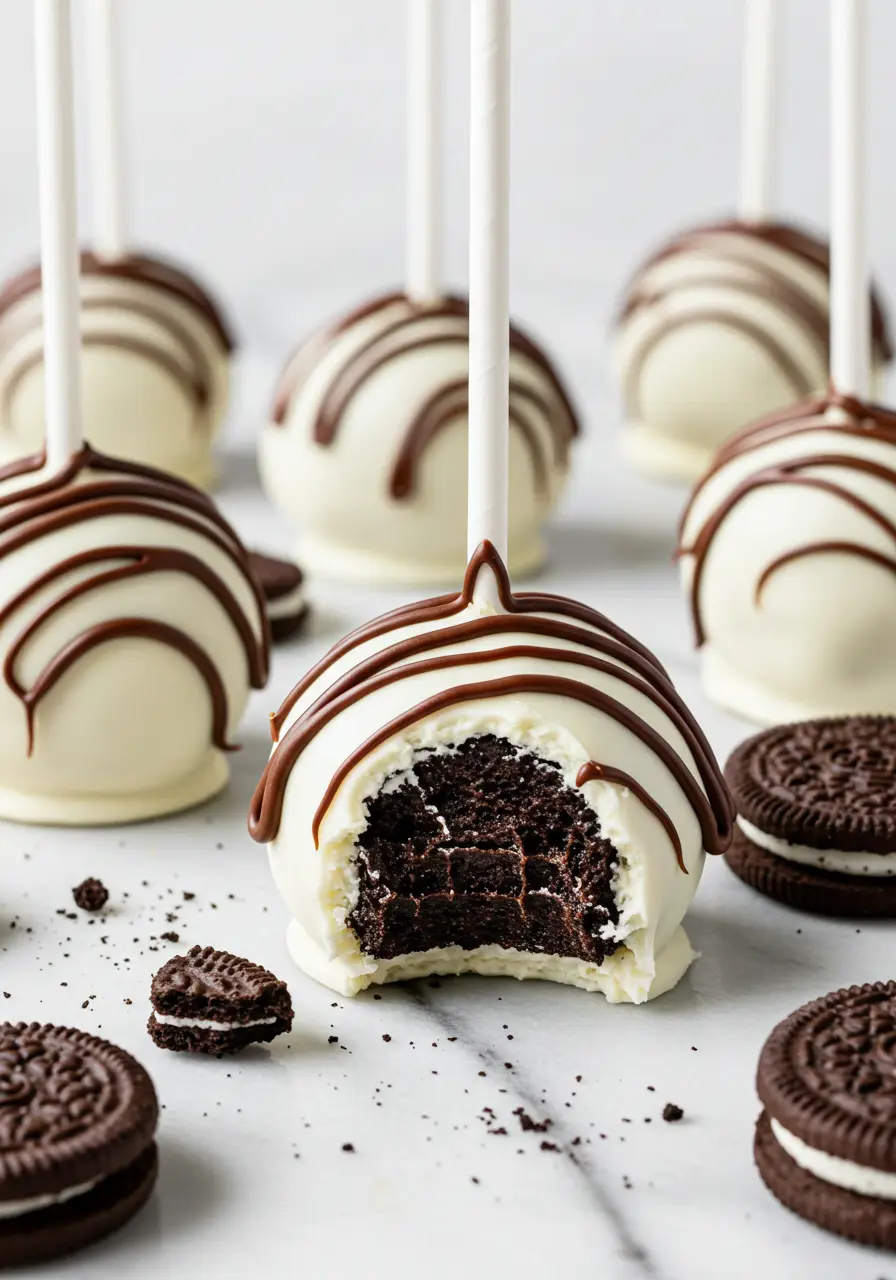
Perfect Oreo Cake Pops for Parties and Snacks
Ingredients
- 24 classic Oreos
- 4 oz cream cheese at room temp
- 2 cups white chocolate chips or chopped white chocolate bars
- 2 teaspoons coconut oil
Instructions
- Start by placing the Oreos into a food processor and blend them until you get fine, even crumbs that almost feel like chocolatey sand. If you don’t have a processor, you can pop them in a zip-top bag and crush them with a rolling pin, it works just as well and is kind of satisfying too.
- Add the softened cream cheese to the crushed Oreos and mix until the texture becomes smooth and fudge-like. You can pulse it in the processor or simply stir everything together in a bowl with a spoon or clean hands. No matter what, the mixture should stick together well.
- Scoop out small portions of the mixture, about a tablespoon each, and roll them gently between your palms to form smooth little balls.
- Place the cake balls on a parchment-lined tray and freeze them for about 15–20 minutes. This helps firm them up so they’ll hold their shape when you add the sticks later on.
- Melt a small spoonful of white chocolate and dip the tip of each cake pop stick into it. Afterward, softly slide the stick into the heart of each chilled cake ball. That tiny bit of melted chocolate will help anchor the stick inside. Once they’re all done, pop them back in the freezer for a few more minutes to set.
- In a microwave-safe bowl, melt the white chocolate chips in short bursts, stirring in between until smooth. Stir in the coconut oil.
- Transfer the melted chocolate to a small jar or cup, something deep enough to fully dip each cake pop. Fully dip each pop into the chocolate, then lift it out and let the extra drip away naturally.
- Stand the dipped cake pops upright in a holder, or even a cup filled with rice or sugar, and let them set completely. You can leave them at room temperature or refrigerate them for a quick chill. After the coating firms up, it’s time to dig in!
Notes
- Got a crack? Just drizzle on a little extra chocolate. No one will know.
- Try flavored extracts. A drop of mint or almond extract in your cream cheese mix can add a fun twist.
- If your chocolate cools and thickens, just warm it gently again instead of forcing the dip.