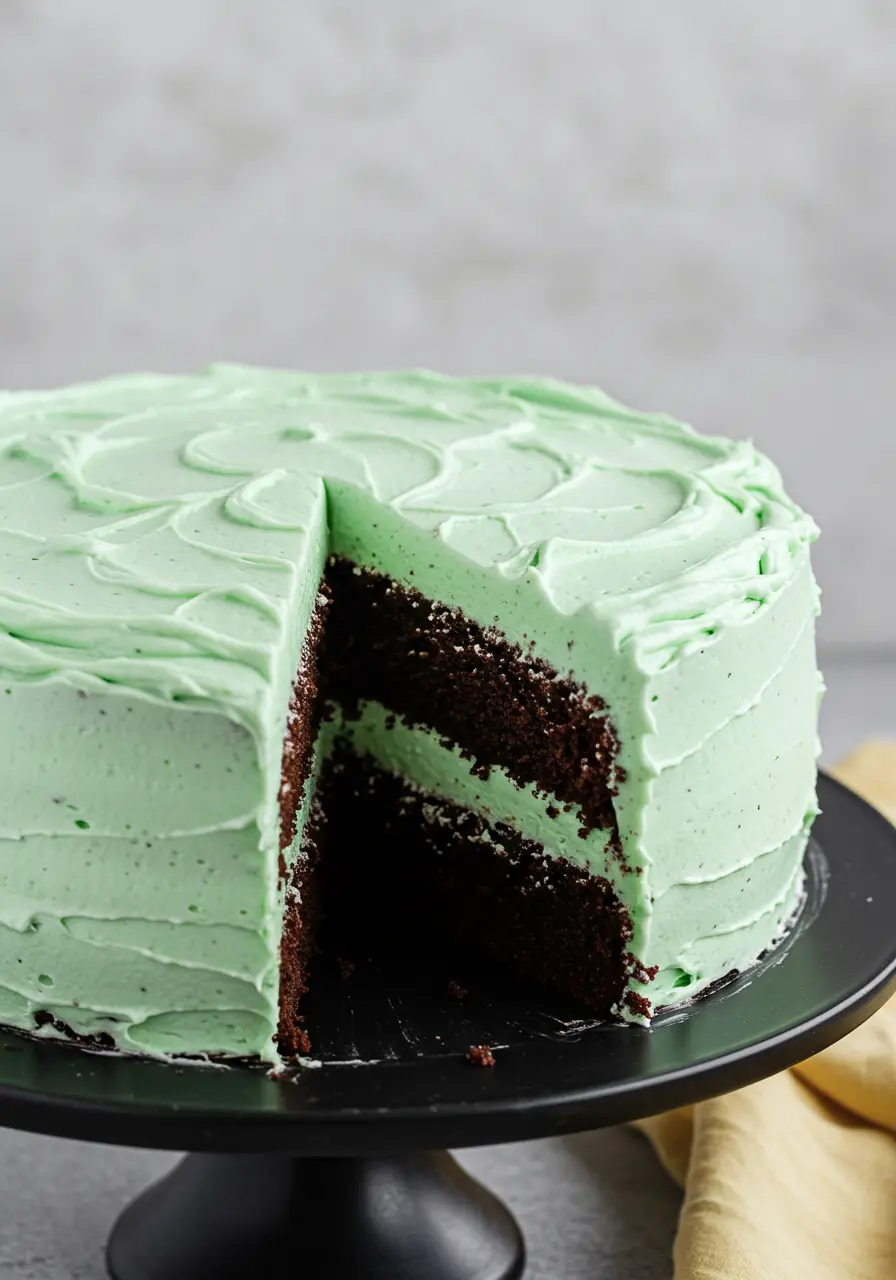
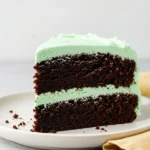
You know that feeling when you take your first bite of something so good it actually makes you pause for a second? That’s what this Mint Chocolate Cake does. It’s the kind of dessert that feels like a deep breath after a long day, cool, chocolatey, and just… happy.
This isn’t one of those overly fancy, intimidating cakes. Nope. It’s the kind of recipe you can make on a Sunday afternoon with music playing and a cup of coffee nearby. The batter comes together easily, the frosting whips up silky smooth, and before you know it, your kitchen smells like a bakery meets a winter breeze.
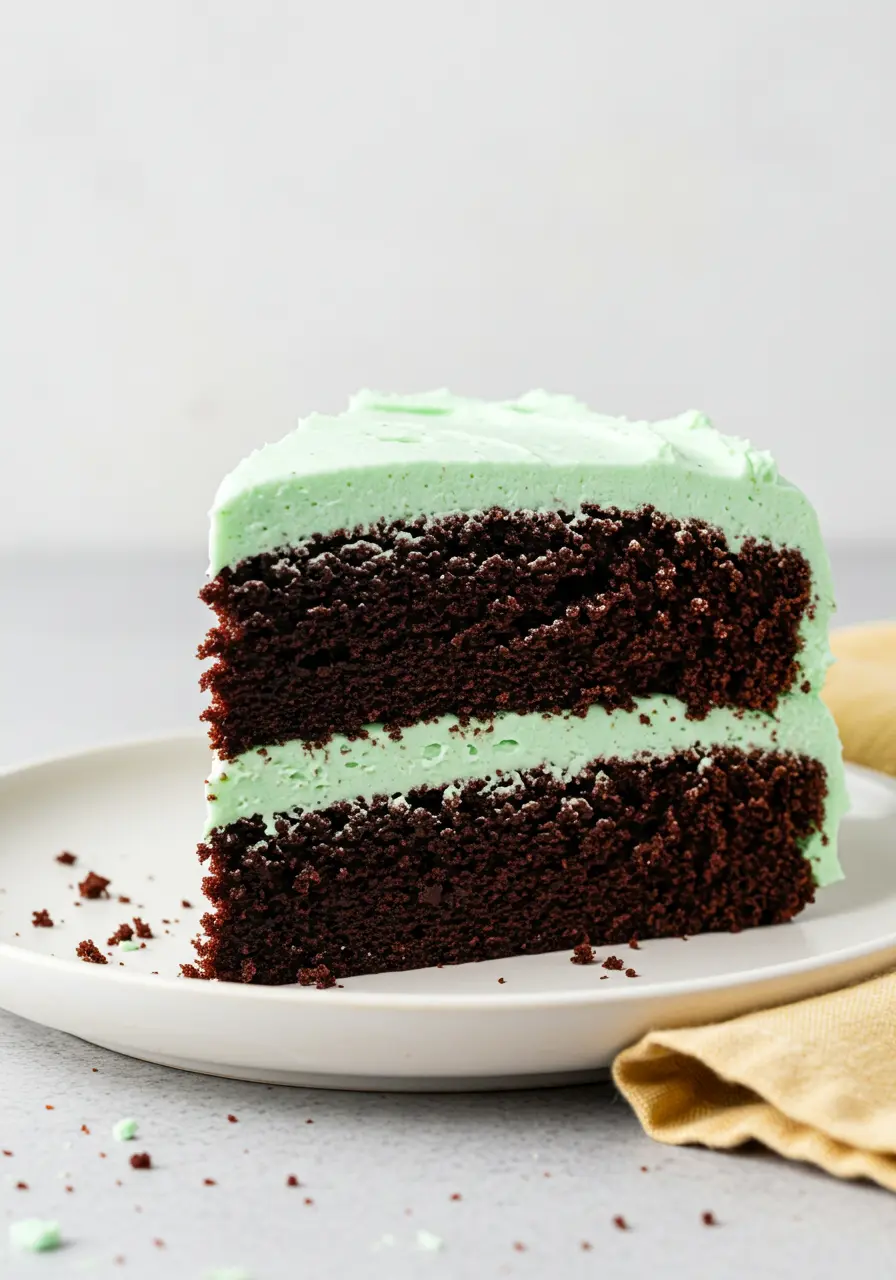
Every slice is rich but refreshing, sweet but balanced, the kind of cake you’ll want to share.
Why This Mint Cake Will Steal Your Heart
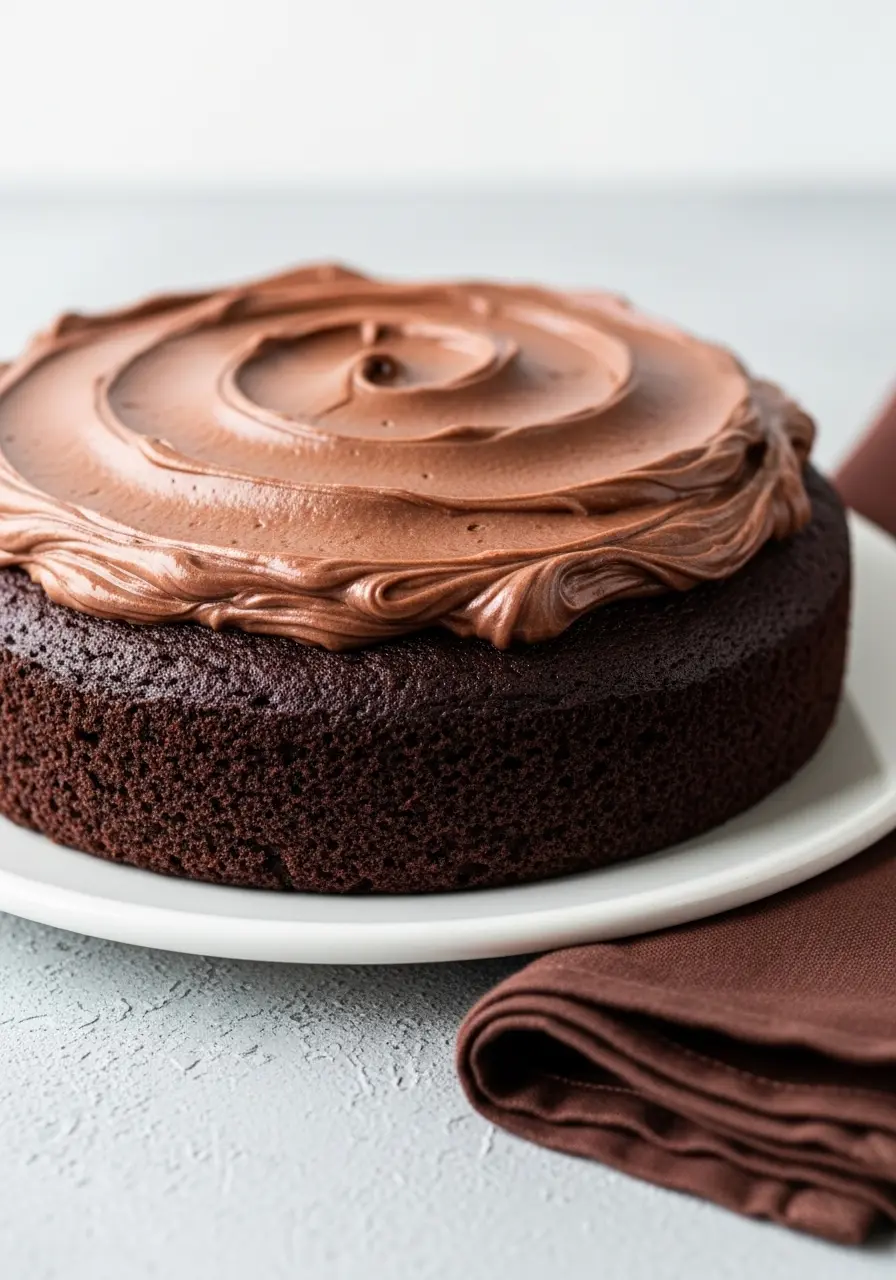
That frosting though… Smooth, buttery, and gently minty, it spreads like a dream and tastes like a cloud of sweetness with a hint of cool freshness.
A flavor combo that never gets old. Mint and chocolate are a duo that just works, refreshing yet cozy, perfect in every season.
It’s a crowd-pleaser every time. Whether it’s a birthday, a dinner party, or just a Tuesday that needs a little sparkle, this cake delivers a serious “wow” without the stress.
The Ingredients You’ll Need
- All-Purpose Flour: Gives the cake structure and a soft, tender crumb.
- Unsweetened Cocoa Powder: Brings rich chocolate flavor without extra sweetness.
- Baking Soda & Baking Powder: The dynamic duo that makes your cake rise light and airy.
- Salt: Enhances flavors and balances the sweetness perfectly.
- Granulated Sugar & Light Brown Sugar: Sweetness and a hint of caramel flavor, plus extra moisture for a cozy bite.
- Eggs: Bind everything together and add richness to the cake.
- Whole Milk: Keeps the cake moist and tender.
- Vegetable Oil: Adds extra moisture while letting the chocolate shine.
- Vanilla & Mint Extracts: Vanilla rounds out the chocolate, and mint brings that refreshing flavor we all love.
- Hot Coffee: Boosts chocolate depth naturally, giving bakery-level flavor.
- Salted Butter & Powdered Sugar: The base for a creamy, smooth frosting that spreads like a dream.
- Milk: Makes the frosting silky and easy to spread.
- Green Food Coloring: Adds a playful, minty color to your frosting.
If you can’t get enough of that chocolate-mint magic, the fudgy, rich layers of my mint brownies are the perfect treat to dive into next.
How to Make Your Mint Chocolate Cake
Step 1: Warm Up & Prep Your Pans
Start by preheating your oven to 350°F (175°C). While it’s warming, butter your two 9-inch cake pans.
Step 2: Whisk the Dry Magic
In a large bowl, toss together your flour, cocoa powder, baking soda, baking powder, salt, granulated sugar, and brown sugar. This is where your cake’s chocolate heart starts to form. A quick whisk ensures every bite is evenly flavored, nobody likes a dry flour pocket hiding in the middle!
Step 3: Combine the Wet Goodness
In a separate bowl, whisk the eggs, whole milk, vegetable oil, and vanilla extract until smooth. Pour this gently into your dry mix and start mixing slowly. Once the ingredients begin to come together, bump the speed up just slightly, but don’t overmix. You want a tender cake, not a workout for the gluten.
Step 4: Coffee for the Win
Now, slowly stir in the hot coffee by hand. This tiny touch makes the chocolate deeper, richer, and more complex, you won’t taste coffee, just an elevated chocolate experience.
Step 5: Batter to Pans & Bake
Divide the batter evenly into your prepared pans. Give the pans a little shake to level the batter, then pop them in the oven. Bake for about 35 minutes, but don’t just set a timer and wander off, ovens differ! Peek a few minutes early if you like, and use the toothpick test: a few moist crumbs are perfect.
Once baked, let them cool for a bit in the pans, then transfer to a wire rack to cool completely.
Step 6: Whip Up That Frosting
While the cakes cool, it’s frosting time. Beat the salted butter with the powdered sugar until light and fluffy, like clouds you can almost sink into.
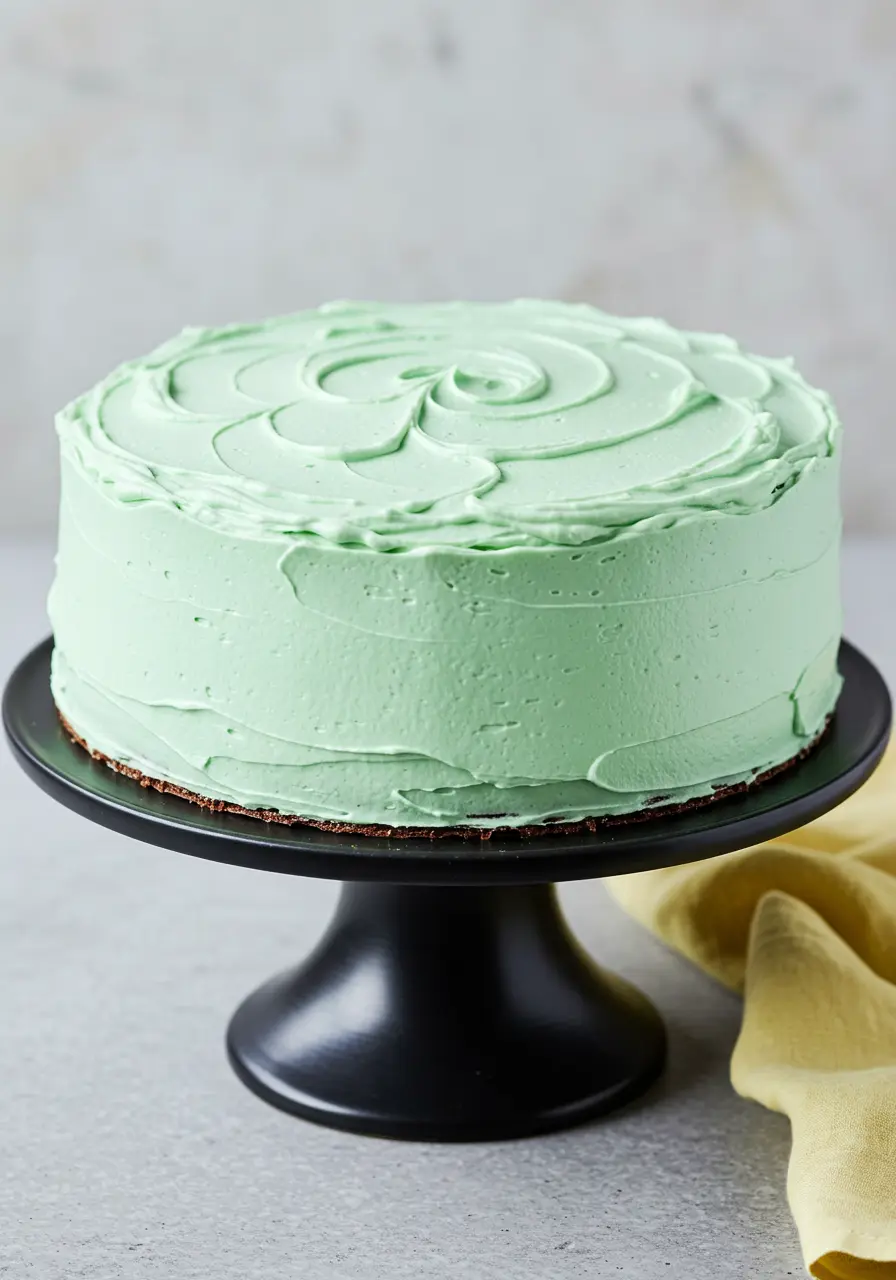
Mix in the mint extract for that refreshing pop, then add the milk one spoonful at a time until your frosting spreads smoothly without sliding off. Add green coloring drop by drop until you get your perfect shade, think soft mint, not neon!
Step 7: Layer & Frost Like a Pro (or Just Have Fun)
Place one cake layer on your plate or cake stand. Spread a generous layer of frosting. Top with the second layer and cover the cake with the remaining frosting.
Use a spatula or the back of a spoon to create gentle swirls or peaks, this makes it look homemade but special, like you actually cared about every slice. Slice and enjoy!
Common Cake Slip-Ups
Overmixing the batter: Too much mixing can make your cake dense and tough. Stop as soon as the ingredients come together, a few tiny lumps are totally okay!
Frosting too early: Don’t frost a warm cake, the frosting will melt into a gooey mess. Patience pays off here: cool your layers completely for a clean, smooth finish.
Going overboard with food coloring: A few drops is all you need. Too much can make the frosting taste weird and turn the color artificial. Slow and steady wins here.
Not measuring ingredients properly: Scooping flour straight from the bag can pack it down, making the cake dense. Spoon it into your measuring cup and level it off, it makes a noticeable difference.
What Goes Perfectly With Mint Chocolate Cake
- A cold glass of milk: Classic, comforting, and perfect for balancing the richness of chocolate and mint.
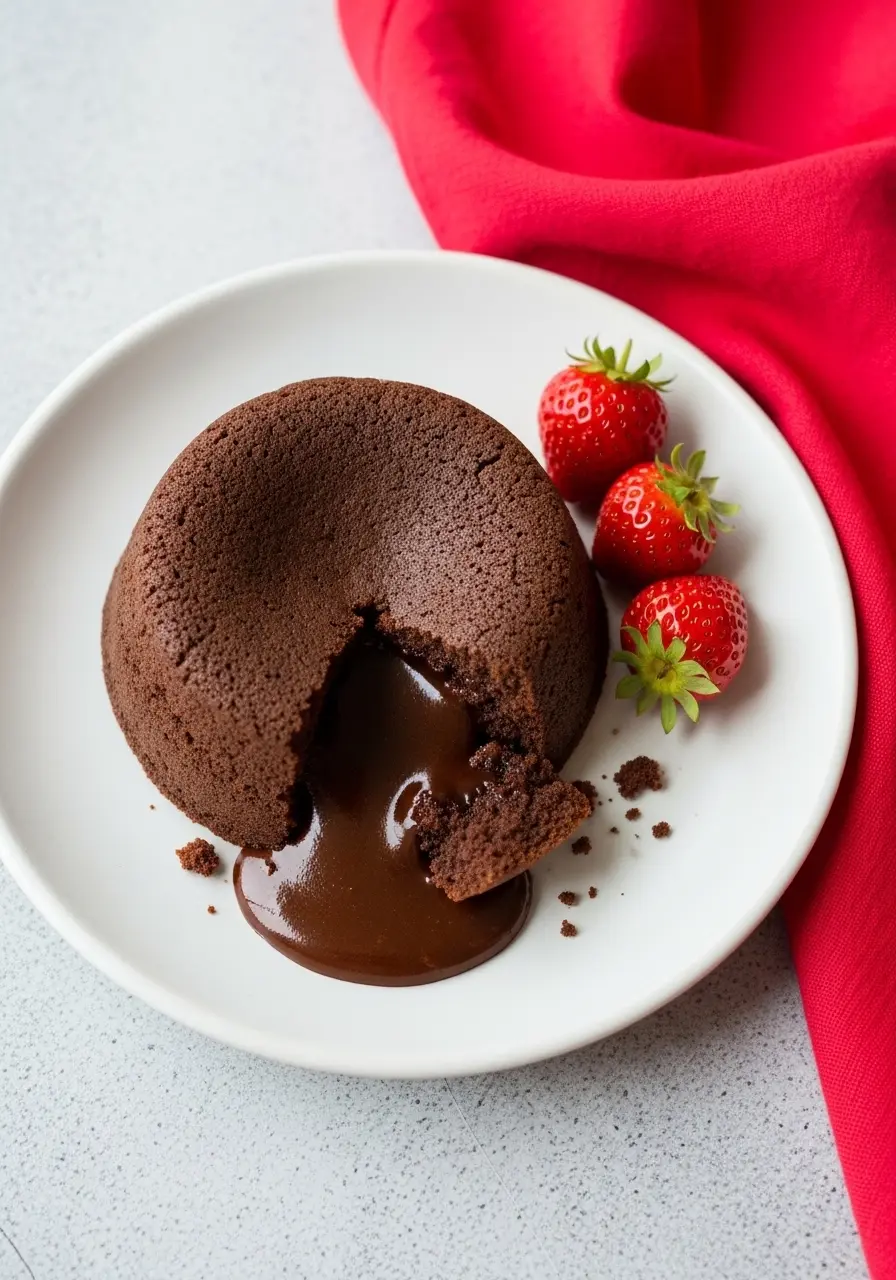
- Fresh berries: Strawberries, raspberries, or blueberries add a juicy, bright contrast.
- Espresso or coffee: Enhances the chocolate depth and pairs beautifully with the cool mint flavor.
- Mint tea: Keeps the minty theme going, but softens the richness for a refreshing combo.
- Chocolate shavings or curls on top: Adds texture and a little wow factor for presentation.
How to Store Your Mint Chocolate Cake
Room Temperature: Keep it in an airtight cake container for up to 2 days. Perfect if you plan to enjoy it quickly, the frosting stays soft, and the cake stays moist.
Refrigerator: Wrap the cake loosely with plastic wrap or store in a sealed container for up to 5 days. This helps the mint flavor stay fresh, and the chocolate layers stay firm without drying out. Tip: Bring slices to room temp for 15–20 minutes before serving, it softens the frosting and enhances flavor.
Freezing: Slice into portions, wrap each piece tightly in plastic wrap, then in foil or a freezer bag. Freeze for up to 2 months.
I can’t wait for you to try this mint cake, it’s cozy, chocolatey, and just the right amount of minty magic. If you give it a go, let me know how it turns out! I’d love to hear your thoughts.
More Cakes to Try Next
Moist & Rich Mint Chocolate Cake
Ingredients
For the Cake
- 1 3/4 cups all purpose flour
- ¾ tsp salt
- 1 teaspoon baking powder
- 2 teaspoons baking soda
- 1 cup unsweetened cocoa powder
- 1 ½ cups granulated sugar
- ½ cup light brown sugar packed
- ½ cup vegetable oil
- 2 large eggs at room temperature
- 1/2 cup vegetable oil
- 1 cup coffee slightly hot
- 1 cup whole milk
- 1 ½ tablespoon vanilla extract
For the Mint Frosting
- 1 1/2 cups salted butter softened
- 5 ½ cups powdered sugar sifted
- 3-5 drops green food coloring
- 1 teaspoon mint extract
- 4-5 tablespoons milk
Instructions
- Start by preheating your oven to 350°F (175°C) and get your two 9-inch cake pans ready.
- In a large mixing bowl of your stand mixer, combine the flour, cocoa powder, baking soda, baking powder, salt, granulated sugar, and brown sugar. Give it a good whisk so everything is evenly mixed.
- In another bowl, whisk together the eggs, whole milk, vegetable oil, and vanilla extract until smooth and glossy. Slowly pour this into the dry ingredients and mix gently at first, then increase the speed just a bit until it’s all combined.
- Next comes the secret touch: slowly fold in the hot coffee by hand. Just a few gentle folds until the batter is smooth and shiny, and you’ll know it’s ready.
- Divide the batter evenly into the prepared pans and give them a little shake so the surface is level.
- Bake for about 35 minutes, but keep an eye on them, ovens can be sneaky. Use a toothpick to check: a few moist crumbs clinging to it means it’s done. Let the cakes cool slightly in the pans, then transfer them to a wire rack to cool completely.
- While the cakes are cooling, it’s frosting time. Beat the salted butter with the powdered sugar until light, fluffy, and dreamy. Stir in the mint extract for that refreshing pop, then add the milk gradually, a spoonful at a time, until your frosting spreads smoothly but isn’t runny. Add green food coloring drop by drop until you hit that perfect minty shade.
- To assemble, place one cake layer on your serving plate and spread a generous layer of frosting on top. Place the second layer over it, then cover the whole cake with the remaining frosting.
- Use a spatula or the back of a spoon to make soft swirls, peaks, or gentle waves, the little imperfections make it look homemade and inviting. Slice, serve, and enjoy each rich, minty, chocolatey bite.
Notes
- If your frosting feels too stiff, a tiny splash of milk will make it silky and easier to spread.
- If your layers are domed in the oven, trim them gently with a serrated knife for a perfectly flat cake.
- Rotate your pans halfway through baking for even layers.
- Remember to let your cake layers rest a few minutes in the pan before removing, it helps prevent cracks.