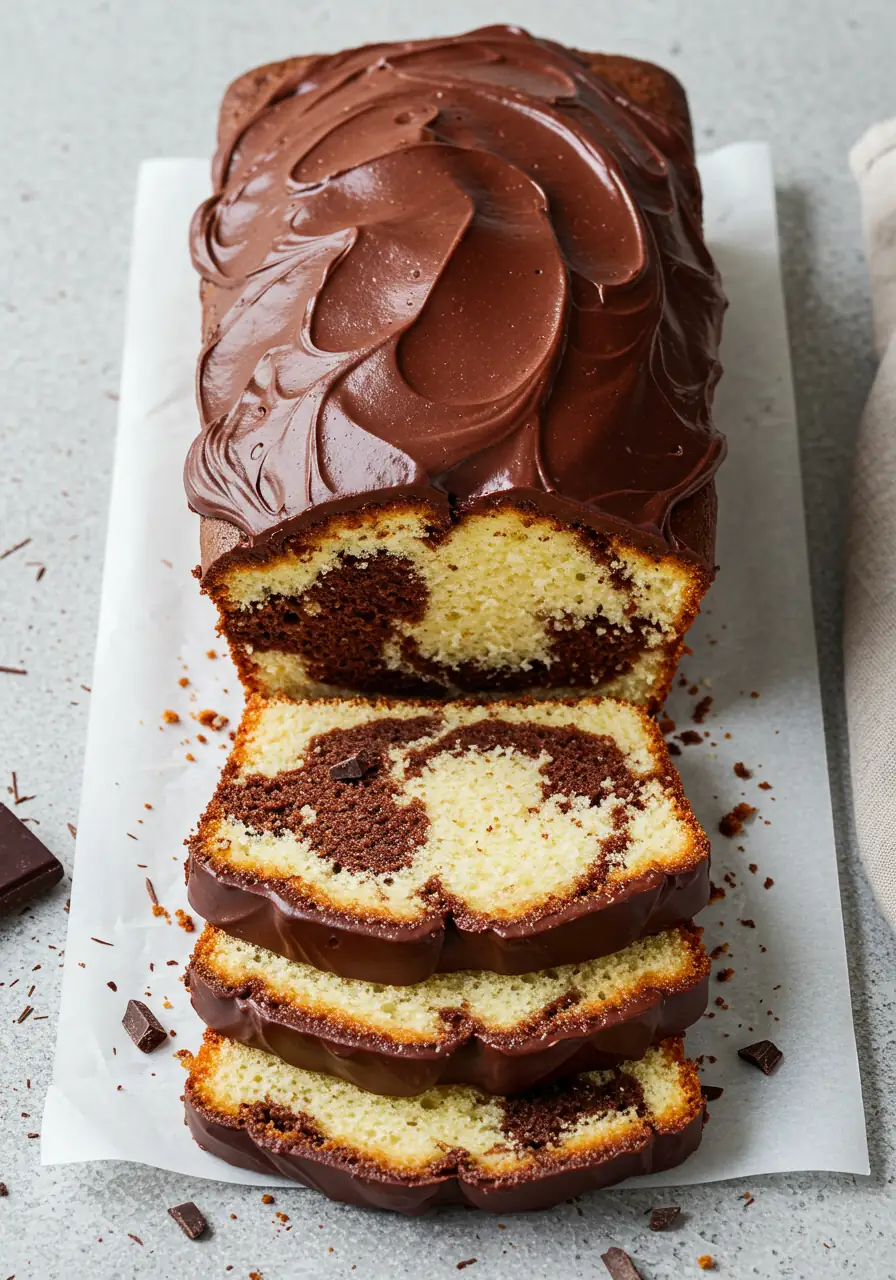
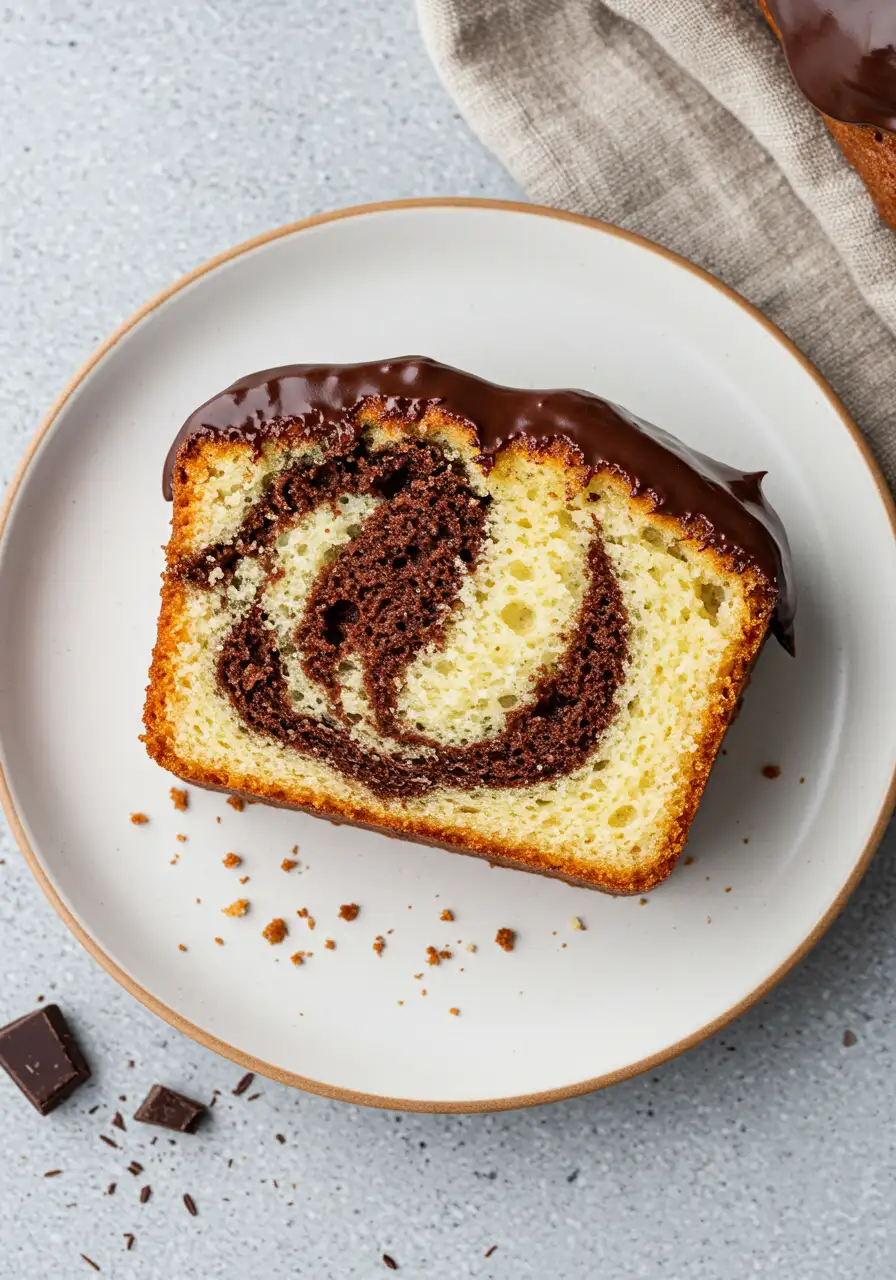
If you’ve ever wanted a cake that gives you the best of both worlds, Marble Cake is exactly it. Imagine tender vanilla layers swirled with rich chocolate ribbons, every slice looks like a little piece of art you can actually eat. It’s the kind of dessert that feels special enough for gatherings, yet simple enough to whip up on a cozy weekend at home.
The best part? You don’t need fancy tools or bakery-level skills to nail it. With a handful of pantry staples and a few clever steps, you’ll get that perfect balance of light, fluffy vanilla and deep chocolate flavor.
This Marble Cake delivers a stunning result that’s as fun to make as it is to slice into.
Why Marble Cake Wins Every Time
Moist + tender crumb – thanks to a mix of oil and butter, this cake stays soft for days (if it even lasts that long).
Beginner-friendly, but looks pro – you’ll be surprised at how easy it is to get those bakery-style marbled layers.
Perfect for any occasion – from a casual coffee break to a birthday table centerpiece, it fits right in.
Guaranteed compliments – let’s be honest, everyone loves a cake that looks fancy but tastes even better.
Built-in crowd pleaser – picky eaters? No problem. Vanilla lovers and chocolate fans can finally agree on dessert.
The Ingredients You’ll Need
- Eggs: Use room-temperature eggs because they help your cake rise evenly and give it a soft, fluffy texture.
- Buttermilk: Adds a gentle tang and keeps the crumb tender.
- Vegetable Oil: Makes the cake super moist without making it heavy, a simple trick to keep it soft for days.
- Melted Butter: For a warm, buttery flavor that pairs beautifully with the chocolate swirl.
- Granulated Sugar: Sweetens evenly and helps the cake hold its structure, always use it for a reliable texture.
- Light Brown Sugar: Adds a hint of caramel flavor and extra moisture, giving your cake a subtle depth you’ll notice in every bite.
- Vanilla Extract: Because it enhances all the flavors and makes the cake smell amazing while baking.
- All-Purpose Flour: This is the backbone of the cake, I recommend spooning it into your measuring cup to avoid a dense texture.
- Baking Powder: The little lift agent that makes your cake light and airy, always make sure it’s fresh for the best results.
- Salt: Just a pinch balances the sweetness.
- Cocoa Powder: To create those rich chocolate swirls that stand out visually and taste amazing.
- Hot Water: It blooms the chocolate and deepens the flavor beautifully.
- Dark Chocolate: The star of your ganache, I recommend using high-quality chocolate for a silky, decadent topping.
- Heavy Cream: Makes the ganache smooth and luscious, slightly warming it first ensures it mixes perfectly with the chocolate.
How to Make Marble Cake
Step 1: Get your space ready
Preheat your oven to 350°F (175°C). Grease a loaf pan and line it with parchment, you can spray the parchment too, just so the cake slides out like magic.
Step 2: Dry ingredients first
In a big bowl, whisk together the flour, baking powder, and salt. I like to give it a little shake with the whisk, it makes sure your baking powder isn’t clumpy and gives the cake an even rise.
Step 3: Wet ingredients next
In another bowl, crack in your eggs, then whisk in the buttermilk, melted butter, vegetable oil, both sugars, and vanilla extract. I recommend mixing just until smooth, overmixing here isn’t fun, it can make your cake a bit tough.
Step 4: Marry the wet and dry
Gently fold the wet ingredients into the dry. Use a spatula and fold slowly, the goal is to get the flour incorporated without beating all the air out. Tip: fold in one direction and rotate the bowl, it makes the batter perfectly combined without overworking it.
Step 5: Make it chocolatey
Take about half the batter and mix it with cocoa powder and hot water. Stir just until smooth, don’t worry if it’s a little lumpy, it will bake beautifully.
Step 6: Layer like an artist
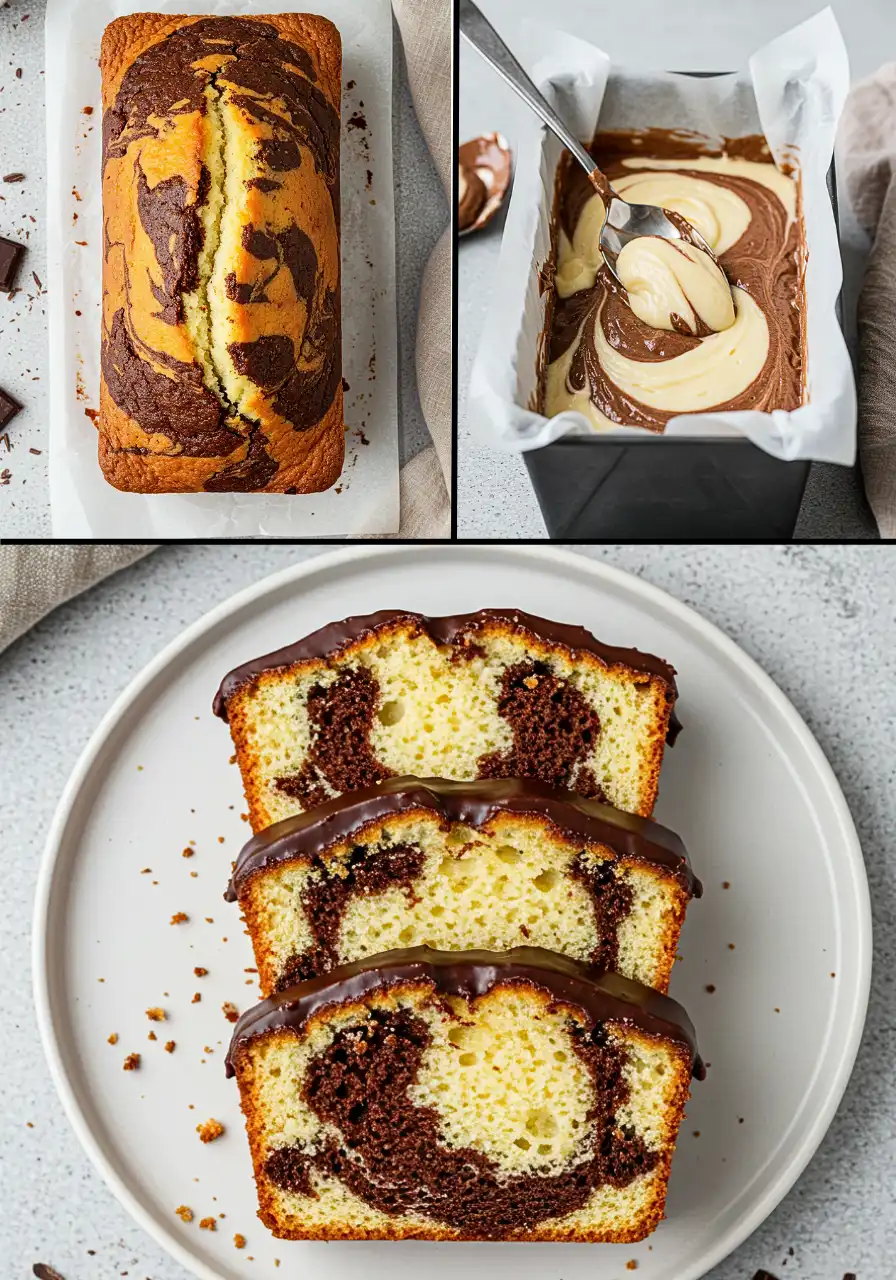
Alternate spoonfuls of vanilla and chocolate batter into your pan. Then grab a butter knife or skewer and swirl gently. My tip: swirl just a few times in different directions, the goal is beautiful ribbons, not a fully blended chocolate mess.
Step 7: Bake with patience
Pop the pan in the middle of the oven and bake for about 55–65 minutes. Peek around 55 minutes, every oven is different. When a toothpick is inserted into the center, it should emerge either clean or carrying only a few tender crumbs.
Step 8: Cooling is key
Let the cake rest in the pan for 10 minutes before lifting it out. Wiggle the parchment gently to loosen the edges, it makes moving it to a cooling rack easier and keeps the top from cracking.
Step 9: Ganache magic
Heat your heavy cream in a small saucepan until just simmering. Pour it over your chopped dark chocolate and let it sit for 4 minutes. Swirl until silky and smooth, then sprinkle in a tiny pinch of salt, it makes the chocolate flavor pop. If your ganache is too runny, let it sit a few 10-15 minutes; it will thicken to the perfect spreadable texture.
Step 10: Dress your cake
Spread the ganache gently over your cooled cake. Cut into generous slices and enjoy. Every swirl is a little reminder that this cake is homemade, special, and made with care, and you nailed it!
What to Serve With Marble Cake
- A steaming cup of coffee or latte – the perfect balance to the sweet, swirly goodness.
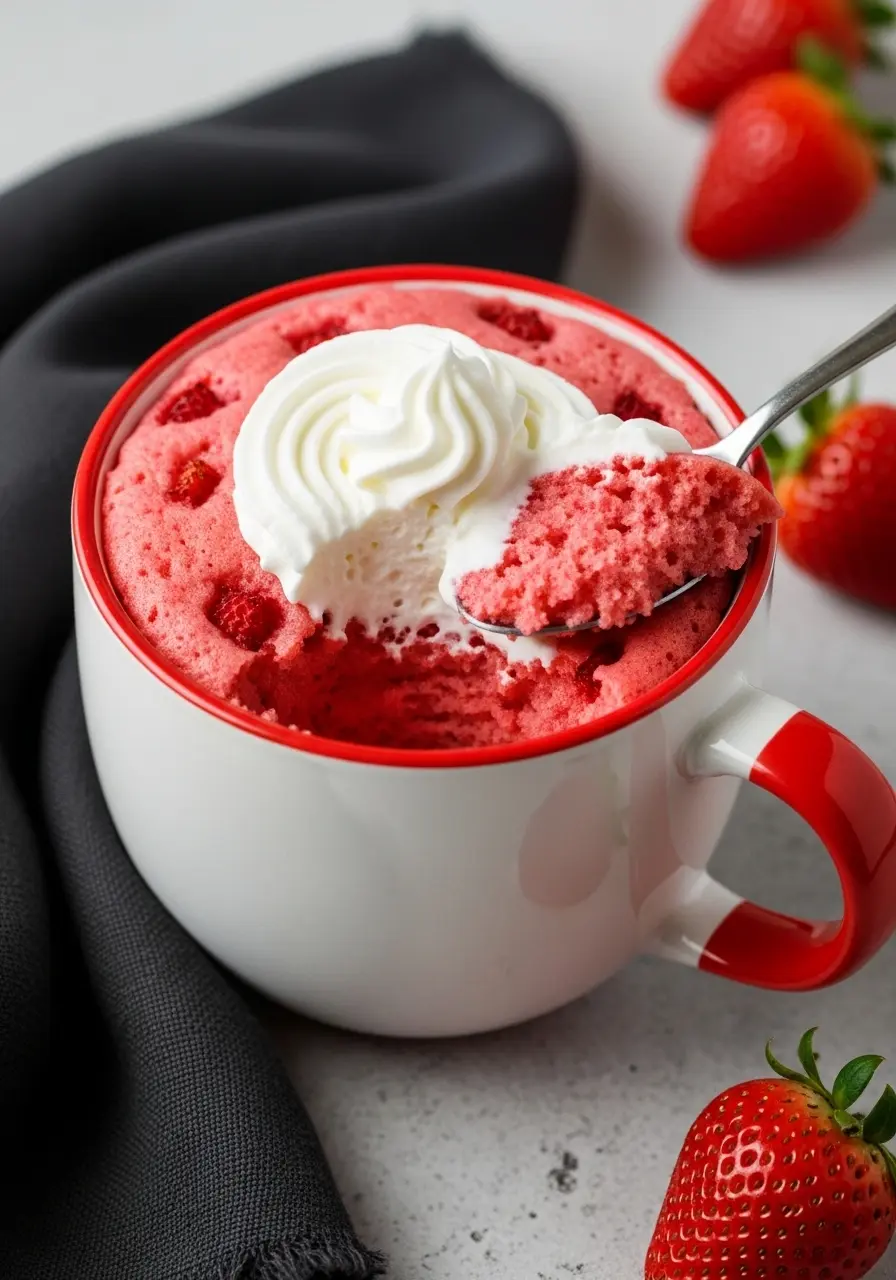
- Whipped cream – adds a light, creamy touch without overpowering the cake.
- Fresh berries – raspberries, strawberries, or blueberries for a pop of color and brightness.
- Vanilla ice cream – the ultimate indulgence for a warm slice.
- Espresso glaze – takes the chocolate swirls to the next level.
- Toasted nuts – sprinkle a few walnuts or pecans for a crunchy contrast.
Try out my carrot cake loaf and discover a slice of cozy, homemade happiness.
Avoid These Slip-Ups
Don’t overmix your batter: Overmixing makes the cake dense, and we want light, tender slices.
Let your eggs chill out first: Cold eggs resist mixing nicely into the batter. Give them a few minutes to come to room temp, it helps everything blend smoothly.
Be gentle with the cocoa: Cocoa can clump if you rush it. I recommend mixing it with hot water slowly so your chocolate swirls stay silky and rich.
Swirl like an artist, not a tornado: Too much swirling and the marble pattern disappears. Just a few soft strokes will give that gorgeous ribbon effect.
Don’t peek too often in the oven: I know it’s tempting, but opening the oven can make your cake sink. Check around the 50-minute mark and then resist the urge.
Parchment is your best friend: Skipping it can lead to a sticky, broken loaf. Grease, line, and you’ll lift it out with ease.
How to Store Marble Cake
- Room temperature, wrapped tight: Keep your cake in an airtight container or wrap it in plastic wrap. I recommend this for up to 2 days, it keeps the cake soft and the swirls vibrant.
- Fridge for longer freshness: Pop the cake in the fridge if you want it to last up to a week. Bring slices to room temp before serving so it’s tender again.
- Freeze for future indulgence: Slice the cake first, then wrap individual pieces in plastic and foil. Freeze for up to 3 months.
I’d love to hear from you! Did you try this Marble Cake? Share how it turned out or any little twists you added.
Other Cakes You’ll Enjoy
Easy And Moist Marble Cake
Ingredients
For the Cake
- 2 large eggs room temperature
- 1 cup buttermilk room temperature
- ¼ cup vegetable oil
- ¼ cup melted butter
- ½ cup granulated sugar
- ¼ cup light brown sugar
- 2 teaspoons vanilla extract
- 2¼ cups all-purpose flour spooned & leveled
- 2 teaspoons baking powder
- 1 teaspoon salt
- ¼ cup cocoa powder
- 2 teaspoons hot water
For the Ganache
- 4 oz dark chocolate chopped
- ½ cup heavy cream
- Pinch of salt
Instructions
- Preheat your oven to 350°F (175°C) and get your loaf pan ready by greasing it and lining it with parchment paper. I like to lightly spray the parchment too, it makes lifting the cake out a total breeze.
- Whisk the flour, baking powder, and salt thoroughly in a large mixing bowl to ensure uniform distribution. Give it a little shake or stir to break up clumps, this step ensures your cake rises evenly and stays light and tender.
- In another bowl, crack in the eggs and whisk in the buttermilk, melted butter, vegetable oil, both sugars, and vanilla extract. Mix until smooth, but don’t overdo it, overmixing can make your cake a bit heavy instead of soft and fluffy.
- Gently fold the wet ingredients into the dry with a spatula. Move slowly and fold in one direction while turning the bowl; this keeps the batter airy and ensures everything is nicely combined.
- Take half of the batter and mix it with the cocoa powder and hot water. Stir gently until smooth, a few tiny lumps are totally fine and add to the cake’s character and richness.
- Alternate spoonfuls of the vanilla and chocolate batters into the prepared loaf pan, creating a layered effect. Use a butter knife or skewer to swirl them together, creating a pretty marbled pattern. Swirl just a few times, you want defined chocolate ribbons, not a muddy mess.
- Bake on the middle rack for about 55–65 minutes, checking around 55 minutes. Stick a toothpick in the middle—if it pulls out clean or with a couple of soft crumbs, you’re good to go.
- Let the cake cool in the pan for about 10 minutes before lifting it out. Gently loosen the edges with the parchment, this makes transferring it to a wire rack smooth and keeps the top looking flawless.
- For the ganache, heat the heavy cream just until it starts to simmer, then pour it over the chopped dark chocolate. Let it sit for a few minutes, then stir until silky and glossy. Sprinkle in a pinch of salt to boost the chocolate flavor. If it feels too runny, give it 10–15 minutes to thicken, it will spread perfectly without sliding off.
- Spread the ganache over the cooled cake with a spatula. Slice generously and enjoy.
Notes
- If your cake cracks on top, don’t worry, it’s normal!
- Let the cake cool completely before slicing for cleaner edges and prettier swirls.
- A quick tap of the pan on the counter before baking helps release trapped air and keeps the cake even.