I still remember the first time I had a brownie that stopped me mid-bite. It wasn’t from a fancy bakery or a trendy café, it was in a school cafeteria.
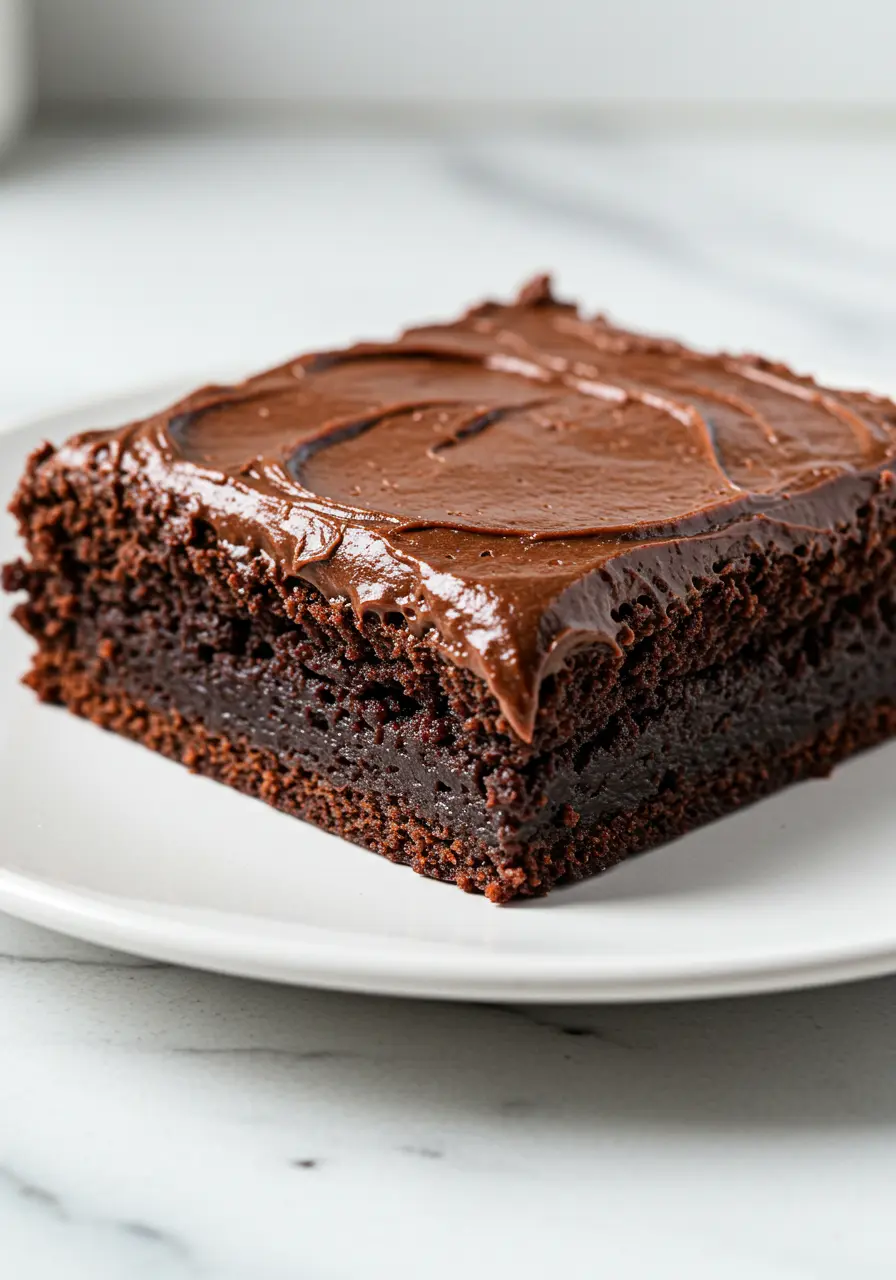
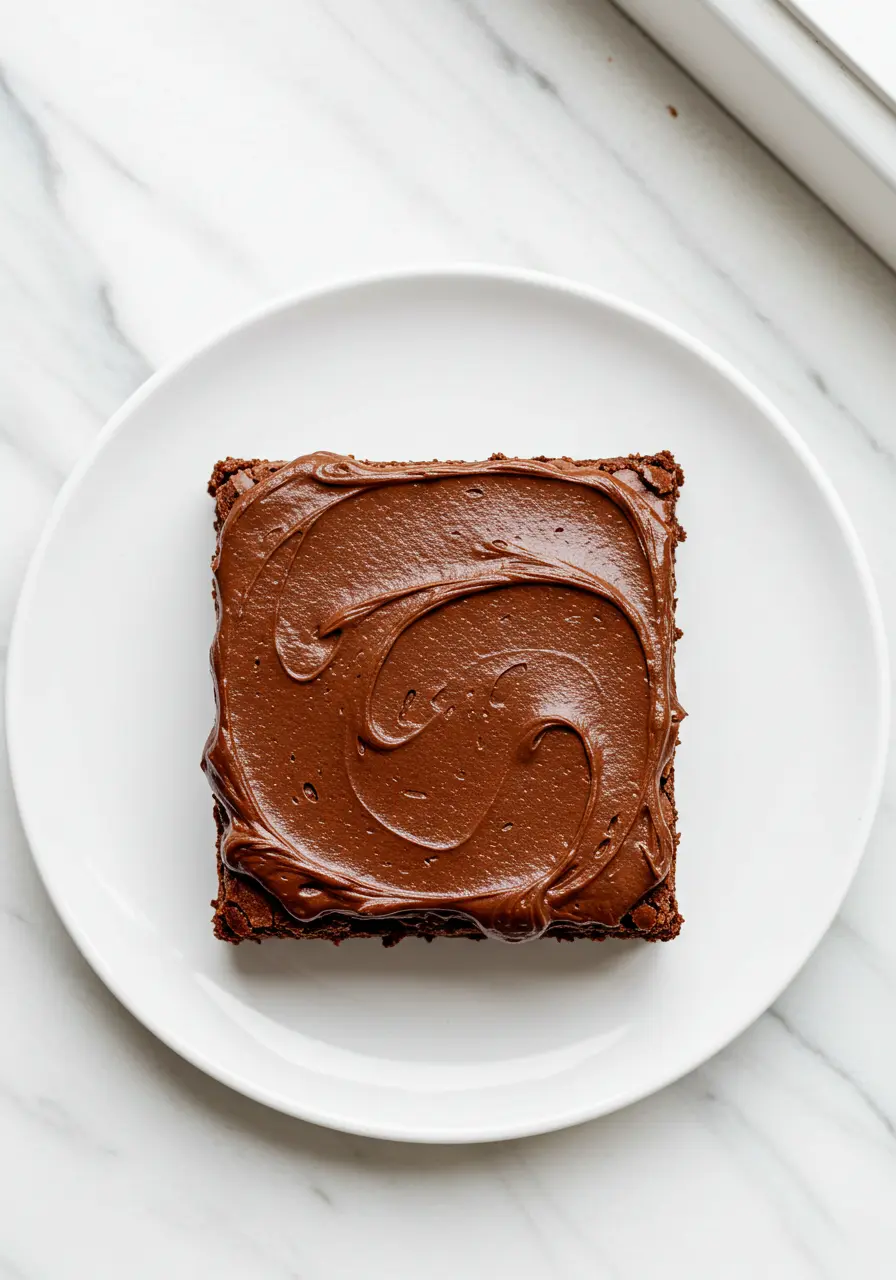
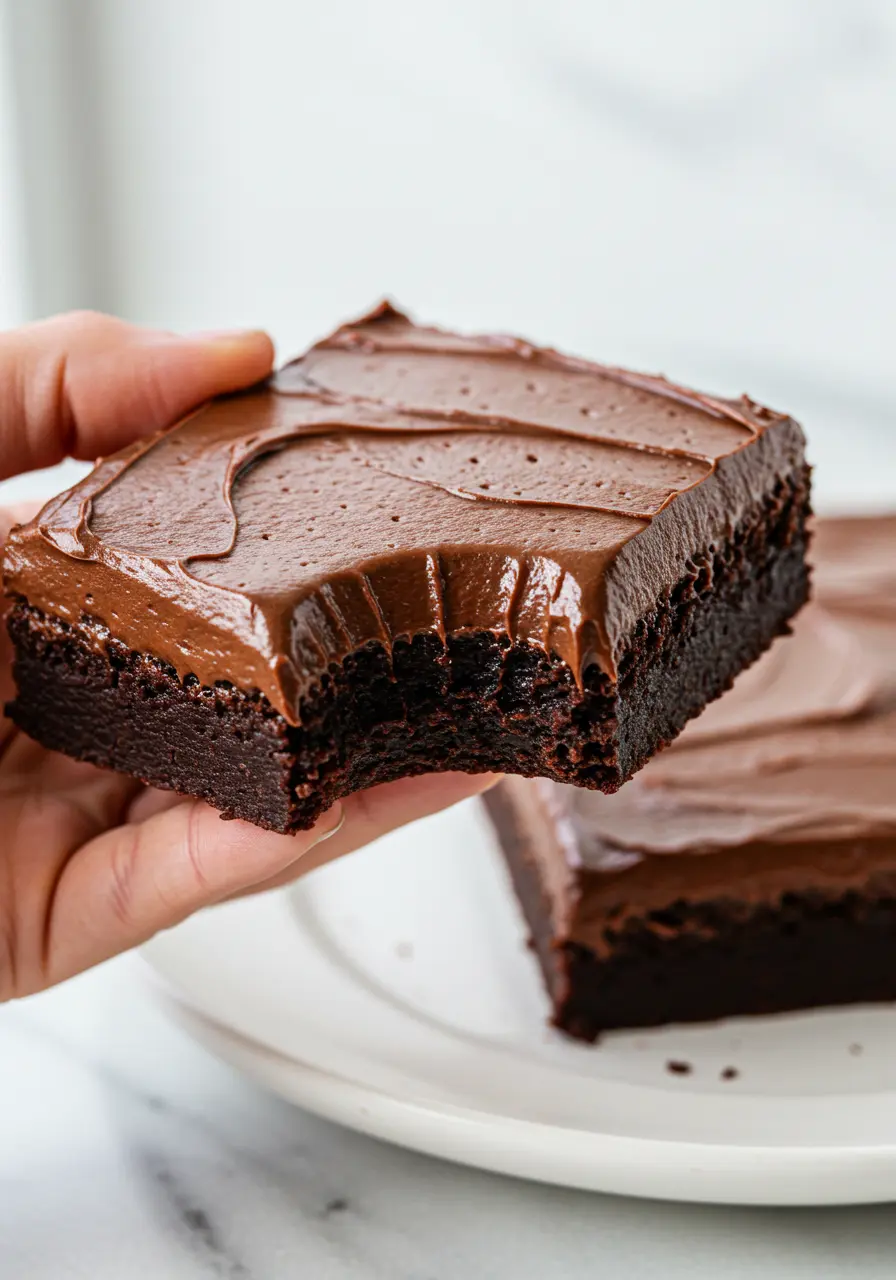
You know the ones: thick, ultra-fudgy, with that shiny chocolate frosting that somehow made the day instantly better. That’s what these Lunch Lady Brownies are all about.
If you grew up on Lunch Lady recipes, this one’s going to feel like a hug from the past. But even if you didn’t, you’re in for a treat. This Lunch Lady brownies recipe brings all the nostalgia, with a few small upgrades to make it even better than you remember.
Why You’ll Love These Lunch Lady Brownies
I’ve seen these brownies stop conversations, spark storytelling, and trigger happy sighs from full-grown adults. They’re not just dessert, they’re a core memory.
Whether it’s a family BBQ, a bake sale, or your next “let’s just hang out” moment, these brownies are the dessert that everyone has to try. They’ll have people asking for the recipe before they even finish their first bite.
Rich, glossy, and a bit indulgent, this frosting doesn’t just sit on top. It sets in that perfect layer that stays glossy and shiny, no dry spots, no crumbly mess, just melt-in-your-mouth goodness.
The Ingredients You’ll Need
- Butter – The base of all things delicious! It creates that indulgent, silky softness in the brownies that simply disappears in your mouth.
- Eggs – The binders that keep everything together while adding a soft, fluffy texture.
- Granulated Sugar – Sweetness, of course! It balances the cocoa and gives the brownies that perfect sweetness.
- Unsweetened Cocoa Powder – The star of the show, delivering rich chocolate flavor that makes these brownies irresistible.
- Pure Vanilla Extract – A hint of warmth that brings all the flavors together and makes them sing.
- All-Purpose Flour – Provides the structure and keeps the brownies from being too soft or too dense.
- Salt – Just a touch of salt deepens the chocolate’s complexity and harmonizes the entire flavor profile.
- Baking Powder – Helps the brownies rise a bit, giving them that perfect fudgy texture.
- Honey (for frosting) – A touch of natural sweetness that helps the frosting stay glossy and smooth.
- Heavy Cream (for frosting) – Gives the frosting a creamy, velvety texture that’s just luxurious.
- Powdered Sugar – Sweetens and thickens the frosting to perfection, making it spreadable and smooth.
How to Make Lunch Lady Brownies
Here’s how to create these fudgy, decadent brownies step by step. No complicated steps here, just pure, chocolatey goodness!
1. Preheat the Oven and Prep the Pan
Before anything else, fire up the oven to 350°F (175°C) to set the stage. Now, grab a 9×13-inch baking pan and line it with parchment paper.
Leave a little extra paper hanging over the sides, trust me, you’ll be thanking me when it’s time to lift out the brownies! If you don’t have parchment, non-stick spray will do just fine.
2. Melt the Butter
Gently melt your butter, whether on the stovetop or in the microwave, until it reaches a smooth, golden finish.
This is the base of the richness and gives that melt-in-your-mouth texture we’re going for. Don’t rush this step, take your time and enjoy that buttery scent filling your kitchen!
3. Whisk Together Butter and Sugar
In a big mixing bowl, whisk together the melted butter and sugar. You want it smooth and creamy, like a cloud of sweet, buttery heaven. Give it a good stir, no lumps allowed!
4. Add Cocoa Powder and Vanilla
Time for the transformative touch: dust in the unsweetened cocoa and infuse with a hint of vanilla extract.
This is where the chocolate flavor really comes to life, so don’t hold back. Whisk it together until it’s silky smooth.
5. Add Eggs and Mix Until Perfect
Crack in your eggs one at a time and whisk them in until the batter is fully combined.
This is the moment where everything starts to come together into that beautiful, thick batter.
You’ve got the cocoa, the butter, the sugar, and now the eggs, yep, it’s all magic in the making.
6. Gently Fold in the Dry Ingredients
Now, fold in the flour, baking powder, and salt. Don’t go too crazy, just mix until everything is just incorporated. We’re keeping the batter thick and fudgy, not cakey, so less is more here!
7. Pour the Batter Into the Pan
Pour that glorious brownie batter into your prepared pan. Use a spatula to spread it evenly. Don’t rush this part, make sure it’s all smooth, so every corner of your pan is covered with that rich, chocolate goodness.
8. Bake Until Fudgy Perfection
Place the pan in the oven and allow it to bake for 26 to 32 minutes. I know you’re eager to dig in, but the trick here is to not overbake.
We’re aiming for that perfect fudgy texture. Don’t worry about the edges getting a little crispy, that’s just what makes them even more irresistible. Let the brownies cool in the pan.
10. Make the Frosting (The Good Stuff)
While the brownies cool, it’s frosting time! Over a low flame, let the butter melt in a small pan, then blend in the cocoa, milk, vanilla, and honey for a rich, unified mixture.
You’re looking for a smooth, glossy finish, this frosting is about to take things to the next level!
11. Add the Powdered Sugar
Now, gradually add in the powdered sugar, whisking as you go. This frosting should be thick but spreadable, so if it feels too stiff, you can add a splash more milk or heavy cream to get it just right.
12. Frost the Brownies
Spread the frosting evenly over the cooled brownies. Be generous with it! You want every square to have a perfect layer of frosting that complements the rich brownie base.
Let them rest until completely cooled to ensure perfect, mess-free cuts.
How to Store Your Lunch Lady Brownies
Room Temperature (For Up to 2 Days)
- Store your brownies in an airtight container at room temperature, but only for about 2 days. The frosting will soften, and you don’t want it to lose its texture.
- If stacked, separate layers with parchment paper to prevent the frosting from sticking to the next layer.
In the Fridge (For Up to 1 Week)
- Keep the brownies in an airtight container in the fridge to preserve the frosting.
- Let them sit at room temperature for about 10-15 minutes before serving to soften the frosting back up and bring out the full flavor.
- If you’re making a batch ahead, refrigerating is the way to go.
Freezing (For Up to 3 Months)
- Cut brownies into squares, then place them on a baking sheet to freeze for a couple of hours. Once frozen, wrap each piece in plastic wrap or wax paper, and store in a freezer-safe bag.
- To thaw, leave the brownies in the fridge overnight or at room temperature for 30 minutes. You can also microwave them for a few seconds to soften the frosting.
More Fudgy Brownies

How to Make Perfect Lunch Lady Brownies: Easy & Delicious
Ingredients
For the Brownies:
- 1 ½ cups 3 sticks unsalted butter, melted
- 5 large eggs
- 2 ¾ cups granulated sugar
- 1 cup unsweetened cocoa powder
- 1 ½ teaspoons pure vanilla extract
- 1 ½ cups all-purpose flour
- ¾ teaspoon salt
- ¾ teaspoon baking powder
For the Frosting:
- ½ cup 1 stick unsalted butter, melted
- ½ cup unsweetened cocoa powder
- 3 tablespoons honey
- 4 tablespoons heavy cream adjust for consistency
- 3 cups powdered sugar
- 1 teaspoon vanilla extract
Instructions
- First, preheat your oven to 350°F (175°C).
- Grab a 9×13-inch baking pan and line it with parchment paper, making sure to leave some overhang on the sides to make lifting the brownies out easier.
- Melt the butter until it’s perfectly smooth, whether you choose the microwave or stovetop method. This is where the richness starts, so take your time and enjoy the buttery goodness!
- Once the butter is melted, whisk it together with the sugar in a large mixing bowl until it’s perfectly smooth and creamy. You want this mixture to be cloud-like and free of any lumps.
- Sift in the unsweetened cocoa powder, then add the vanilla extract and whisk everything together until the batter is smooth and velvety. You’ll start to see the chocolate magic happening right here!
- Crack the eggs one at a time into the mix, whisking them in thoroughly until everything is perfectly combined. This is where the batter comes to life, thickening up into that delicious, rich base.
- Slowly mix in the flour, baking powder, and salt, folding them into the batter until fully combined. Be careful not to overmix, just stir it enough to incorporate everything. We want that thick, fudgy texture, not a cake-like consistency.
- Carefully pour the batter into the pan and then use a spatula to ensure an even layer across the bottom.
- Put the pan in the oven and bake for 26 to 32 minutes. For the perfect texture, check the brownies with a toothpick at the 26-minute point to ensure they’re not overdone.
- You want moist crumbs, not wet batter. Don’t worry if the edges are a little crispy, they’ll only add to the deliciousness!
- While the brownies are cooling, it’s frosting time. Melt the butter slowly in a small saucepan over low heat, then whisk in the cocoa powder, milk, vanilla, and honey until the mixture is smooth and unified.
- Keep mixing until the frosting reaches a smooth, glossy consistency.
- Gradually add the powdered sugar, whisking as you go to create a thick, spreadable frosting. If the mixture feels too firm, add a little extra milk or cream to reach the desired smoothness.
- When the brownies are cool, generously spread the frosting over them, creating a smooth, indulgent layer.
- Let them cool completely before cutting them into squares, this will make sure the frosting stays intact, and you get a neat slice.
Notes
- For extra richness, use high-quality cocoa powder. It has a noticeable impact on the overall taste!
- You try adding a pinch of sea salt on top of the frosting for a sweet-and-salty twist.
- If you’re craving a little crunch, fold in some nuts, like walnuts or pecans, into the batter before baking.