Let’s be real: finding a gluten free brownie recipe that actually tastes like a brownie, not some dry, crumbly disappointment, is like hunting for treasure.
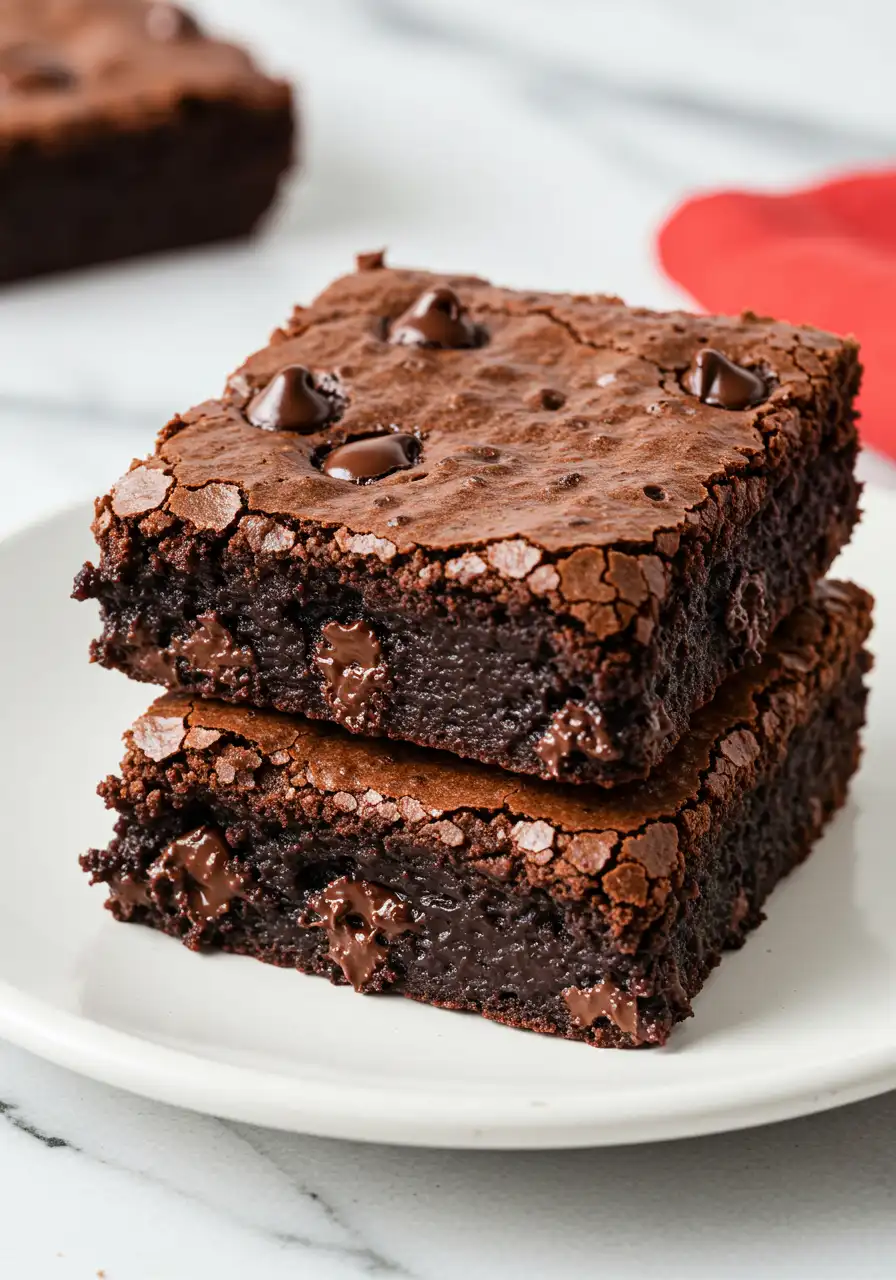
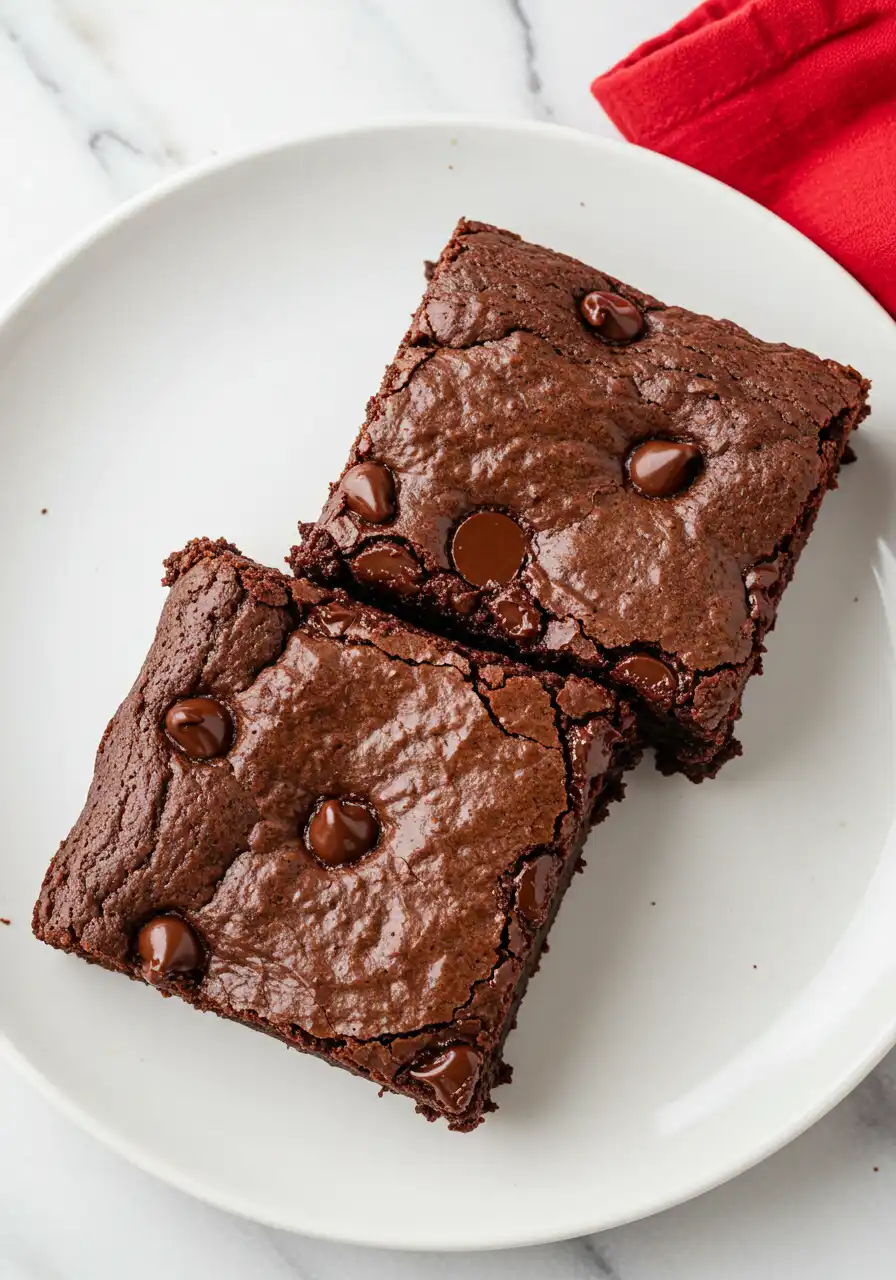
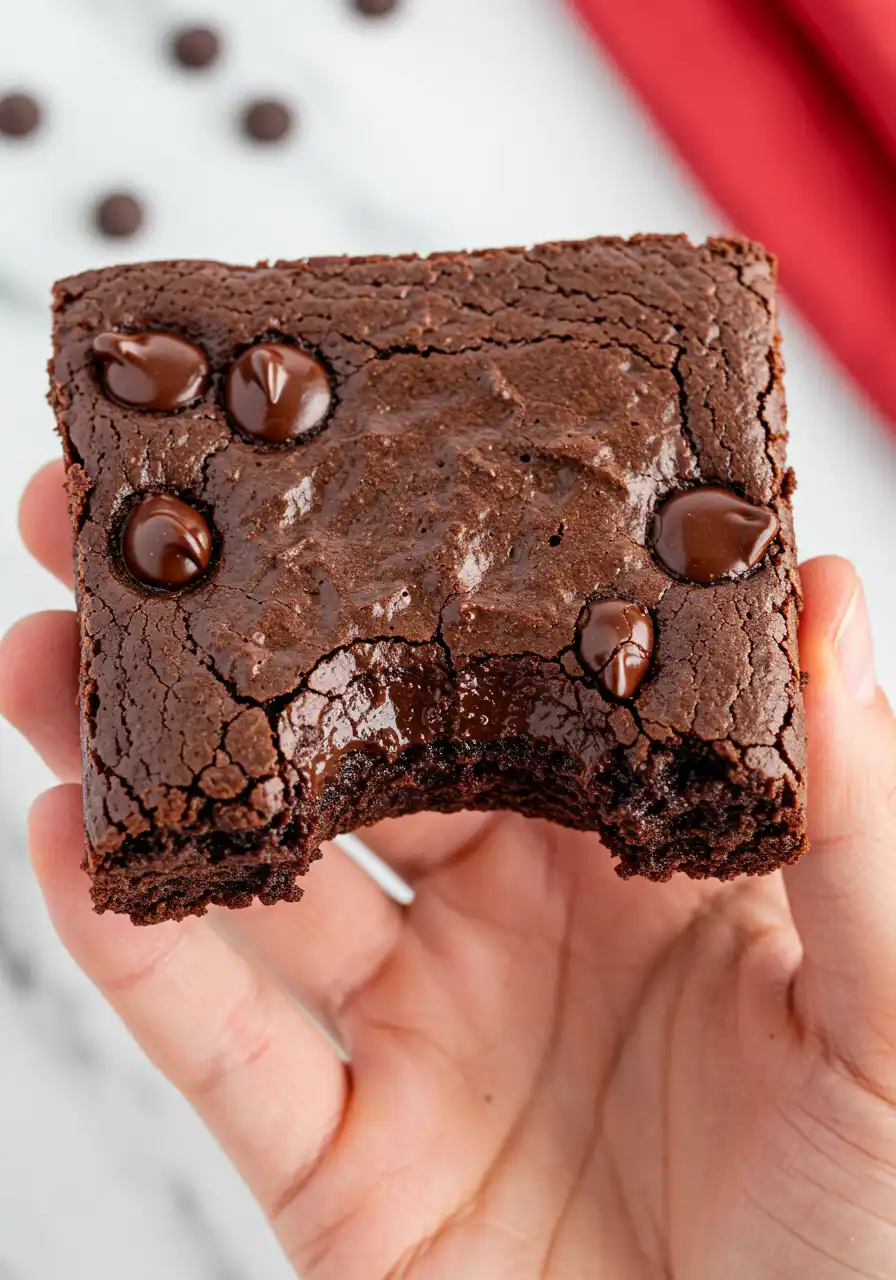
But guess what? You’ve just struck gold. These are the best gluten free brownies I’ve ever made. They’re rich, fudgy, and downright addictive, without any of the gluten drama. If you want a brownie that melts in your mouth and makes you forget all about gluten, you’re in the right place.
What Makes These Gluten Free Brownies Special
No weird ingredients, no stress: You won’t find any mysterious powders or extra steps here, just straightforward, easy-to-find pantry staples that get the job done beautifully.
Made for everyone: Gluten intolerant, health-conscious, or just plain chocolate lovers, this recipe bridges the gap and makes sure nobody misses out on dessert.
Perfect for customizing: Want nuts, extra chocolate chips, or a swirl of peanut butter? This base is like a blank canvas, ready for your creative spin without ever losing its signature fudgy magic.
The Ingredients For Gluten Free Brownies
- Chocolate chips: I like to use these because they create those little pockets of melty chocolate that make every bite extra special.
- Unsalted butter: It’s best if you use unsalted here so you control the salt level perfectly without any surprises.
- Light brown sugar: You can think of this as the sweet moisture booster, it adds a gentle caramel note that keeps the brownies soft and chewy.
- Granulated sugar: I recommend this for balancing sweetness and helping achieve that classic brownie texture we all love.
- Eggs: These are the essential binder, without them, the brownies wouldn’t hold together or get that chewy texture.
- Vanilla extract: It quietly brings out all the chocolate flavors without stealing the spotlight.
- Cocoa powder: This is the heart of your chocolate flavor. I recommend using a good quality cocoa to get that rich, deep chocolate taste.
- Cornstarch: Maybe unexpected, but I like adding cornstarch because it gives these brownies that perfect tender-chewy texture without making them cakey.
- Espresso powder: Just a pinch! It makes the chocolate taste much richer, and you don’t even notice the coffee.
- Salt: The secret to making all those sweet flavors pop.
Let’s Make Gluten Free Brownies
Here’s how I make these fudgy little squares of chocolate heaven, no fuss, no fancy mixer, just a bowl, a whisk, and a little kitchen magic.
Step 1: Set the mood (and the oven)
Start by preheating your oven to 350°F (175°C).
Grab an 8×8-inch pan, spray it lightly, then line it with parchment paper. I always leave some extra hanging over the sides, it’s like a little handle for lifting the brownies out later.
Step 2: Chocolate and butter
In a big microwave-safe bowl, melt 1 cup of chocolate chips with the butter. I microwave it for 30 seconds at a time, stirring between bursts until it’s nice and glossy.
Step 3: Sweeten the deal
Stir in both sugars, The mix of light brown and white sugar gives it a nice, balanced sweetness I really enjoy.
Let things cool for a minute (you don’t want scrambled eggs here).
Then whisk in your eggs and vanilla. The batter will start to thicken and come together like rich chocolate pudding.
Step 4: Time to fold in the dry stuff
Combine the cocoa, cornstarch, espresso powder, and salt, stirring until evenly blended. No mixer needed, just a bit of muscle! I stir until it’s smooth and dark and has that rich brownie look.
Cornstarch might seem random, but it’s what keeps these brownies fudgy without flour. Trust me.
Step 5: Chocolate chips, part two
Sprinkle in some of the extra chocolate chips and stir them in softly.
This step is optional, but I personally need little melted chocolate pockets in every bite.
Step 6: Bake Time
Pour your batter into the prepared pan and spread it out.
I like to sprinkle the rest of the chocolate chips right on top, it gives the brownies that bakery-style look and extra texture.
Pop it in the oven and bake for 25 minutes. You’re looking for a toothpick to come out with a few moist crumbs, not totally clean, and definitely not gooey batter.
Step 7: Let them rest
As tempting as it is to dig in right away, let the brownies cool completely in the pan.
They firm up, slice better, and the flavor deepens as they sit. I promise it’s worth the wait.
4 Mistakes to Avoid When Making Gluten Free Brownies
1- Overheating the chocolate
While it’s easy to heat the chocolate and butter until completely melted, too much warmth can spoil the flavor and texture.
Melt in short 30-second bursts, and stop while a few chunks are still visible. Stir, they’ll melt right in like magic.
2- Mixing like you’re mad at it
Overmixing once the eggs or dry ingredients are in can lead to tough, dense brownies (especially in gluten free baking, where there’s no gluten to soften things). Stir gently, just until everything’s combined.
3- Using cold eggs straight from the fridge
It doesn’t seem like a big deal, until your batter separates or bakes up weird. Let your eggs come to room temp. They mix more smoothly, and your brownies will thank you with better texture.
4- Baking at the wrong oven temperature
Your oven might be off by 10-20 degrees, which can mean the difference between fudgy and dry.
Use an oven thermometer to check your actual oven temp regularly. Adjust your baking time accordingly.
How to Store Your Gluten Free Brownies
- Airtight container is your best friend: Use a tight-sealing container to lock in moisture and keep the brownies soft and fudgy.
- Room temperature for 2–3 days: Brownies actually love being at room temp if stored right, the texture stays just right, and flavors stay vibrant. No fridge needed yet.
- Refrigerate only if it’s super hot or humid: If your kitchen feels like a sauna, pop them in the fridge, but wrap them well to avoid drying out or picking up fridge odors.
- Freeze for longer storage (up to 3 months!): Cover each brownie with plastic wrap and tuck them into a freezer-safe bag. Thaw at room temp, and they’ll taste like fresh-baked magic again.
More Brownies To Try
Moist & Chewy Gluten Free Brownies
Ingredients
- 6 tablespoons unsalted butter
- 1¾ cups dark chocolate chips
- ¼ cup white granulated sugar
- ¼ cup light brown sugar
- ¼ cup unsweetened cocoa powder
- 3 tablespoons gluten-free cornstarch
- 2 large eggs at room temperature
- 1½ teaspoons pure vanilla extract
- ½ teaspoon espresso powder
- ½ teaspoon salt
Instructions
- Start by preheating your oven to 350°F (175°C). Lightly spray an 8×8-inch pan, then line it with parchment paper, leaving some overhang to help lift the brownies out easily.
- Place 1 cup of chocolate chips and butter in a microwave-safe bowl, then melt them together. Heat in 30-second bursts, stirring each time until smooth and glossy.
- Stir in both sugars and let the mixture cool slightly, this keeps the eggs from cooking when added. Whisk in the eggs and vanilla until the batter thickens and looks like rich chocolate pudding.
- Add the cocoa powder, cornstarch, espresso powder, and salt, then stir until smooth. The cornstarch ensures these brownies remain delightfully fudgy without the need for flour.
- If you like extra chocolate, fold in some of the remaining chips. Pour the batter into your pan, spread evenly, then sprinkle the rest of the chips on top for that classic bakery touch.
- Bake for 25 minutes, checking for a toothpick that comes out with moist crumbs, no raw batter, but not completely clean either.
- Leave the brownies in the pan to cool a little bit. Enjoy!
Notes
- Measure your cocoa powder carefully, too much can make things bitter.
- Keep an eye on baking time, pull them out too soon and they’ll be gooey, too late and they get dry.
- Try using a high-quality cocoa powder, it makes a noticeable flavor difference.