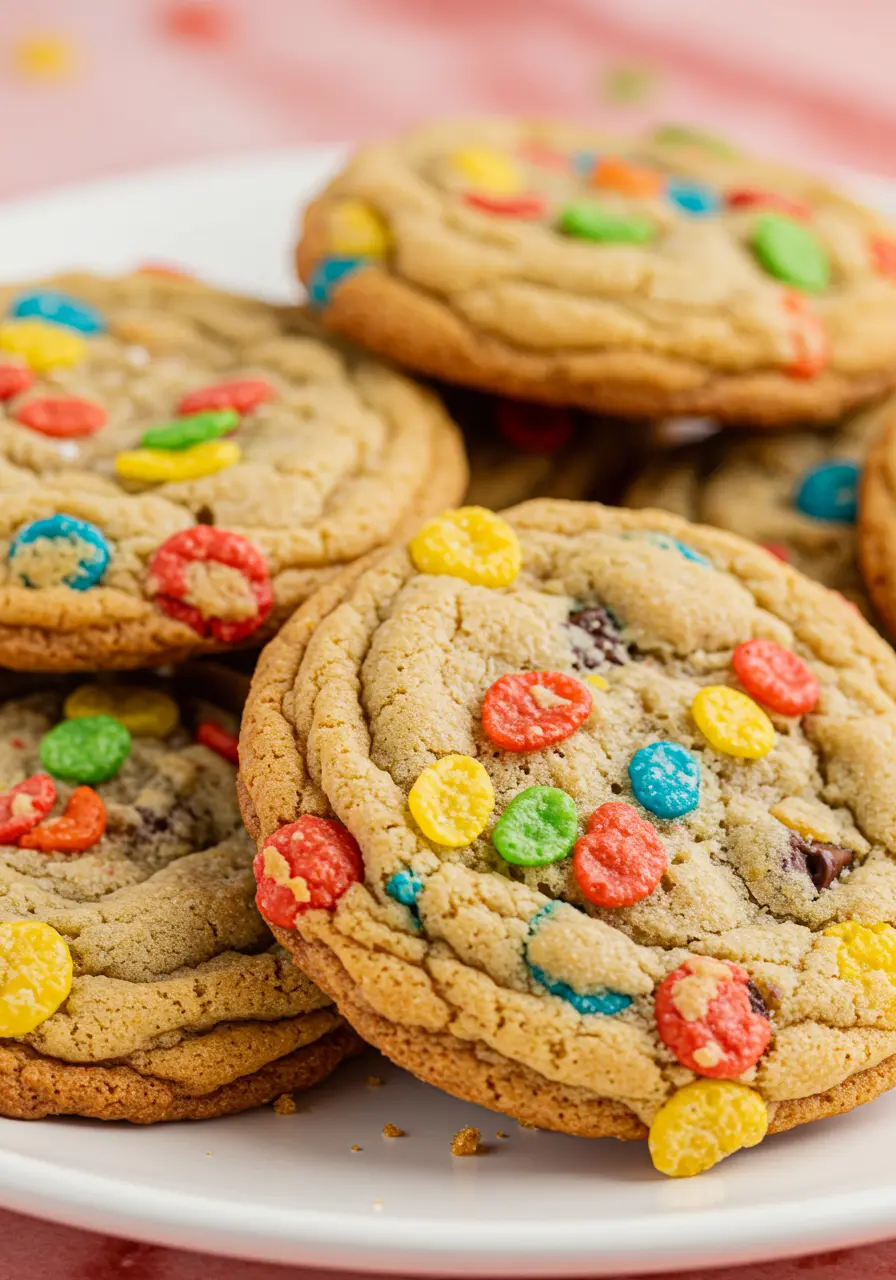
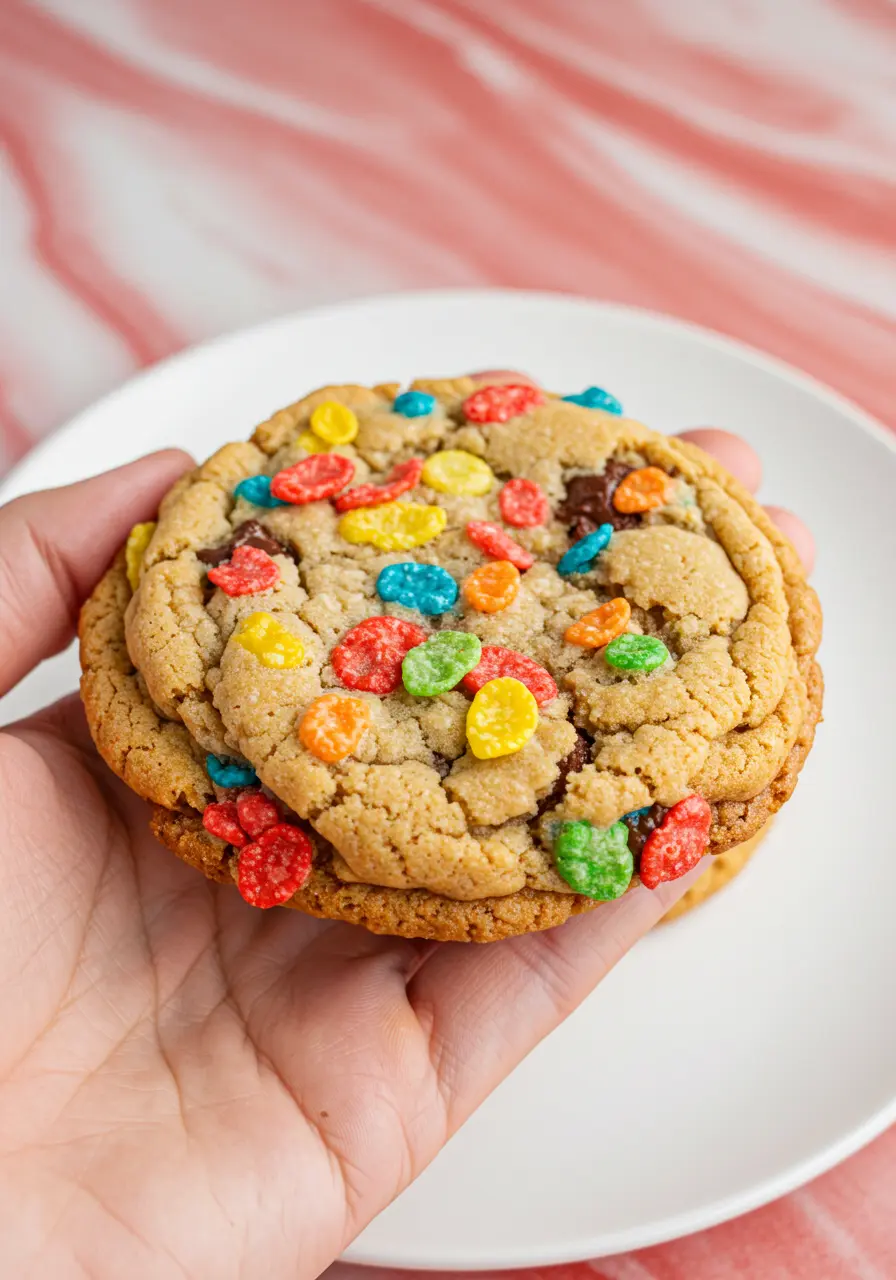
If you’re anything like me, you grew up sneaking extra spoonfuls of fruity pebbles cereal just for the colors, the crunch, and that sweet burst of fruity fun. So naturally, turning that childhood favorite into Fruity Pebbles Cookies felt like a no-brainer, and let me tell you, these cookies seriously deliver.
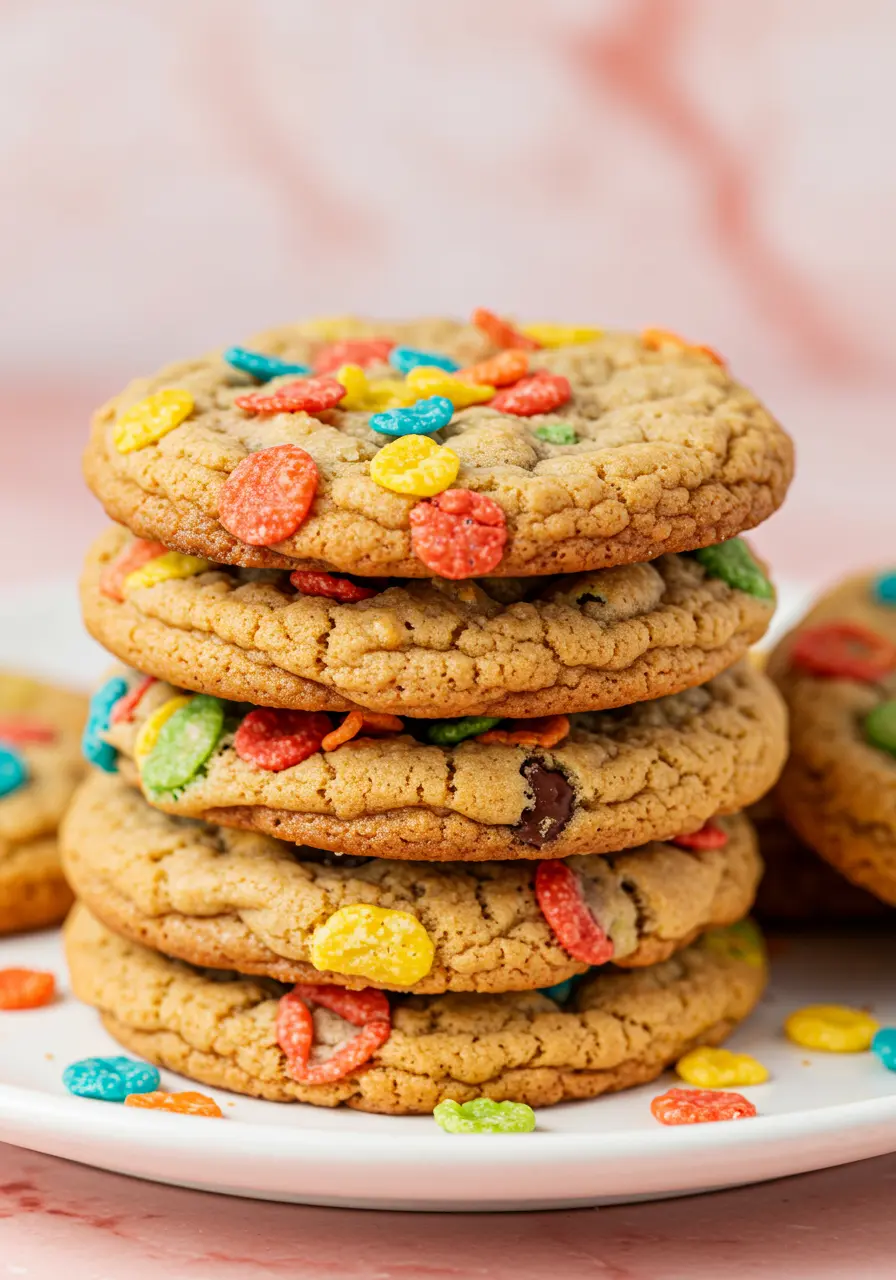
They’re soft, chewy, and packed with bright, cereal-coated joy in every bite. Think classic bakery-style cookies… but with a playful twist.
These fruity pebble cookies aren’t just pretty to look at, they’re ridiculously easy to make, super satisfying to eat, and perfect for kids and nostalgic adults.
Jump to
I’ve also added a couple of tiny tweaks to really level up the flavor, without complicating the recipe. Because baking should be fun, not fussy.
Let’s make cookies that are as bold, colorful, and unforgettable as the cereal that inspired them.
The Ingredients You’ll Need
- Unsalted Butter – The creamy base that gives your cookies that soft, melt-in-your-mouth texture.
- Granulated Sugar – Adds sweetness and gives the cookies a nice, crisp edge.
- Light Brown Sugar – A touch of warmth and caramel flavor, plus it helps keep the cookies soft.
- Egg – Holds everything together and gives the cookies their perfect chewy bite.
Vanilla Extract – A little dash for that classic, warm flavor that ties it all together. - All-Purpose Flour – Gives structure so your cookies hold their shape.
- Baking Soda – Helps the cookies spread and gives them that soft, airy texture.
- Salt – A pinch of magic that makes all the sweetness pop.
- Fruity Pebbles Cereal – The star ingredient! Adds crunch, color, and that fruity flavor we all love.
Milk Chocolate Chips – A little chocolate to balance out the crunch and sweetness.
How to Make Fruity Pebbles Cookies
This recipe is super beginner-friendly and seriously fun. Here’s exactly how I make them, and honestly, you’ll be hooked after one batch.
Get your oven ready and your trays lined
First, set the oven to 350°F (180°C) and let it heat up. While the heat builds, lay parchment paper over two baking sheets to get them ready.
If you’re using a silicone baking mat, even better, no sticking, no stress.
Whisk the dry stuff
Grab a small bowl and stir together the flour, baking soda, and salt. Give it a quick whisk or stir. This just gets everything evenly mixed so your cookies bake up nice and consistent.
Cream the butter and sugars, this part smells amazing
Add the softened butter, granulated sugar, and brown sugar to a generous mixing bowl.
Blend using a stand or hand mixer until the mixture looks airy and perfectly whipped. It’ll take a minute or two, but it’s worth it, this is where that perfect cookie texture starts.
Mix in the egg and vanilla like a pro
Break in the egg and stir in a splash of vanilla for flavor. Mix again until the texture turns luxuriously creamy and even.
You should be able to smell that vanilla goodness now.
Bring in the flour, but go easy
Combine the dry and wet ingredients with a light mix on low speed, stopping as soon as the dough starts to form.
Don’t overdo it, as soon as there’s no dry flour showing, stop.
Overmixing is where cookies go to get tough (and no one wants that).
Add the color, crunch, and chocolate
Now for the fun part, gently fold in 1 ½ cups of Fruity Pebbles and your milk chocolate chips.
Use a spatula or wooden spoon and take your time. The goal is to mix them in without crushing all the cereal pieces, we want those pops of color to stay bright and crunchy.
Scoop, dip, and place
Scoop out dough balls using a cookie scoop or spoon, I like mine around 1½ tablespoons each.
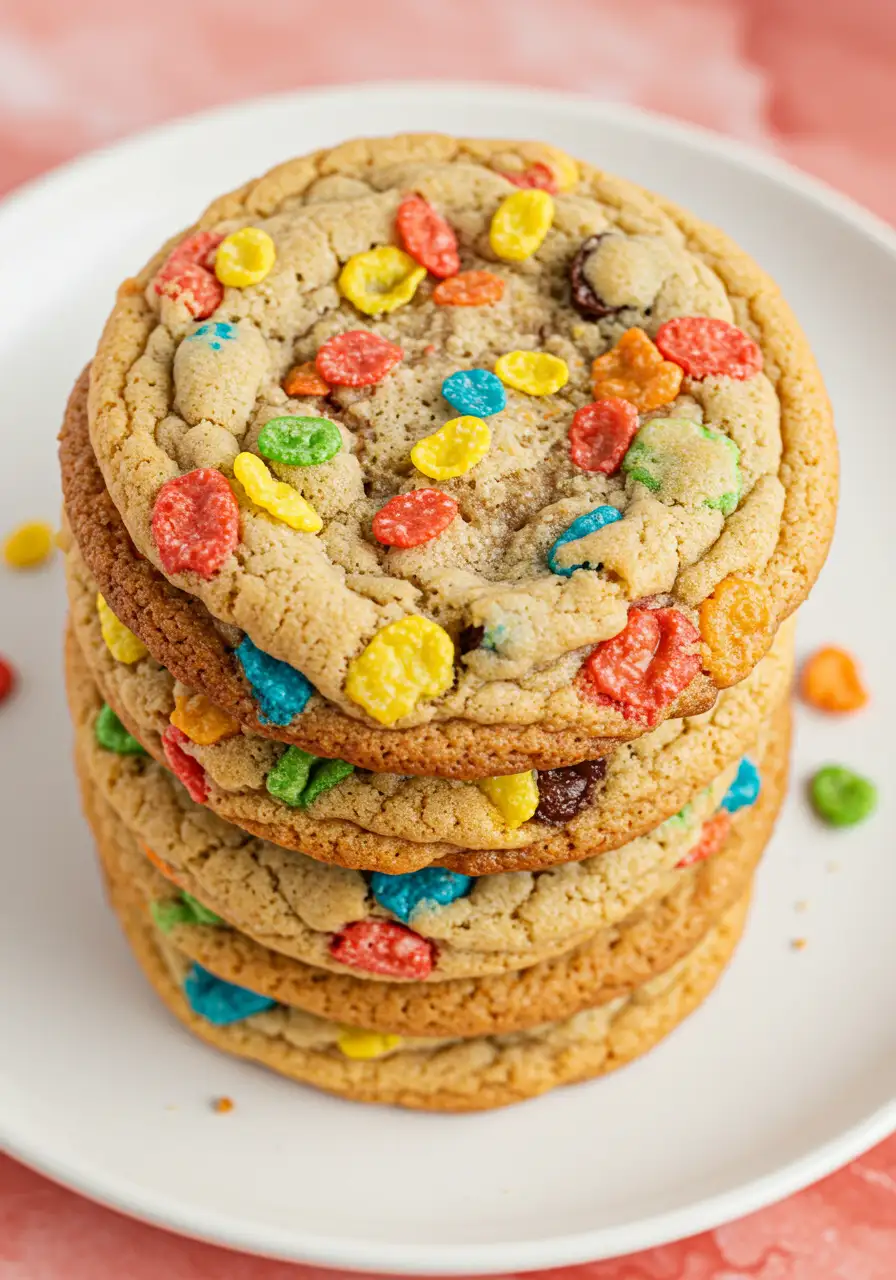
Coat the top of every ball by dipping it into the extra Fruity Pebbles you saved earlier.
Just the top! That’s how you get that colorful “wow” finish after they bake. Then place them on your baking sheets with a little space between each one.
Bake Them
Slide the baking sheets into the oven and cook for roughly 10 to 11 minutes.
You’re looking for set edges and a soft center, they might look slightly underdone in the middle, and that’s exactly what we want.
Let them chill (just a bit)
After removing them from the oven, let the cookies rest on the tray for around 10 minutes, allowing them to finish baking and firm up.
Then move them to a wire rack so they can cool completely… unless you sneak one warm (which, let’s be honest, is the best way to try the first one).
My Tips for the Best Fruity Pebbles Cookies
Use room temperature butter and egg
Cold ingredients won’t mix evenly and can mess with your texture. Let them sit out for a bit, your cookies will thank you!
Keep an eye on the bake time
Since every oven varies, begin checking around 9 minutes. The edges should be set, but the centers should look a little underbaked, they’ll finish setting as they cool.
Try white chocolate chips for a twist
Not a fan of milk chocolate? White chocolate chips pair so well with the fruity cereal, they make the cookies extra sweet and creamy.
Add a little chill time if needed
If your dough is feeling sticky or your kitchen’s warm (hello summer bakers!), just pop the dough in the fridge for 15-20 minutes. It’s like giving the dough a mini spa break.
How to Store Fruity Pebbles Cookies
Because no one likes a sad, stale cookie. Here’s how to keep them fresh, soft, and snack-worthy:
Room temp? Go airtight.
Put them in an airtight container, and they’ll last for up to 4 to 5 days. A slice of bread in the container = ultra-soft cookies every time.
Wanna freeze them baked?
Totally works! Let them cool, then place in a zip-top bag and freeze to enjoy later. Just pull one out whenever the craving hits, a quick 10-second zap in the microwave brings it back to life.
Freeze the dough instead!
Roll the dough into balls, then place them on a tray for freezing. Once solid, transfer to a freezer bag. Bake straight from frozen, extending the bake time by an additional 1 to 2 minutes.
Layer with parchment paper.
If you’re stacking cookies (in a container or freezer bag), slide parchment between layers to keep them from sticking or losing their pretty Pebble topping.
More Cookie I Love

The Best Fruity Pebbles Cookies Ever – So Easy to Bake
Ingredients
- ½ cup 113g unsalted butter, softened
- ¾ cup 150g granulated sugar
- ¼ cup 50g light brown sugar
- 1 large egg at room temperature
- 1 teaspoon pure vanilla extract
- 1 ¼ cups 155g all-purpose flour
- ½ teaspoon baking soda
- ½ teaspoon salt
- 2 cups Fruity Pebbles cereal divided
- 1 cup milk chocolate chips
Instructions
- Start by preheating your oven to 350°F (180°C) and line a couple of baking sheets with parchment paper.
- Whisk the flour, baking soda, and salt together in a small bowl until evenly combined.
- In a larger mixing bowl, beat the softened butter with the granulated and brown sugars until the mixture looks fluffy and smooth. It’ll take a minute or so with a hand mixer.
- Add the egg and vanilla extract and keep mixing until everything’s fully blended and creamy.
- Add the dry mixture and gently mix on low speed until the dough comes together without overmixing. As soon as there are no streaks of flour left, stop mixing.
- Using a spatula, gently mix in 1 ½ cups of Fruity Pebbles cereal and the chocolate chips.
- Scoop the dough into balls (about 1½ tablespoons each). Dip just the top of each one into the remaining Fruity Pebbles to give them a fun, colorful topping.
- Place them on the prepared baking sheets, leaving a little space in between.
- Put them in the preheated oven and bake for around 10 to 11 minutes. The edges should look set while the centers still seem a little soft, that’s exactly what you want. They'll finish cooking a little on the tray while cooling down.
- Rest the cookies on the baking sheet for about 10 minutes before placing them on a wire rack to cool fully. It helps them firm up to the perfect consistency.
- Once they’re cooled, they’re ready to enjoy!
Notes
- If your cookies don’t have that perfect chewy texture, you might’ve overbaked them. Keep an eye on the edges, they should be set, but the center should still be soft.