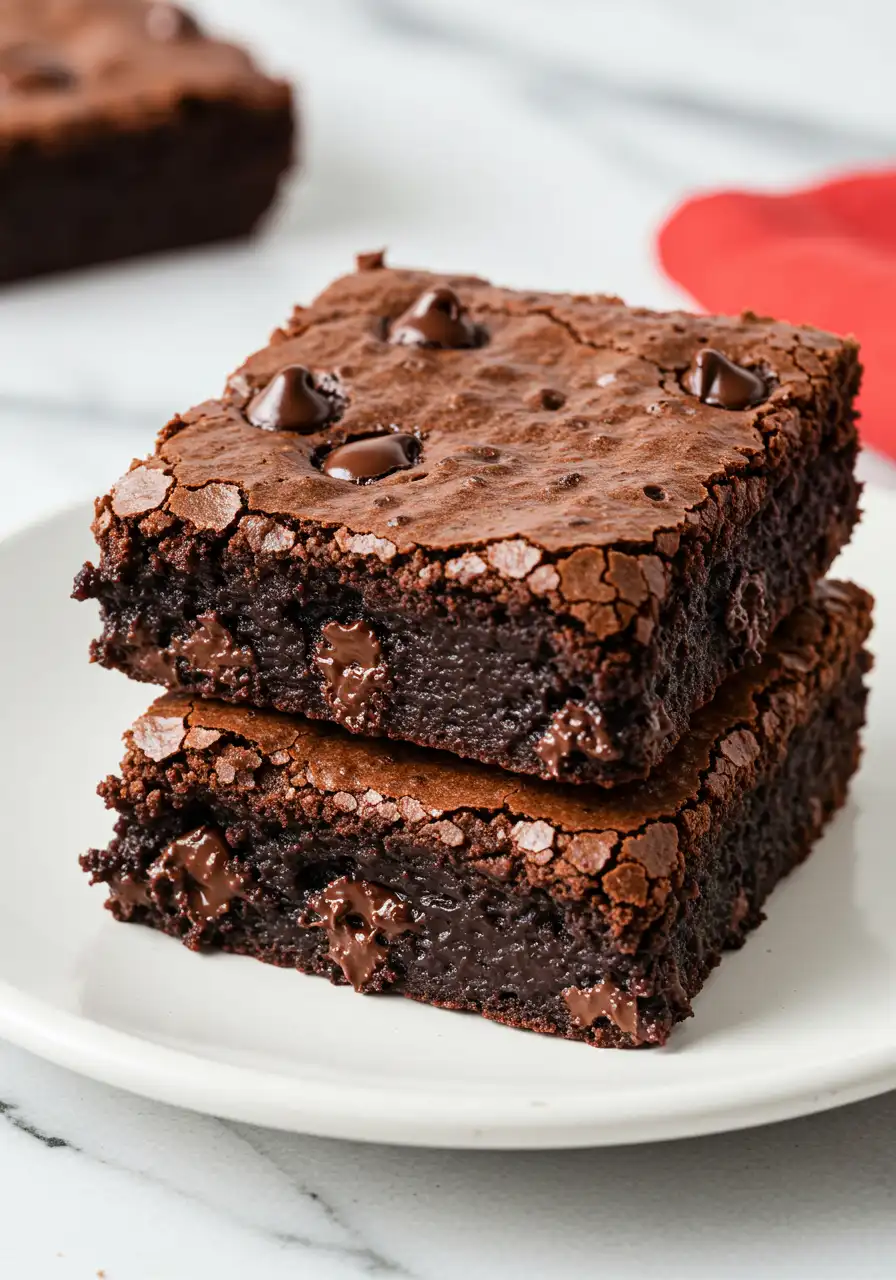
If you grew up eating Cosmic Brownies, those chewy little chocolate squares topped with rainbow candy-coated chips, then you already know they were basically lunchbox royalty.
I remember peeling back that thin plastic wrapper as a kid, totally convinced I was unwrapping edible gold. Every bite was rich, fudgy, and full of color… and for a few minutes, the world just made sense.
But here’s the thing, when I revisited them as an adult, something felt off. The texture was a little waxy, the chocolate not quite as bold.
That’s when I realized: it was time to recreate the magic from scratch. Enter these homemade cosmic brownies, a version that brings back every ounce of childhood joy, but with grown-up ingredients and seriously upgraded flavor.
Jump to
This recipe is for anyone who wants to relive that nostalgic treat but make it way better. It’s simple, deeply satisfying, and made with pantry staples you probably already have.
Why You’ll Love These Homemade Cosmic Brownies
- Simple ingredients, no hassle. Forget the fancy equipment or time-consuming prep. You’ll be amazed how easily you can whip up cosmic brownies with things you already have in your pantry. Less stress, more joy.
- They’re a crowd-pleaser. Whether you’re hosting a party, bringing something to a potluck, or just want to spoil your family, these brownies will definitely be the star of the show. Everyone loves a little fun and color, especially when it tastes this good.
- They’re impossibly easy to make. No lab coat or pastry diploma needed to master these treats. Grab a few pantry staples, and in less than an hour, you’ll have warm, gooey brownies that make you feel like a baking pro.
The Ingredients You’ll Need
- Unsalted Butter – The creamy base for that rich, melt-in-your-mouth texture. You control the flavor with this one!
- Light Brown Sugar – Adds that perfect caramel sweetness and keeps your brownies nice and chewy.
- Granulated Sugar – Sweetens it up just right, balancing out the richness of the butter and cocoa.
- Eggs – They hold everything together and give your brownies that soft, fudgy texture.
- Golden Syrup (or Honey) – A little extra sweetness and moisture, making your brownies even more melt-in-your-mouth.
Pure Vanilla Extract – A touch of vanilla to bring out all the chocolate goodness in your brownies. - Dutch Process Cocoa Powder – Deep, rich chocolate flavor. No bitterness, just pure chocolatey bliss.
- Cornstarch – Keeps your brownies soft and chewy, giving them that perfect texture.
- All-Purpose Flour – The backbone of your brownies, holding everything together without weighing it down.
- Baking Soda – A little lift to keep your brownies light and evenly spread.
- Salt – Deepens the chocolatey richness and cuts through the sweetness for a well-rounded flavor.
- Salted Butter – Makes the frosting rich and creamy with the perfect hint of salt.
- Cream Cheese – Adds a tangy twist to the frosting, making it smooth and irresistible.
- Powdered Sugar – Gives your frosting that smooth, melt-in-your-mouth finish.
- Milk – Helps get the frosting to just the right spreadable consistency.
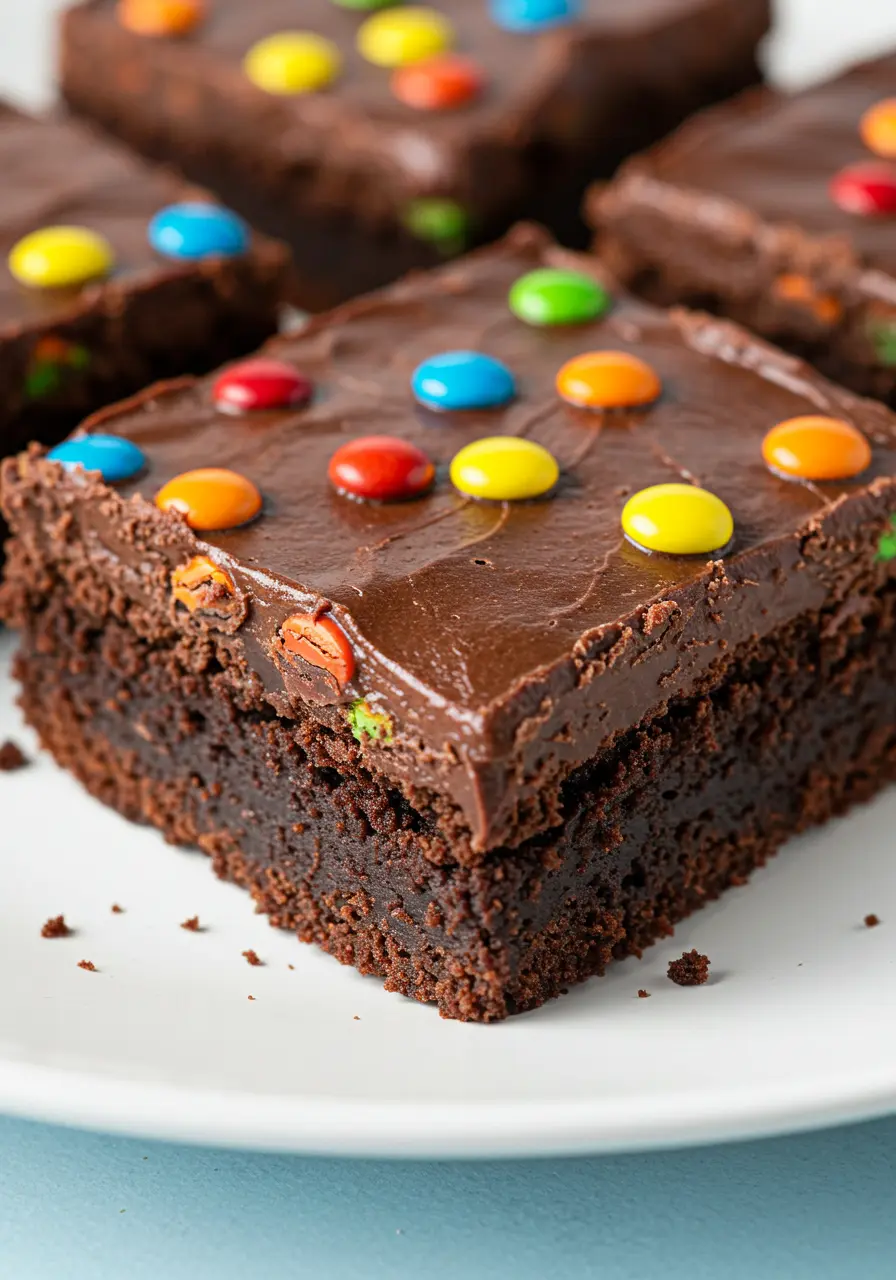
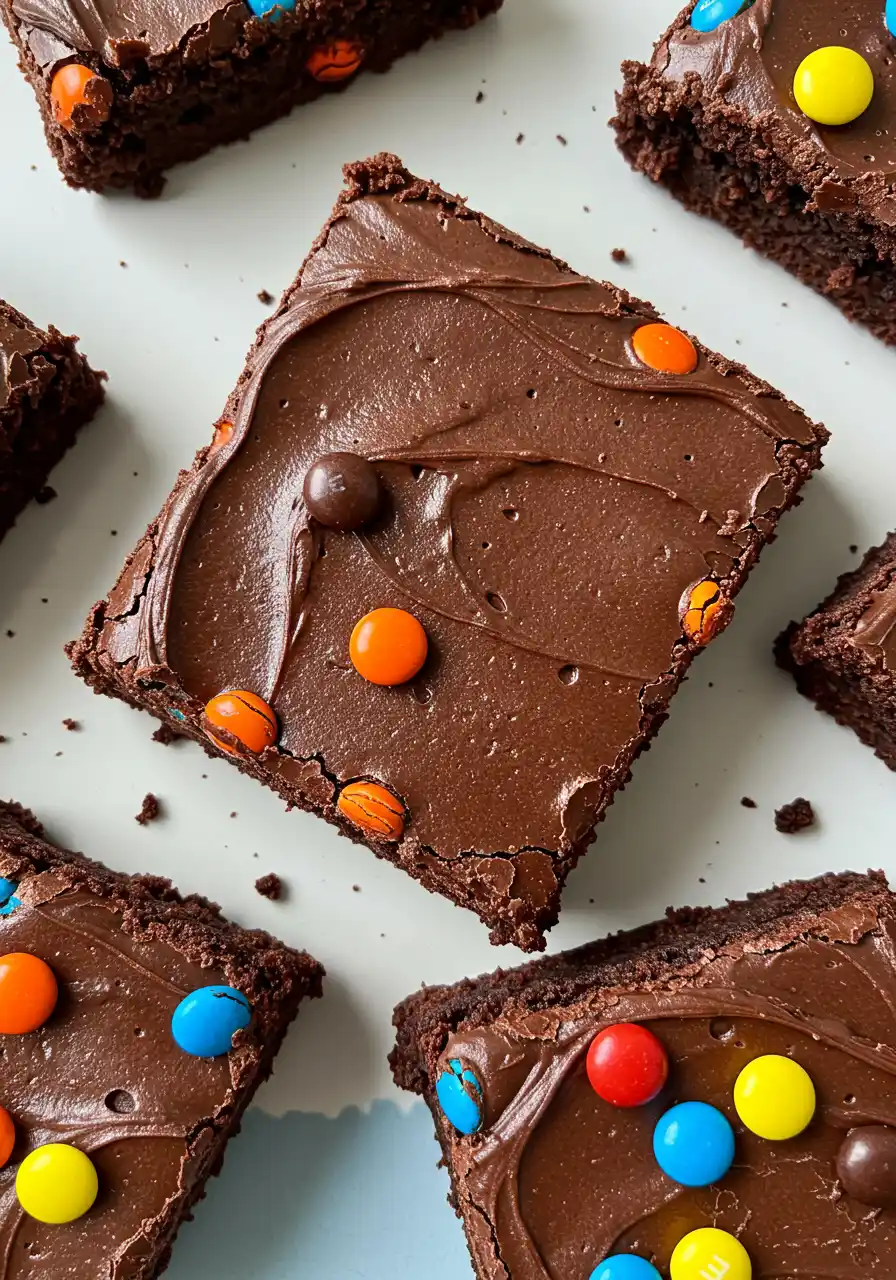
- Rainbow Chocolate Chips (or Mini M&M’s) – Fun, colorful, and the perfect crunchy topping for that cosmic vibe!
How to Make Your Cosmic Brownies
Prep Time
Fire up the oven to 350°F, and line a 9×13 baking pan with parchment paper to make cleanup a breeze and ensure a flawless release. This simple prep step will make sure your brownies come out looking perfect!
Mixing the Butter and Sugars
Grab your stand mixer (or a hand mixer if you’re in the mood to work those arms) and start by creaming together the unsalted butter, light brown sugar, and granulated sugar. Mix on high for about 5 minutes.
The magic here is in making this buttery blend light, fluffy, and pale. This step sets up the base for that perfect chewy texture.
Adding the Wet Ingredients
Now, let’s bring the liquids into the game! Add in your eggs, golden syrup (or honey), and pure vanilla extract.
Ramp up the mixer to high speed and let it whirl for another 5 minutes. You’ll notice it turn into this velvety, soft mixture that smells just like a warm hug, this is the good stuff!
Dry Ingredients Time
In a bowl, whisk together the all-purpose flour, Dutch cocoa powder, cornstarch, baking soda, and salt until well blended.
Carefully fold the dry ingredients into the wet batter, ensuring everything is well combined.
Go slow here, don’t over-mix! The goal is to keep the texture thick, dense, and super fudgy.
Spread the Batter and Bake
Pour your rich brownie batter into the prepared pan. Spread it out evenly using a spatula, making sure the corners get some love too.
Place them in the oven and bake for 25-30 minutes at 350°F. The brownies will rise up, the edges will crackle, and you’ll start seeing that magical transformation happening.
Once a toothpick inserted comes out with a few moist crumbs clinging to it, they’re good to go.
Making the Fudge Frosting
While your brownies are cooling, it’s time to make that frosting. Beat the salted butter and cream cheese together until smooth and creamy.
Next, blend in the Dutch cocoa powder until fully combined. If it’s feeling a little thick, a splash of milk will help bring it all together.
Mix it on the lowest setting so it stays smooth and not too airy.
Once it’s all blended, slowly add in your powdered sugar and another dash of milk if needed.
Keep mixing until it’s perfectly thick and glossy, then stir in the vanilla extract for that extra layer of flavor.
Frosting the Brownies
Spoon big dollops of frosting onto the warm brownies. The heat from the brownies will help the frosting spread easily, giving you that smooth, glossy finish.
Here’s the fun part, pop your frosted brownies back in the oven (the oven should be already off). This will make it all look like something straight from a bakery.
Top with Colorful Goodness
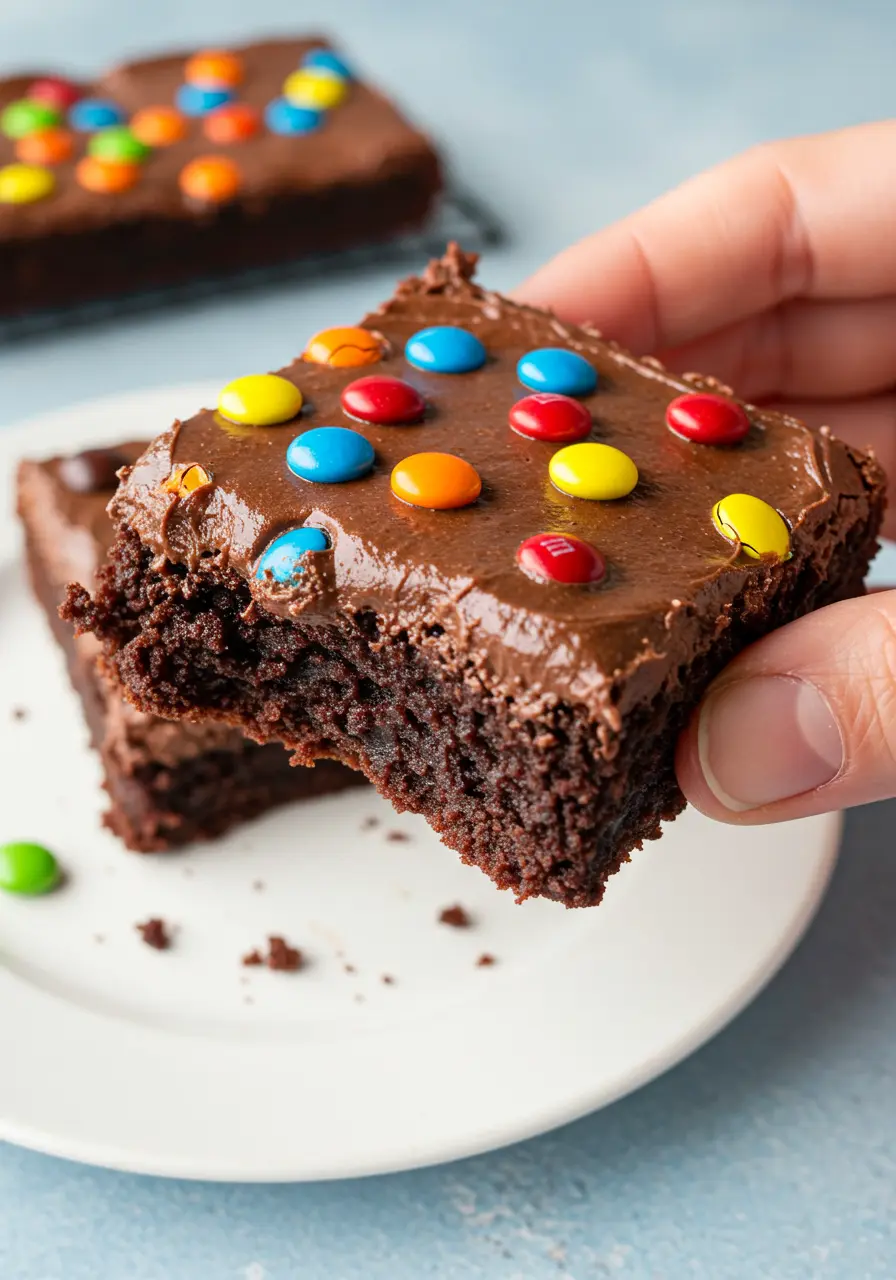
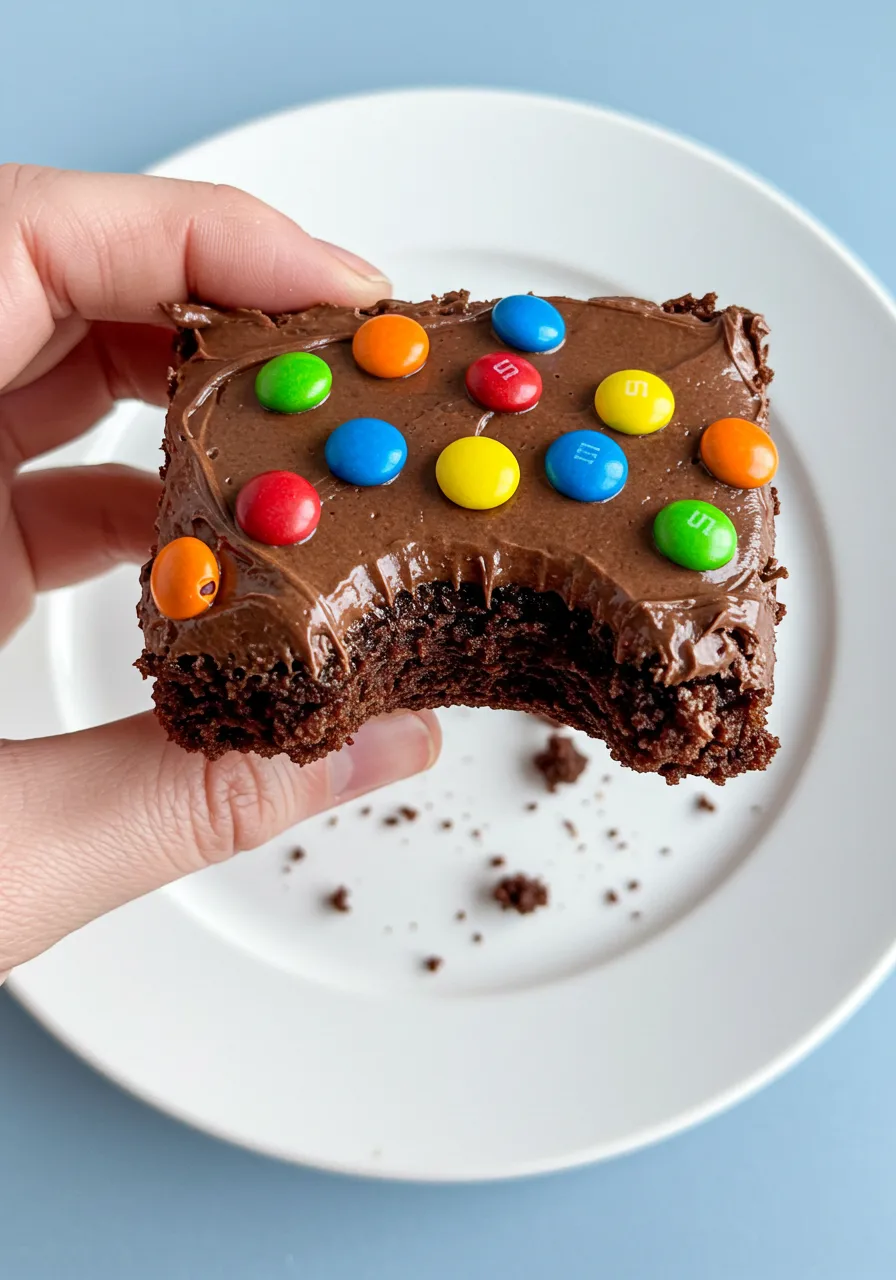
It’s time to add the magic sprinkles! Sprinkle those rainbow chocolate chips (or mini M&M’s if that’s your jam) over the frosting while it’s still warm. The topping is what makes these Cosmic Brownies totally irresistible!
Let Them Cool
Okay, this is the hardest part, let the brownies cool in the pan. I know, I know, it’s tough, but trust me, letting them sit for a bit will help everything set. When they’re cool enough to handle, cut them into squares and get ready for a bite of pure brownie heaven.
My 4 Tips for You
I want these Cosmic Brownies to be a total win for you, so I’ve put together some of my best tips to ensure they turn out absolutely perfect.
1- Watch Your Oven
Every oven is different, so check your brownies at the 25-minute mark to make sure they don’t overbake.
The toothpick test is a must, if it comes out with a few moist crumbs, they’re good to go! Overbaked brownies are a tragedy we can avoid!
2- Use Room Temperature Ingredients
It’s super important to use room temperature eggs and butter. This helps them mix evenly into the batter and prevents a greasy or lumpy texture.
So, take them out of the fridge ahead of time, and you’ll notice a smoother, more consistent batter.
3- Use a Parchment Paper Sling
Instead of greasing the pan, line it with parchment paper and leave a little overhang.
This makes it so much easier to pull the brownies out when they’re done and helps prevent the brownies from sticking.
Plus, it makes cutting the brownies into neat squares a breeze!
4- Let the Brownies Cool Fully
This is a must! Let them cool completely before cutting. You can definitely freeze them for 15 minutes if you want.
It gives the brownies a chance to set, making it easier to slice them neatly.
If you cut them while they’re still warm, you’ll end up with a delicious but messy brownie that falls apart, still tasty, but we want them to look perfect too!
How to Store Your Cosmic Brownies
- Room Temperature: Store your brownies in an airtight container at room temperature, and they’ll stay perfectly fresh for five days! They’ll stay soft and fudgy, perfect for any sweet craving!
- Refrigeration: For longer freshness (and a slightly firmer texture), store them in the fridge. The frosting will hold its shape, and they’ll stay good for about a week.
- Freezing: Want to keep some for later? Wrap each brownie in plastic wrap and place them in a freezer-safe container for storage. They’ll last up to 3 months!
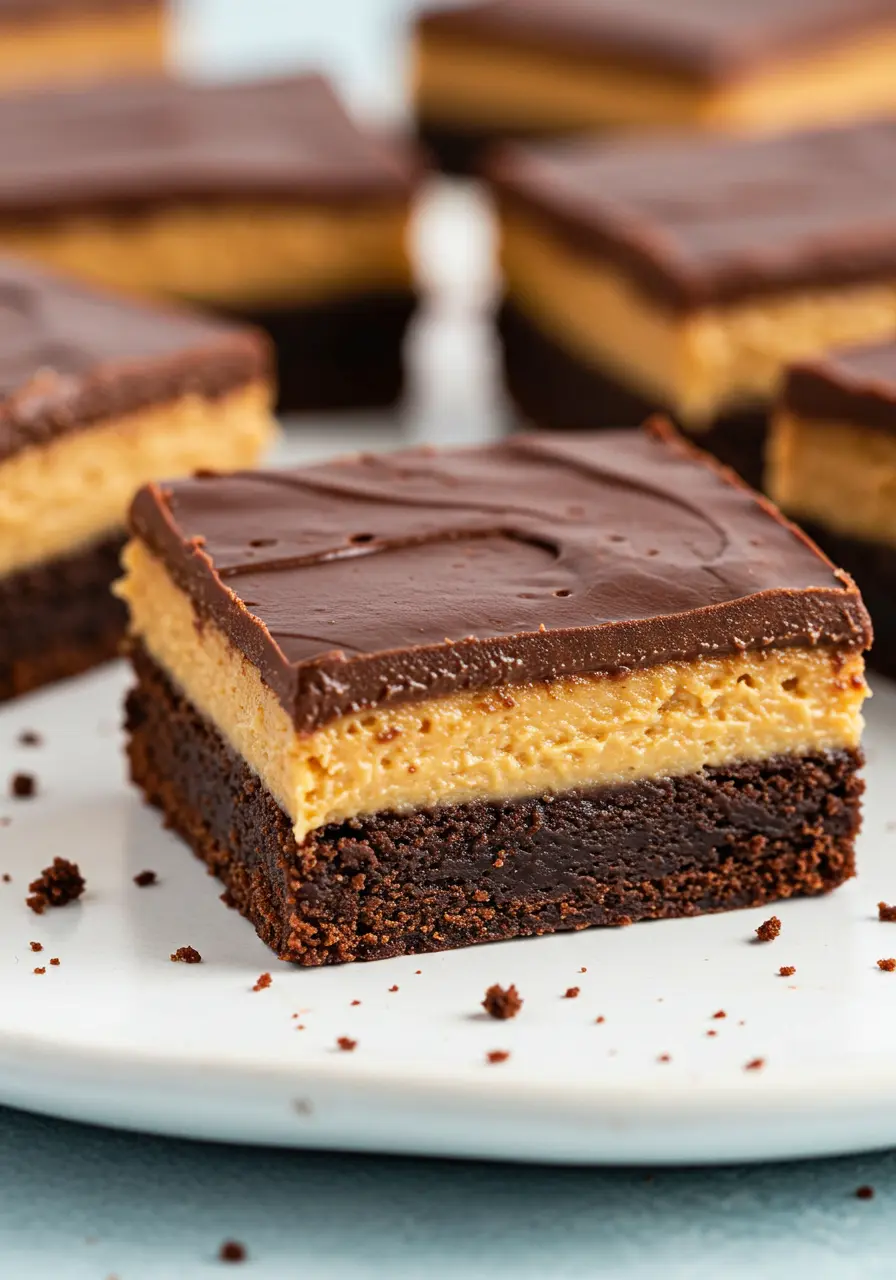
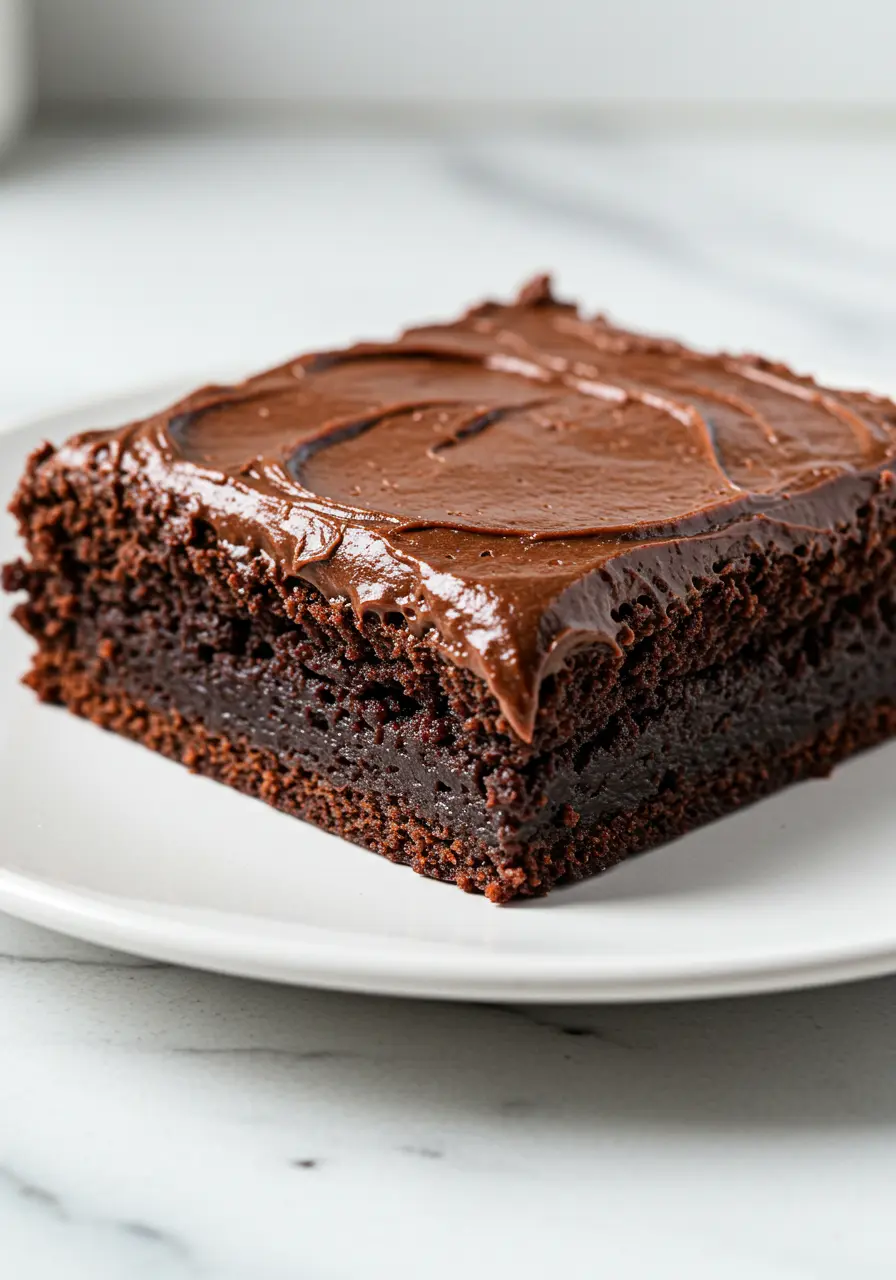
More Unique Brownies You’ll Love
The Best Homemade Cosmic Brownies: Rich & Chewy
Ingredients
Brownie Base
- 1½ cups 340g unsalted butter, partially melted
- 5 large eggs
- 1½ cups 300g light brown sugar
- ½ cup 100g granulated sugar
- 2 tbsp golden syrup or honey
- 1 tbsp pure vanilla extract
- 1¼ cups 100g Dutch process cocoa powder
- 1 tbsp cornstarch
- 3 cups all-purpose flour
- 1 tsp baking soda
- 1 tsp salt
Frosting & Topping
- ½ cup salted butter softened
- 3 oz cream cheese room temp
- ¾ cup Dutch cocoa powder
- 3 cups powdered sugar
- 2 tsp vanilla extract
- 2 –3 tbsp milk as needed
- Rainbow chocolate chips or mini M&M’s for topping
Instructions
- Heat your oven to 350°F and line a 9×13 baking pan with parchment paper to make sure your brownies come out flawlessly!
- Start by creaming the unsalted butter, light brown sugar, and granulated sugar in your stand mixer (or use a hand mixer if you want to get those muscles working).
- Mix on high for roughly 5 minutes, until the texture becomes light, fluffy, and a soft, pale hue. This forms the foundation for that irresistible chewy texture we can’t get enough of.
- Next, add in the eggs, golden syrup (or honey), and vanilla extract. Increase the speed to high and mix for another 5 minutes.
- In a separate bowl, whisk together the flour, Dutch cocoa powder, cornstarch, baking soda, and salt until well combined.
- Gently fold the dry ingredients into the wet mixture, blending them carefully. Be careful not to over-mix, keep it thick and fudgy for the best results.
- Pour the batter into your prepared pan and spread it out evenly, making sure it reaches every corner. Bake for 25-30 minutes at 350°F.
- You’ll see the brownies rise and crack at the edges. You'll know they're done when a toothpick poked into the center comes out with a few soft crumbs sticking to it.
- While the brownies cool, prepare the frosting. Whip the salted butter and cream cheese until velvety smooth, then mix in the Dutch cocoa powder. If the mixture feels too thick, just add a splash of milk to smooth it out.
- Mix on low to keep it smooth and creamy. Slowly add powdered sugar, adding more milk as needed to achieve a thick, glossy frosting.
- Add in the vanilla extract and give it a stir to boost the flavor.
- Scoop the frosting onto your slightly cooled brownies. The heat will help it spread smoothly. Pop the brownies back in the turned-off oven for a few minutes to get that beautiful, glossy finish.
- Now, sprinkle your rainbow chocolate chips (or mini-M&M’s) on top while the frosting is still warm for that irresistible Cosmic touch.
- Let the brownies cool completely in the pan. Once cool, slice them into squares and enjoy a bite of pure brownie bliss!
Notes
- For ultra-fudgy brownies, hold back on overmixing, gentle stirring is key! A little folding is all it needs to keep that dense, chewy texture.
- Want even more flavor? Toss in a pinch of espresso powder to deepen and intensify that rich chocolate flavor. It’s like a secret ingredient!
- If you’re baking in a different pan size, keep an eye on the brownies. Smaller pans might take a bit longer, while larger ones could bake up quicker, use the toothpick test to be sure they’re just right!