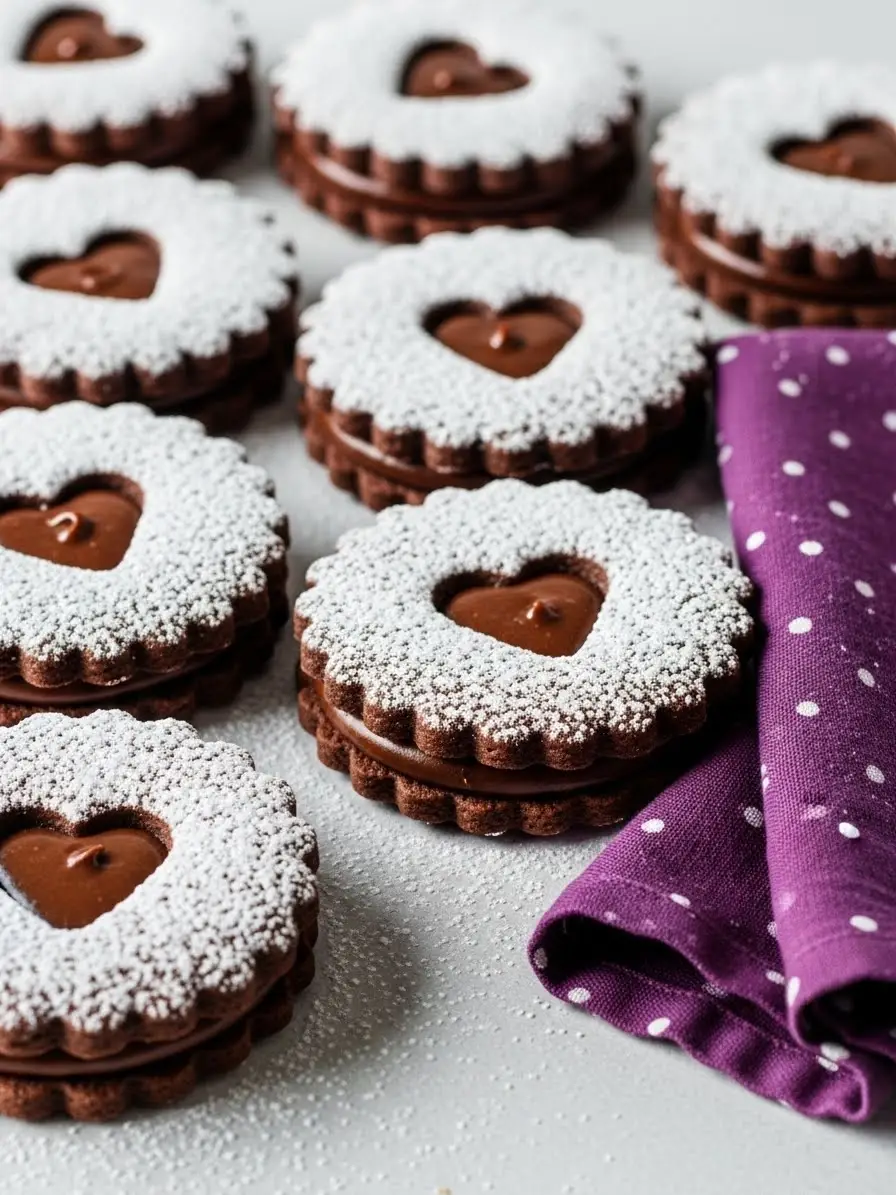
If you’re in the mood for something chocolatey and comforting, the kind of treat that makes the whole kitchen smell like happiness, these Chocolate Thumbprint Cookies are calling your name.
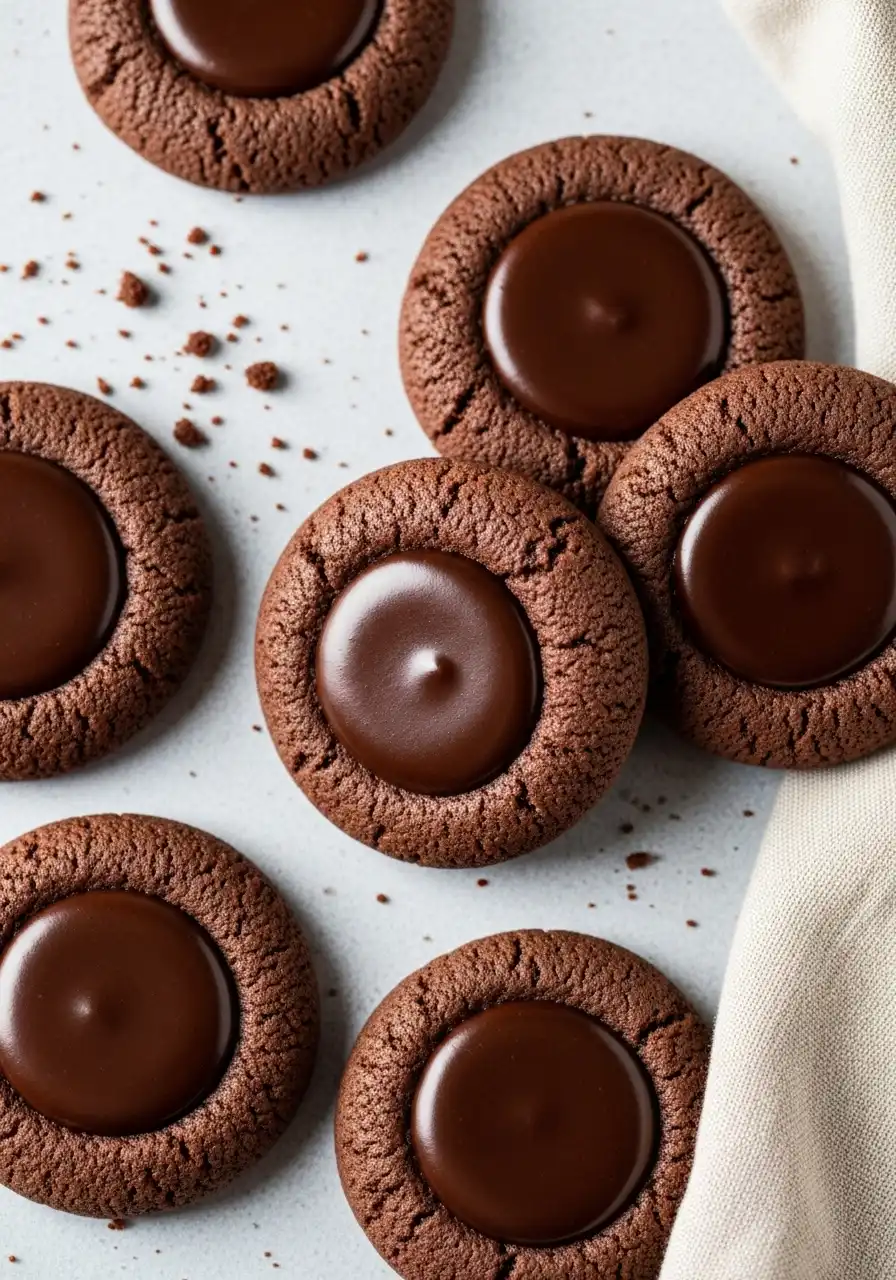
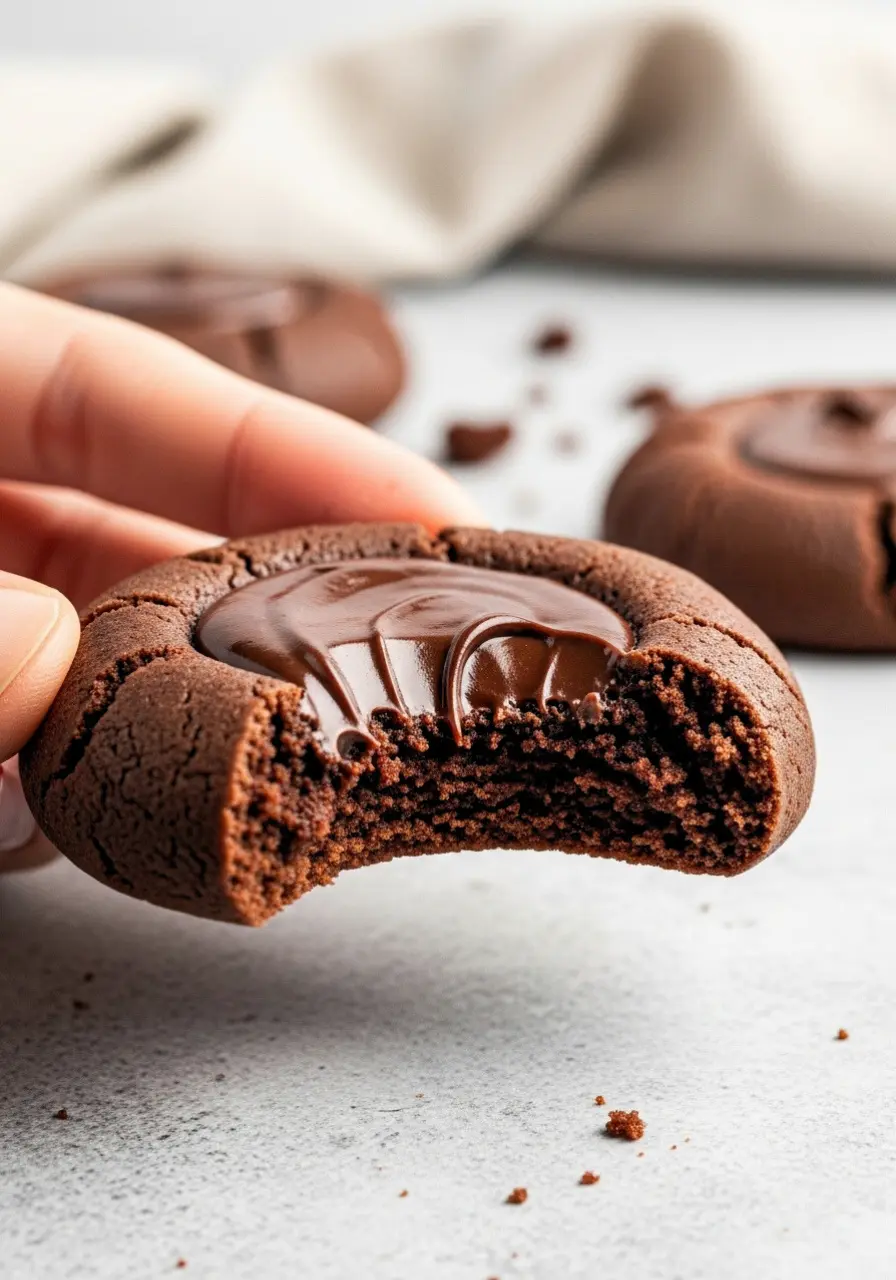
They’re soft, fudgy, and each one hides a glossy puddle of melted chocolate right in the center. It’s that little bite of joy you’ll keep reaching for, especially when the holidays roll around.
Pop a few into your Christmas cookie box, or share them with someone who deserves a sweet surprise. They’re the kind of holiday cookies that never last long, simple to make, beautiful to look at, and impossible to resist.
Why Chocolate Thumbprint Cookies Are Your New Favorite Treat
Simple ingredients, big reward, no complicated steps, just ingredients you probably already have in your kitchen.
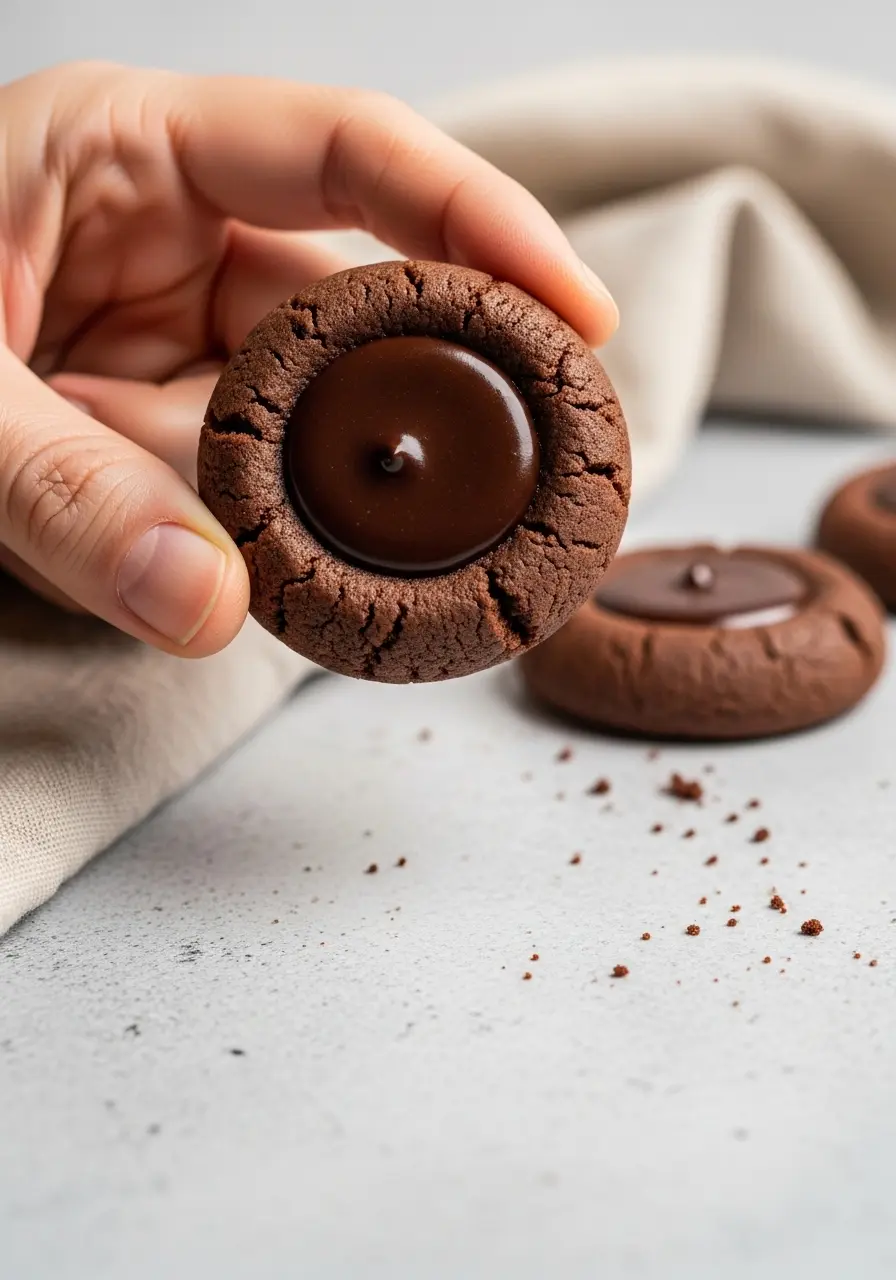
Fun to make (and eat!), shaping, pressing, and filling these cookies is oddly satisfying.
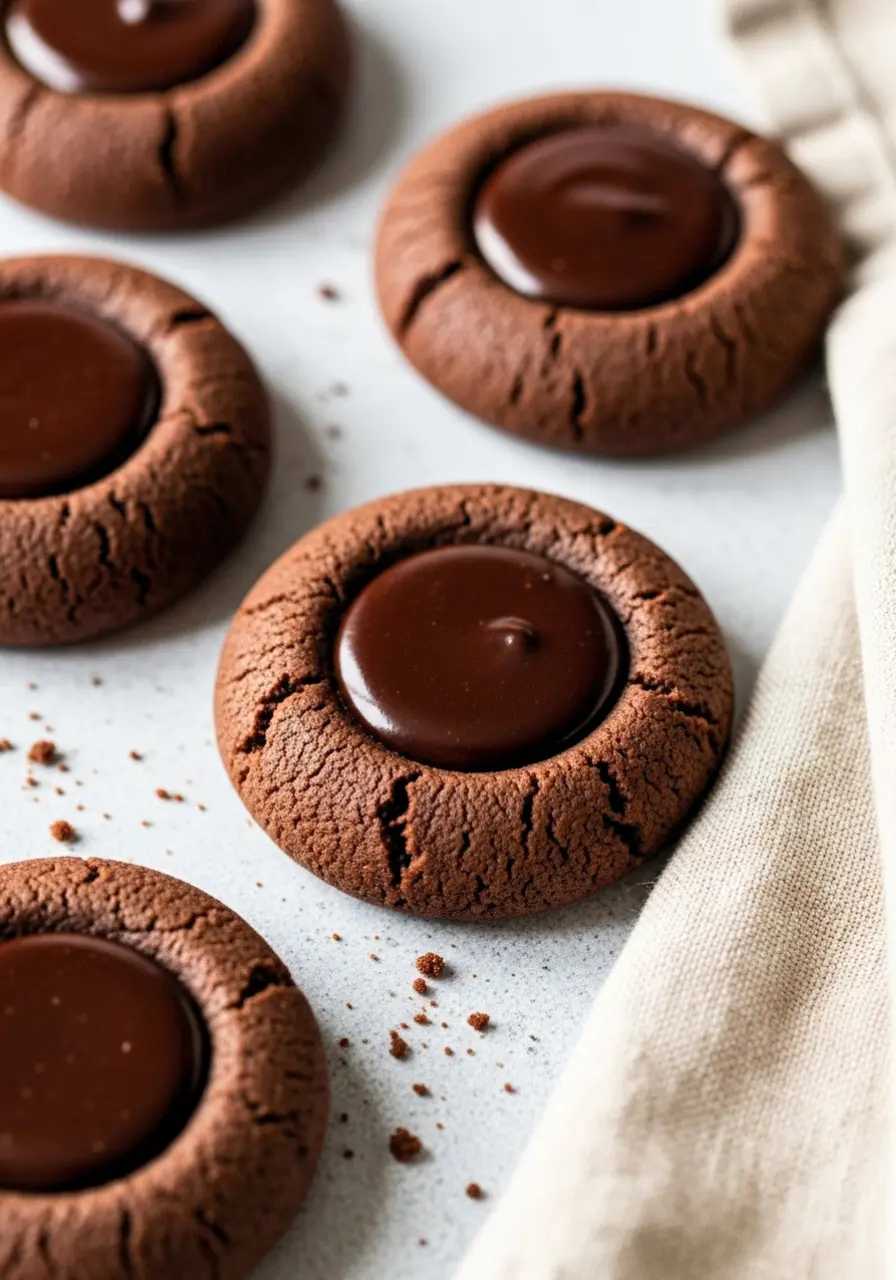
Melt-in-your-mouth magic, soft, slightly chewy, and just the right amount of cocoa richness.
Guaranteed smile factor, each cookie has the power to turn any day around.
What’s in Your Cookies
- Salted Butter: The heart of your cookies, gives them rich flavor and keeps them soft and tender. Plus, a little butter love never hurts!
- Brown Sugar: Adds that warm, caramel-y sweetness and helps your cookies stay chewy, the kind you secretly want to eat straight from the bowl.
- Granulated Sugar: Works behind the scenes to balance the sweetness and help the cookies hold their shape without being stiff.
- Large Egg: Think of it as the glue that keeps everything together.
- Vanilla Extract: That little drop of magic that turns simple dough into cozy, homey cookies. Trust me, don’t skip it.
- Milk: Just a tiny splash to make the dough easy to work with, keeps it soft and perfect for pressing those thumbprints.
- All-Purpose Flour: The base that gives your cookies structure without weighing them down, like a comfy foundation for all the chocolate goodness.
- Dutch-Process Cocoa Powder: Deep, rich chocolate flavor that makes the cookies taste like they came from a bakery, not your kitchen (though everyone will think you’re a pro!).
- Baking Soda: A little helper that lifts your cookies just enough and keeps them tender, so each bite is soft and perfect.
- Dark Chocolate (for filling): The showstopper! Gooey, melty chocolate that melts in your mouth and makes every cookie feel extra special.
- Heavy Cream (for filling): Turns chocolate into a silky, dreamy ganache, smooth, shiny, and so indulgent, you’ll want to lick the spoon.
How to Make Chocolate Thumbprint Cookies
Step 1: Cream the butter and sugars like a pro (but relaxed)
In a large bowl or stand mixer, beat the salted butter with both the brown sugar and granulated sugar until it’s light, fluffy, and just begging to become cookies.
You’ll see the texture change, that’s when you know you’re on the right track. Stop and scrape the sides of the bowl once or twice so no buttery bits hide away. Mix in the egg and vanilla extract. Set aside for now.
Step 2: Mix the dry stuff first
Grab a medium bowl and whisk together the flour, Dutch-process cocoa, and baking soda. Doing this now keeps your dough smooth and makes sure every bite has perfectly even chocolate flavor.
Step 3: Combine dry and wet without overthinking
Pour the flour mixture into the butter-sugar mix, add the milk, and stir gently until it comes together. Don’t overmix, thick, slightly sticky dough is perfect for shaping.
Step 4: Shape into little chocolatey treasures
Scoop out roughly tablespoon-sized balls and place them on a lined baking sheet. Use your thumb (or a small spoon handle) to make a small indentation in each, this is your future chocolate pool.
Step 5: Chill for better cookies and easier handling
Pop the tray in the fridge for 2-3 hours. Chilling helps them bake evenly and keeps the centers from flattening too much. Plus, it’s a good excuse for a short coffee break.
Step 6: Bake with love
Preheat your oven to 350°F (175°C). Bake the chilled cookies for 11–13 minutes until the edges are set but the centers are soft. Pro tip: if the thumbprint puffed up while baking, gently press it back down with a spoon.
Let the cookies cool for a few minutes on the sheet, then transfer to a wire rack.
Step 8: Make the silky chocolate ganache
Place the dark chocolate in a bowl. Heat the cream until it just starts to simmer, pour it over the chocolate, and let it sit for a few minutes. Stir gently until smooth and glossy.
Optional touch: swirl in a tiny pinch of sea salt for that “wow” flavor boost. Let it cool for another 5 minutes or so.
Spoon a little ganache into each thumbprint. Take a moment to appreciate those little chocolate wells. Enjoy!
Fun Variations to Try
- Nutty Surprise: Press a small toasted pecan or almond into the center before filling for a little crunch.
- Salted Caramel Twist: Swap ganache for a drizzle of caramel and a tiny pinch of sea salt, sweet and salty heaven.
- Mocha Moment: Add a sprinkle of instant coffee to the dough for a subtle coffee-chocolate flavor.
Things to Avoid
Skipping the chill: If you skip chilling the dough, your cookies might spread out like little chocolate pancakes instead of holding their cute thumbprint shape. Even just a quick 30-minute in the freezer helps them stay perfectly round.
Overmixing the dough: Once you add the flour, mix just until everything comes together. Overmixing can turn your soft, tender cookies into tough little bricks.
Filling warm cookies too soon: Pouring ganache into warm cookies is a chocolate explosion waiting to happen. Let them cool completely so the centers stay neat and glossy.
Crowding the baking sheet: Cookies need space to puff slightly. Give them 2 inches apart, or you’ll have chocolate blobs instead of individual cookies.
Not using a wire rack: Cooling directly on a pan traps steam and can make bottoms soggy. A wire rack ensures cookies stay crisp-edged and soft in the center.
How to Store Your Chocolate Thumbprint Cookies
Room Temperature: Keep your cookies in an airtight container for 2–3 days. They stay soft, and the ganache stays glossy, perfect for sneaky mid-afternoon treats.
Refrigerate for Fudgy Perfection: Store in the fridge for up to a week. The ganache firms slightly, giving each bite a satisfyingly fudgy center. Ideal for prepping ahead for gift boxes or parties.
Freeze for Later Joy: Freeze baked cookies without ganache for up to 2 months. Thaw, then add ganache for fresh, gooey centers anytime you crave chocolate magic.
Layer Like a Pro: Place parchment or wax paper between layers to avoid sticking or smudging.
Other Cookies That Steal the Show

Perfect Chocolate Thumbprint Cookies
Ingredients
For the Chocolate Cookies
- ½ cup 1 stick salted butter, softened
- ⅔ cup brown sugar light or dark, your choice
- ⅓ cup granulated sugar
- 1 large egg at room temperature
- 2 teaspoons milk
- 1 ½ teaspoons vanilla extract
- 1 ½ cups all-purpose flour
- ½ cup Dutch-process cocoa powder
- ½ teaspoon baking soda
For the Chocolate Ganache
- 4 ounces dark chocolate 60–70% cocoa
- ½ cup heavy cream
Instructions
- Start by beating the softened salted butter together with the brown sugar and granulated sugar in a large bowl or stand mixer. Mix until it’s light, fluffy, and creamy, you’ll see it change right before your eyes. Don’t forget to scrape down the sides a couple of times so every bit is included. Next, add the egg and vanilla extract and mix until fully incorporated.
- In another bowl, whisk the flour, Dutch-process cocoa, and baking soda together. This little step ensures the dough stays smooth and that every bite is packed with even chocolate flavor.
- Now, gently fold the dry ingredients into the butter mixture, adding the milk as you go. Mix just until combined, the dough should be thick, slightly sticky, and ready to shape into cookies.
- Scoop out tablespoon-sized portions of dough and place them on a lined baking sheet. Press the end of a spoon into the center of each cookie to make a small well, this is where the ganache will sit later.
- Chill the cookies in the fridge for 2–3 hours. This helps them keep their shape while baking and makes handling easier.
- Preheat your oven to 350°F (175°C). Bake the chilled cookies for 11–13 minutes, until the edges are set but the centers are still soft. If the thumbprints puff up, gently press them down again. Let the cookies cool for a few minutes on the sheet, then transfer to a wire rack to finish cooling.
- Start the ganache by putting the dark chocolate into a bowl suitable for heat exposure. Heat the cream until it just starts to simmer, then pour it over the chocolate. Let it sit for a couple of minutes before stirring until smooth and glossy. Add a tiny pinch of sea salt if you want an extra flavor boost. Let the ganache cool slightly, then spoon a bit into each cookie indentation, and then dig in!
Notes
- Press the thumbprint gently, too deep and the cookie might collapse, too shallow and the ganache spills.
- Don’t stress if cookies crack a little, it adds a homemade charm.
- Make sure your butter is soft, not melted, for the best texture.