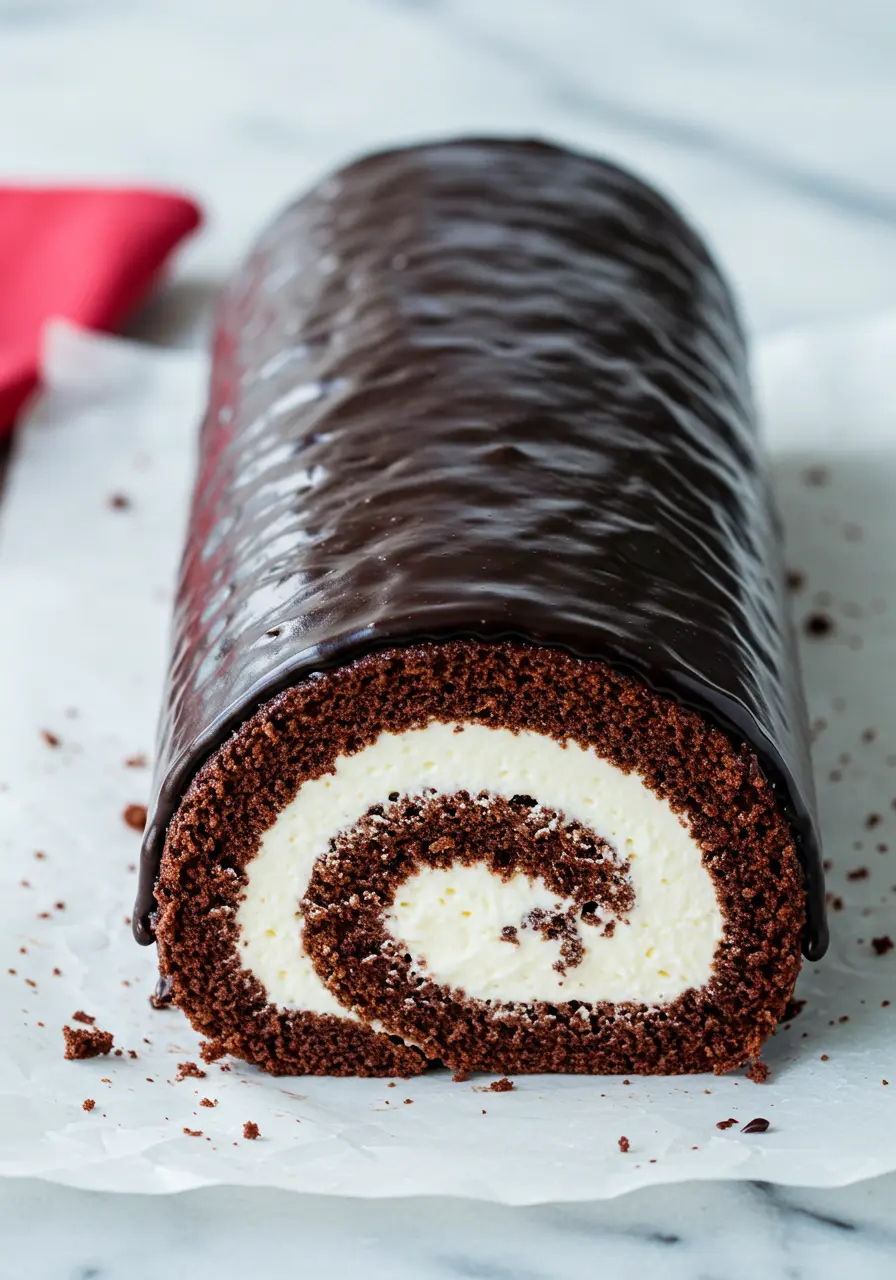
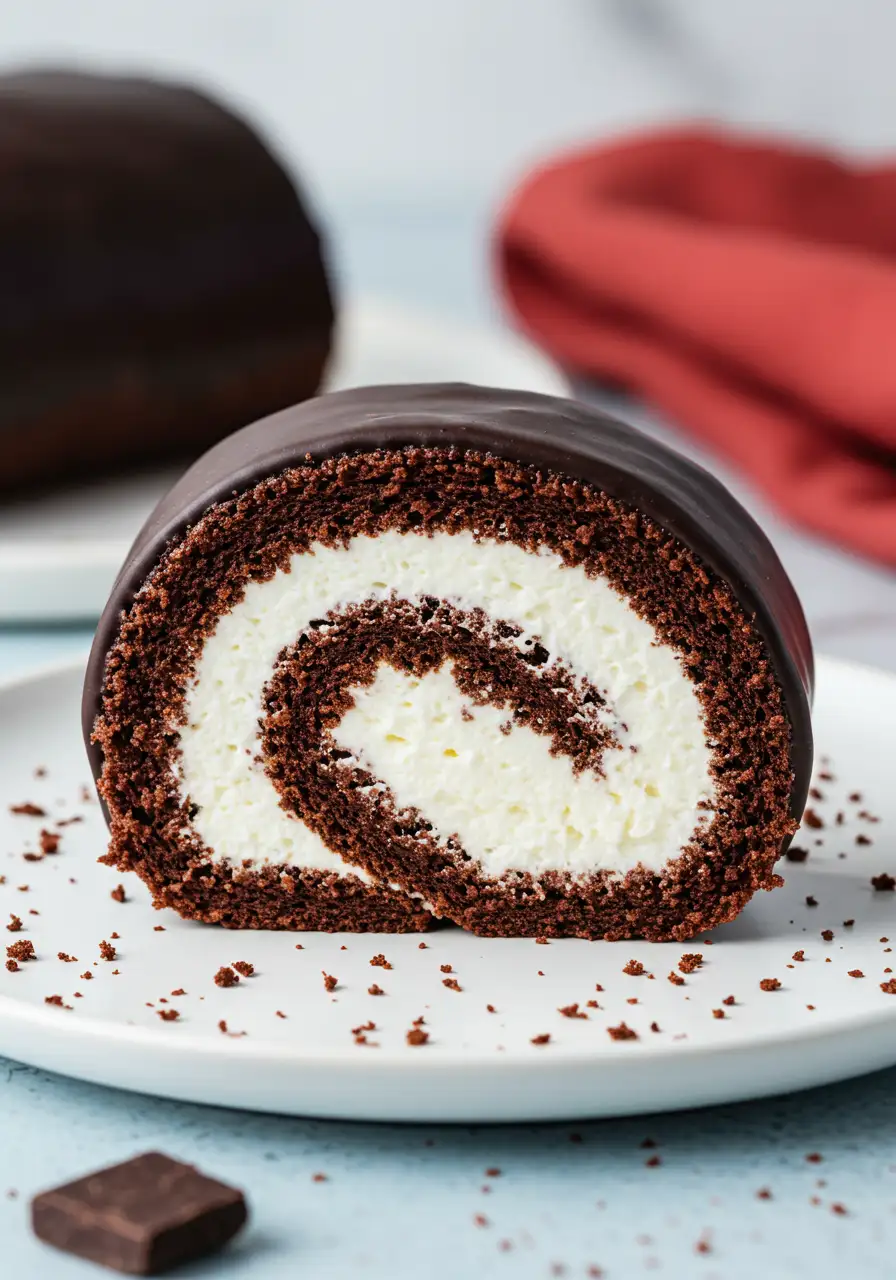
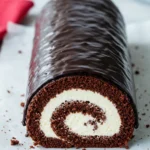
If you’ve ever wanted to make a dessert that looks impressive but is secretly so simple, this Chocolate Swiss Roll is your go-to. It’s soft, light, and deeply chocolatey, with a creamy filling that makes every bite feel like a bakery treat made right in your own kitchen.
I get it, cake roll recipes can seem a bit intimidating at first (rolling a cake? really?), but this one is beginner-friendly, fuss-free, and honestly kind of fun to make.
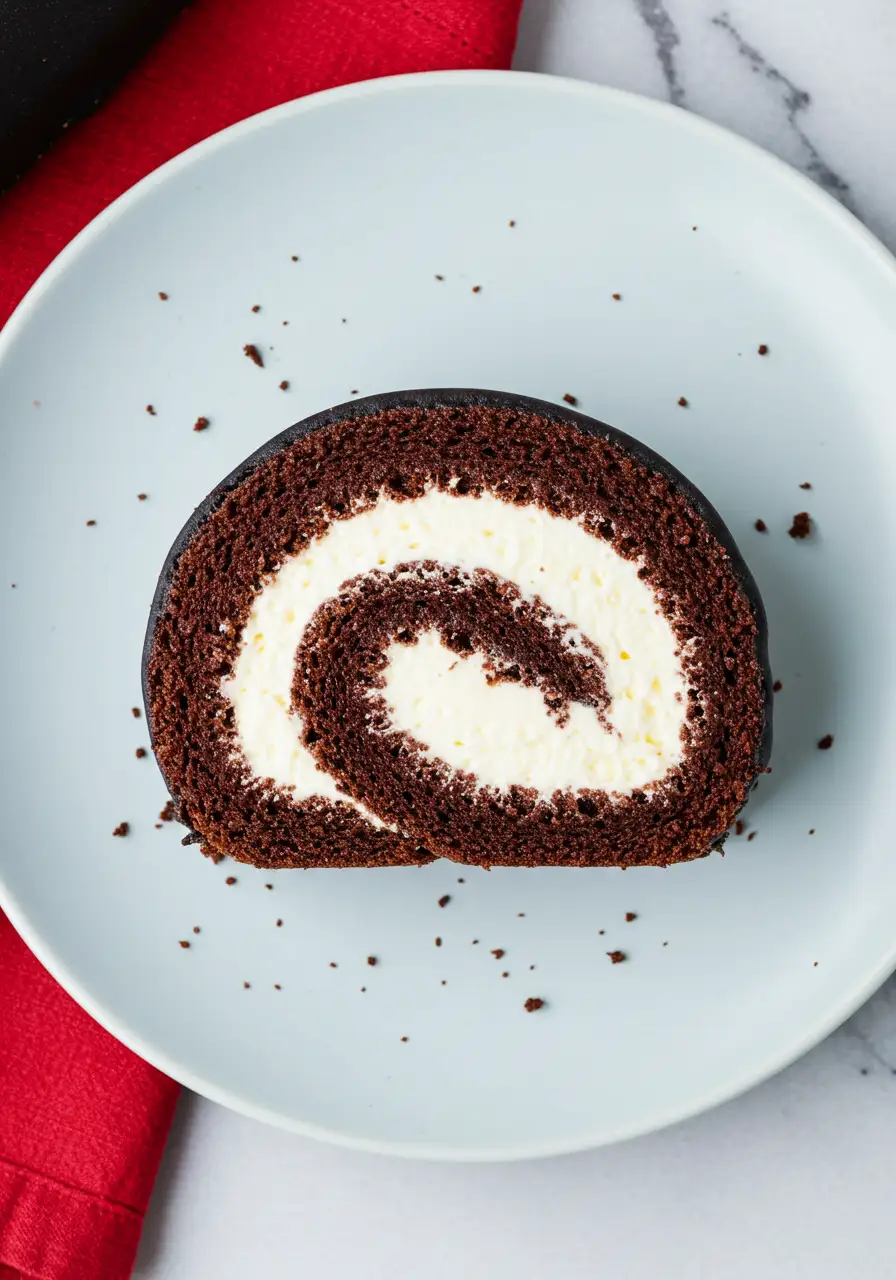
This chocolate roll cake is perfect for any moment, special days or just when you’re craving something sweet and familiar. Rich cocoa flavor, smooth filling, and that beautiful swirl when you slice it.
In this post, I’ll walk you through each step so you can confidently roll it up like a pro, no cracks, no stress, just delicious results.
What Makes This Chocolate Swiss Roll So Special
Works for literally any occasion. Birthdays, brunches, holidays, or just a Tuesday night sweet craving, it fits them all. Top it with fruit, dust on some cocoa, or keep it plain, it’s delicious no matter what.
Minimal mess, maximum wow. No layers to stack. No frosting to smooth on the sides. You bake it flat, roll it up, and boom, dessert done. Less cleanup, more applause.
Beginner-approved, but feels bakery-made. If you’ve never baked a roll cake before, don’t stress, I’m walking you through every step with tips to make it smooth and fun. You’ve got this, and you’ll be so glad you went for it!
It teaches you a cool new baking skill. Once you’ve rolled your first cake, you’ll realize… wait a minute, I can do this with pumpkin, vanilla, red velvet, and more! This recipe is a gateway to an entire swirled world.
You can freeze slices for midnight cravings. Freeze a piece now, and your future self will thank you. It’s cold, fudgy, creamy, and ridiculously satisfying when that late-night sweet tooth hits.
The Ingredients You’ll Need
- Eggs + an extra yolk: I like using 3 eggs and one extra yolk, it gives the sponge a richer texture and keeps it flexible for rolling.
- Granulated sugar: Helps sweeten things up and whips beautifully into the eggs for that light, airy base.
- Neutral oil: You can use vegetable or canola oil. It keeps the cake moist without adding any flavor, super helpful when you want the chocolate to shine.
- Pure vanilla extract: It adds a cozy depth of flavor to both the cake and the filling.
- Dutch-processed cocoa powder: I like this kind because it gives the cake a deeper chocolate taste and a gorgeous rich color.
- All-purpose flour: Classic and reliable, it gives the cake structure without making it too heavy. Maybe sift it if you want an extra smooth batter.
- Baking powder + baking soda: I recommend using both, they work together to create a light, even rise without puffing up too much.
- Salt: Just a pinch goes a long way. I typically mix a touch into both the cake and the filling to mellow the sweetness and create a more harmonious flavor.
- Cream cheese: Softened cream cheese gives the filling that smooth, slightly tangy texture, kind of like a light cheesecake swirl. I like using full-fat for best results.
- Unsalted butter: Makes the filling rich and creamy. I recommend letting it soften first so it blends easily.
- Powdered sugar: You’ll use this in both the filling and the ganache. It sweetens without adding any grainy texture.
- Dark chocolate: I like using chocolate chips or chopped chocolate bars, just go with something you enjoy eating on its own for the best flavor in the ganache.
- Heavy cream: Helps melt the chocolate into a silky, dreamy ganache. You can gently warm it to help everything blend.
- Milk: Used to thin out the ganache just enough to make it spreadable. You can adjust depending on how thick or drippy you like it.
How to Make Chocolate Swiss Roll
Step 1: Warm Up That Oven & Prep Your Pan
Preheat your oven to 350°F (175°C). Grab your trusty jelly roll pan, mine’s 15×10 inches, and give it a light coat of cooking spray or oil. Then, line it with parchment paper with a bit of overhang on the sides. This little overhang trick? Absolute game changer when you need to lift the cake out without breaking a sweat later.
Step 2: Whisk Those Eggs Like You Mean It
In a big bowl, crack in your eggs and the extra yolk. Add sugar and vanilla. Now, here’s where you get your arm workout, whisk or beat until it looks lighter, fluffy, and slightly pale. Don’t rush this, this is where your cake’s light, springy personality is born.
Next, drizzle in your neutral oil while gently mixing. This sneaky step keeps your cake moist without stealing the show from the chocolate.
Step 3: Mix Your Dry Team
In a separate big bowl, whisk together the flour, Dutch-processed cocoa, baking powder, baking soda, and salt. I like to imagine this as gathering my dream team, it’s all about balance and making sure every bite has that perfect chocolate punch.
Step 4: Fold With Care
Slow and steady wins the race here. Fold your dry ingredients into the wet batter with a spatula, no over-mixing! You want everything just blended, like a good conversation, smooth and easy.
Step 5: Batter Up & Bake
Pour your batter into the pan and smooth it out evenly. Bake it for 10 minutes, and you’re good to go. When it’s done, the top should spring back lightly when you touch it, think of it like testing a handshake, firm but friendly.
Step 6: The Clean & Easy Roll
This is where the magic happens. As the cake bakes, prep a sheet of parchment paper large enough to catch it when you flip it out.
Once the cake comes out of the oven, quickly flip it out of the pan onto the fresh parchment paper (the warm cake goes face-down onto the fresh parchment). Carefully peel off the parchment paper that the cake baked on (the bottom side).
Now here’s the key: while the cake is still warm and flexible, roll it up gently with the fresh parchment paper wrapped around it, starting from a short side, parchment and cake together, like a cozy little chocolate log.
Let it rest rolled up like this on a wire rack until completely cool, about 1 hour. This gentle roll while warm “trains” the cake to hold its shape without cracking later.
Step 7: Filling Time, Get Creamy
While your cake chills, whip up the filling. Blend the softened butter and cream cheese until it’s light, smooth, and free of lumps. Add powdered sugar, vanilla, and a pinch of salt.
Thin it out with a bit of milk if needed, or thicken it up with extra sugar. This filling should spread like a dream but hold its shape.
Step 8: Unroll, Spread, and Reroll (Like a Pro)
Once the cake has cooled, carefully unroll it.
Spread the filling evenly, but leave about a finger-width border so things don’t get too wild when you roll it back up. Roll it back up slowly and with care, like wrapping a precious gift.
Wrap it tightly in plastic wrap and pop it into the fridge for 30 minutes. This chill time helps the filling set and the roll hold its shape, no sagging allowed here.
Step 9: Ganache Magic
In a microwave-safe bowl, combine your dark chocolate and heavy cream. Microwave in short bursts, stirring in between, until silky smooth.
Whisk in powdered sugar, then add milk tablespoon by tablespoon until your ganache is the perfect pourable consistency, not too thick, not too runny.
Step 10: The Grand Finale
Set your cake on a wire rack with a tray underneath to catch the drips (because nobody likes a mess!). Pour that luscious ganache all over the top, smoothing gently with a spatula.
You can let it sit for 15 minutes or so to help the ganache set, making it easier to cut without the mess.
Slice, serve, and watch your friends and family go wild.
Mistakes to Avoid When Making Your Chocolate Swiss Roll
Making a Swiss roll cake might seem tricky, but with a little care, you’ll have it looking and tasting like a pro’s. Here are the common pitfalls, and how you can easily dodge them:
Overbaking the cake
It’s tempting to bake until you think it’s perfectly done, but remember: Swiss roll sponge needs to stay soft and flexible. If it gets too dry or stiff, it’ll crack when rolling. Keep a close eye around the 9-10 minute mark and do the “spring back” test, lightly press the top; if it bounces back, it’s ready!
Ignoring ingredient temperatures
Room temperature eggs and butter make a big difference in how your batter comes together and bakes. Cold eggs or butter can make the batter lumpy or the cake dense.
Not measuring ingredients accurately
Baking is a science, so eyeballing flour or sugar can throw off your texture big time. I recommend using a kitchen scale if you can, it’s a game changer! If not, spoon flour into your measuring cup and level it off gently instead of scooping straight from the bag.
Overmixing the batter
It’s tempting to mix everything perfectly smooth, but overmixing develops gluten and can make your cake tough or chewy. Fold in the dry ingredients gently and stop as soon as it’s combined, you want a light, tender sponge, not bread!
Other Topping Ideas to Elevate Your Chocolate Swiss Roll
- Classic Whipped Cream: Light, airy, and never fails. Just whip it up and spread or pipe on top for a soft, creamy finish.
- Powdered Sugar Dusting: Super simple but elegant. Just a light dust of powdered sugar makes your roll look bakery-fresh.
- Honey or Maple Syrup Drizzle: Adds a natural sweetness and glossy shine with zero fuss.
- Peanut Butter Glaze: Melt some peanut butter with a splash of milk and powdered sugar for a smooth, nutty glaze that pairs insanely well with chocolate.
- A drizzle of salted caramel sauce: Because everything is better with a little sweet-salty magic!
How to Store Your Chocolate Swiss Roll
Wrap it tight: Use plastic wrap to snugly cover the roll, this keeps it moist and stops it from absorbing fridge smells. I double-wrap it to make sure it stays super fresh.
Chill it properly: Store the wrapped roll in the fridge. The filling and cake both need that cool hug to stay firm and sliceable.
Freeze for longer storage: Want to save it for later? Seal in plastic and foil, then freeze for as long as 2 months.
FAQs
What’s the best way to slice the Swiss roll without it falling apart?
Carefully cut with a serrated blade, applying light, steady sawing strokes. Make sure your roll is well chilled, the firmer it is, the cleaner the slice. Also, wipe your knife between cuts to keep slices neat and pretty.
Why is the cake so thin? Shouldn’t it be thicker?
Swiss rolls traditionally have a thin sponge layer, that’s what makes rolling easy without cracking. Thicker cakes tend to break or crumble when rolled.
How to prevent cake sticking to parchment?
Start by greasing the pan lightly, then line it with good parchment, never reused. Once the cake’s out, carefully peel off the parchment while it’s warm to avoid sticking or tearing.
What’s the best way to reheat leftovers?
If you want to enjoy your Swiss roll warm, pop a slice in the microwave for about 10-15 seconds. Be careful not to overheat, or the filling might get too soft and messy. A quick warm-up makes the chocolate flavors bloom and gives a cozy feel.
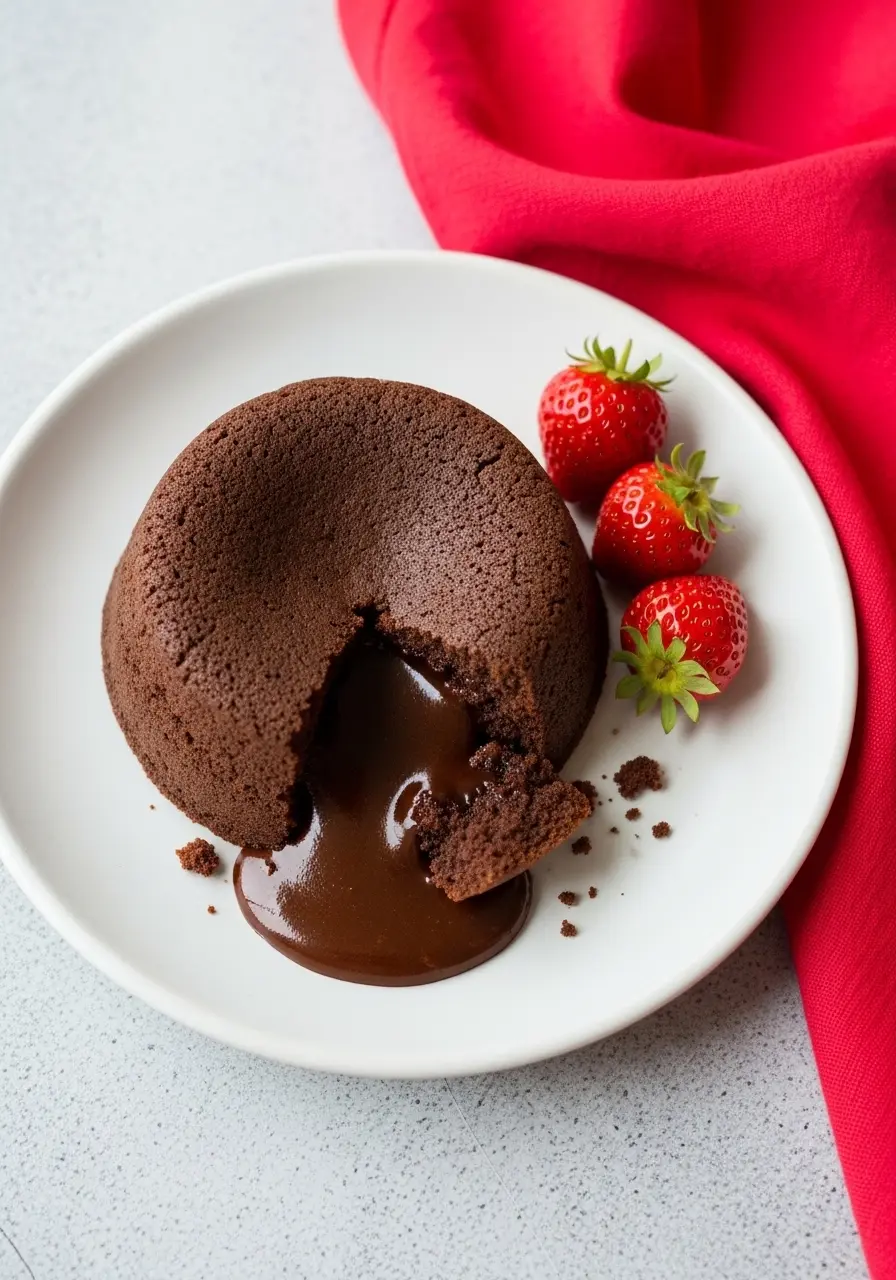
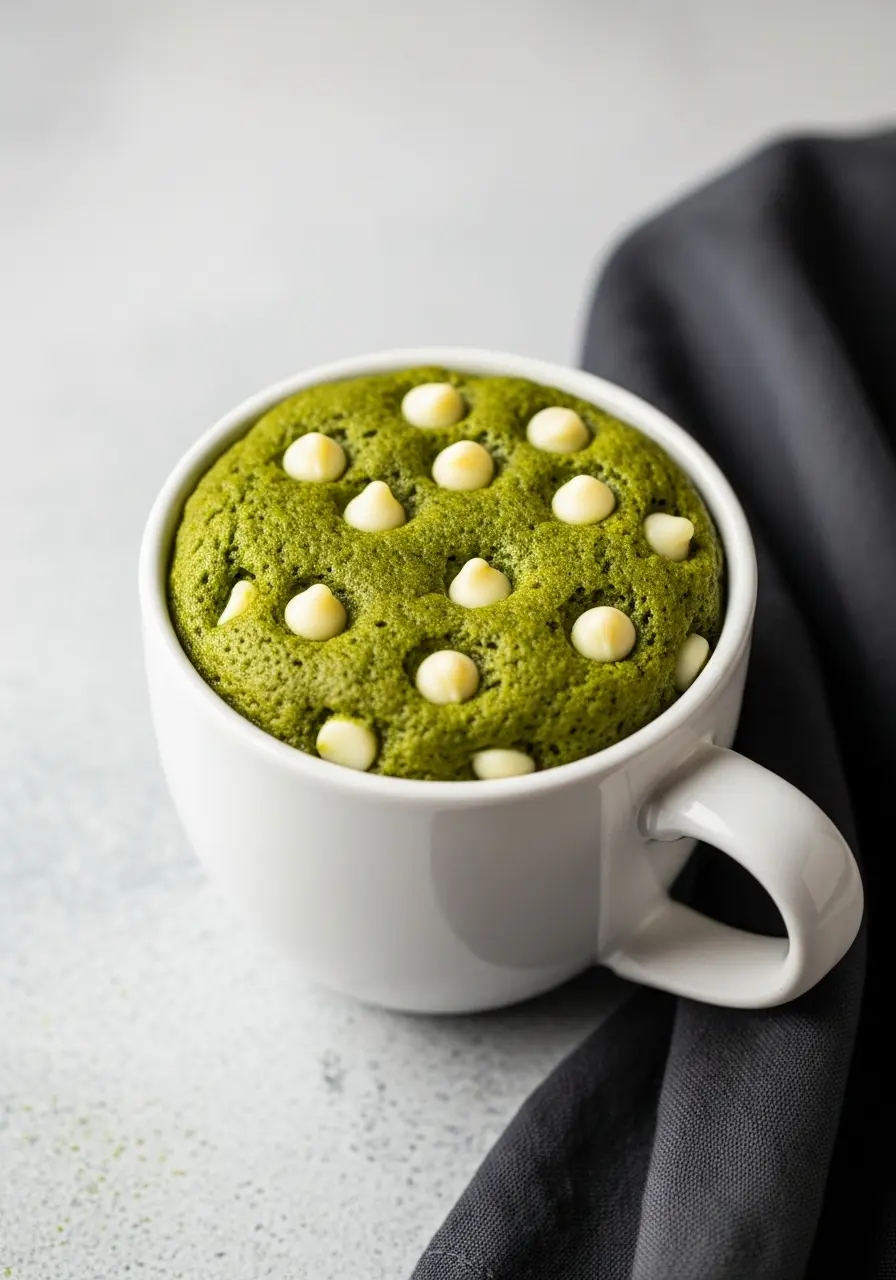
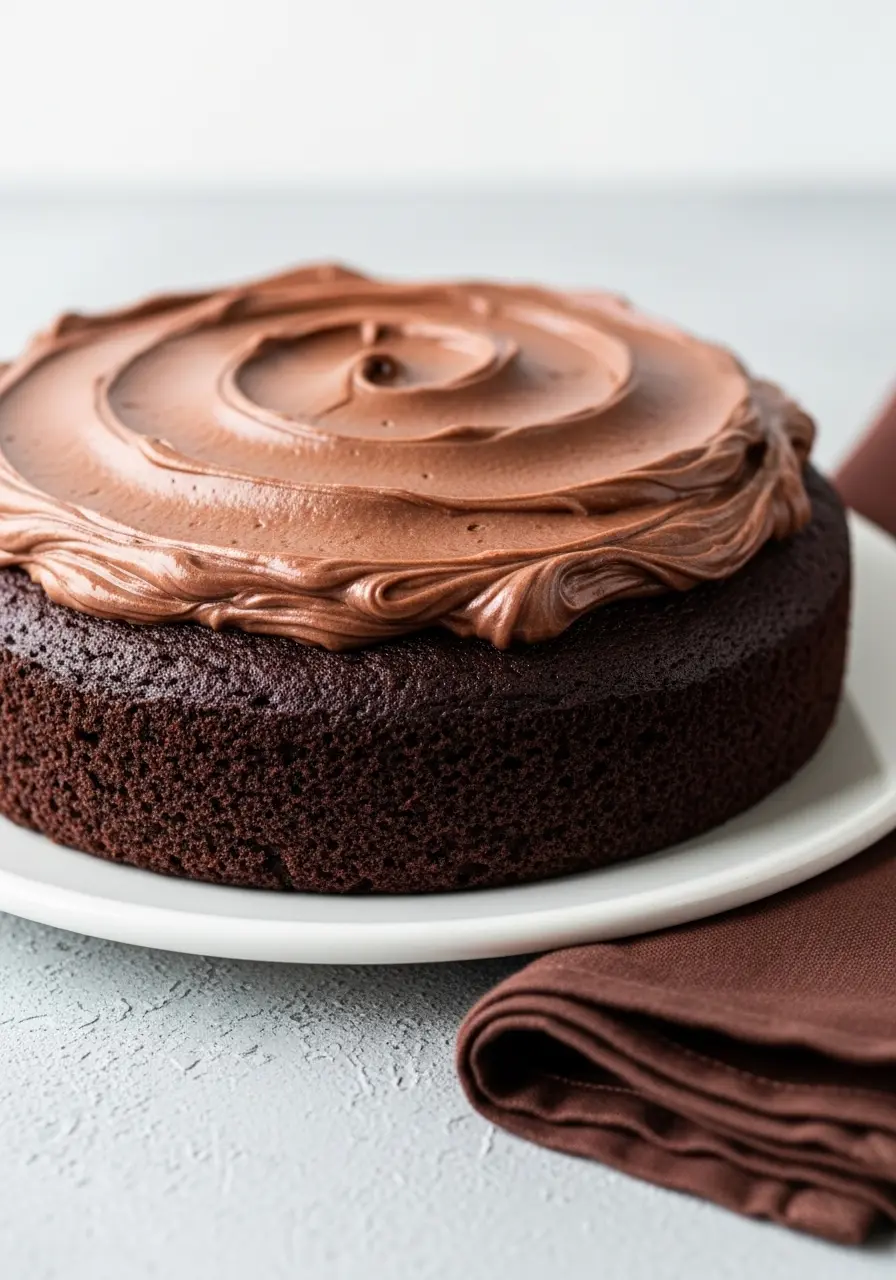
More Chocolate Treats to Bake
Don’t forget to save this chocolate Swiss roll cake to your board so you can come back to it anytime the craving hits. And if you give it a try, I’d genuinely love to hear how it went, share your thoughts in the comments.
Light & Creamy Chocolate Swiss Roll
Ingredients
For the Chocolate Cake:
- 3 large eggs + 1 egg yolk at room temperature
- ½ cup granulated sugar
- 1½ teaspoons pure vanilla extract
- 2 tablespoons neutral oil like canola or vegetable
- ¼ cup Dutch-processed cocoa powder
- ½ cup all-purpose flour
- ¾ teaspoon baking powder
- ¼ teaspoon baking soda
- ½ teaspoon salt
For the Creamy Filling:
- ⅓ cup unsalted butter softened
- 8 oz block cream cheese softened
- 1¼ cups powdered sugar sifted
- 1 teaspoon vanilla extract
- ½ teaspoon salt
For the Chocolate Ganache Topping:
- ⅔ cup dark chocolate chips or chopped
- 3 tablespoons heavy cream
- 3 tablespoons powdered sugar
- 3 tablespoons milk adjust to preferred consistency
Instructions
- Start by preheating your oven to 350°F (175°C). Lightly grease a 15×10-inch jelly roll pan and line it with parchment paper, leaving some extra hanging over the edges.
- In a large mixing bowl, crack in your eggs plus an extra yolk, then add sugar and vanilla extract. Whisk everything together vigorously until the mixture becomes pale, thick, and fluffy. Slowly pour in your neutral oil while gently stirring to keep the batter moist and rich without overshadowing the chocolate flavor.
- In a separate bowl, sift the flour, Dutch-processed cocoa, baking powder, baking soda, and salt together. Think of this as the flavor backbone, blending all the dry ingredients for that deep chocolate kick.
- Using a spatula, gently fold the dry mixture into the wet ingredients. Be careful not to overwork the batter; you want it just combined to keep the cake soft and light.
- Pour the batter evenly into your prepared pan and smooth the top. Bake for about 10 minutes.
- As the cake bakes, get a clean piece of parchment paper ready, big enough to hold the cake when you flip it. Once the cake comes out of the oven, quickly flip it out of the pan onto the fresh parchment paper, so it lands face down.
- Carefully peel off the parchment paper the cake baked on. While the cake is still warm and flexible, roll it up gently with the fresh parchment paper inside, starting from the short edge. Rolling it this way “trains” the cake to hold its shape and prevents cracking. Let it cool fully while rolled, resting on a wire rack for 1 hour.
- While the cake cools, beat together softened cream cheese and butter until smooth and creamy. Add powdered sugar, vanilla, and a pinch of salt, adjusting with a splash of milk or more powdered sugar to reach a spreadable consistency that holds its shape.
- After cooling, carefully unroll the cake and evenly distribute the filling, keeping a narrow edge clear. Roll it back up slowly and tightly, wrap it in plastic wrap, and chill for at least 30 minutes. This resting time helps the filling set and makes the roll easier to slice.
- Heat the dark chocolate and heavy cream in the microwave in brief intervals, stirring after each to create a smooth ganache. Stir in powdered sugar, then add milk gradually until the ganache becomes pourable but not runny.
- Place the chilled roll on a wire rack with a tray underneath. Drizzle ganache on the surface and smooth it gently with a spatula. Then, dig in!
Notes
- Feel free to swap in your favorite extract, almond or hazelnut add a lovely twist to the vanilla.
- Leftover ganache? It makes a killer dip for fresh fruit or a swirl into your morning coffee.
- For a glossy ganache finish, stir in a tiny bit of corn syrup or honey while melting the chocolate.
- Use fresh baking powder and soda for the best rise and fluffiness.