Have you ever had a craving that just won’t quit? The kind that’s so specific, you want something rich, something comforting, something that hits that perfect balance of sweet and salty. That’s exactly what this Chocolate Peanut Butter Cake is all about.
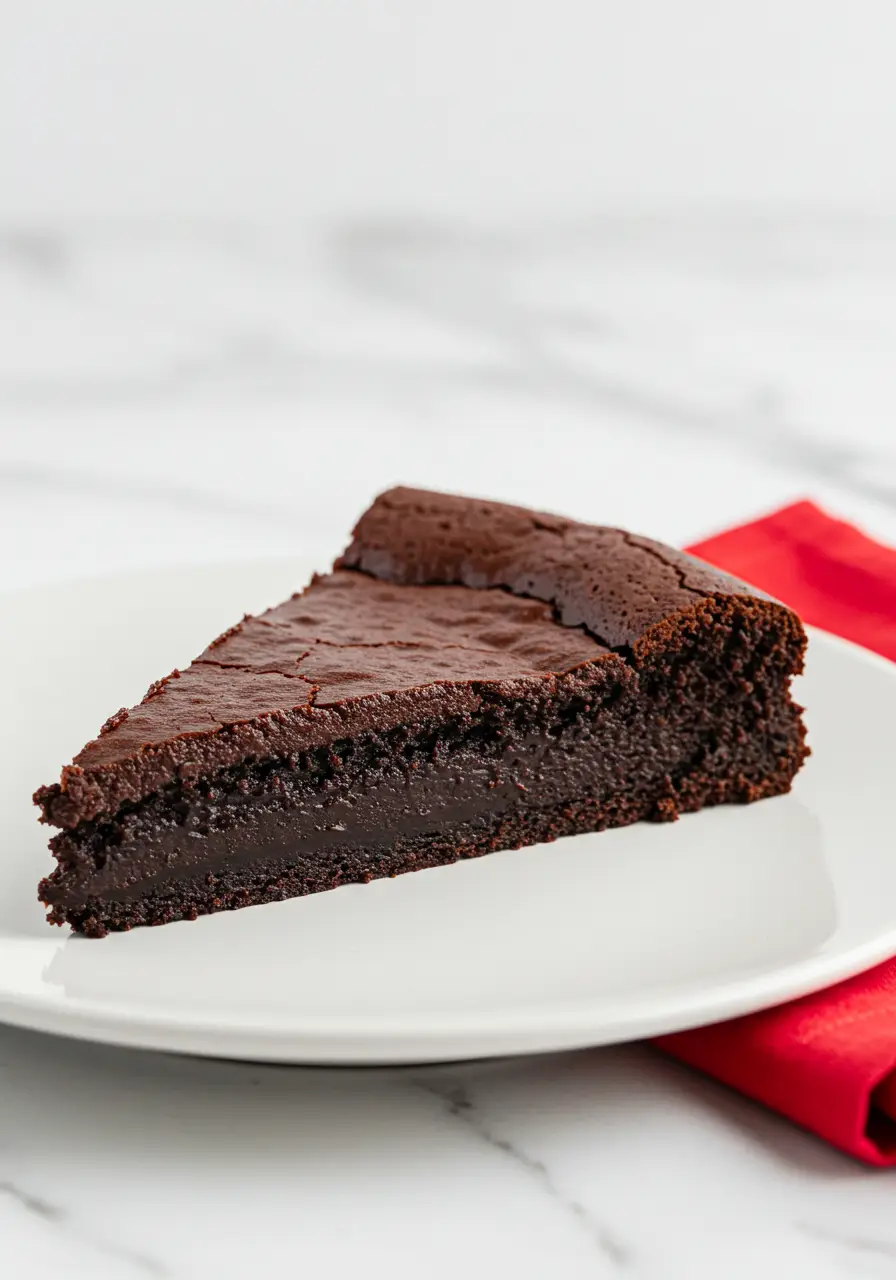
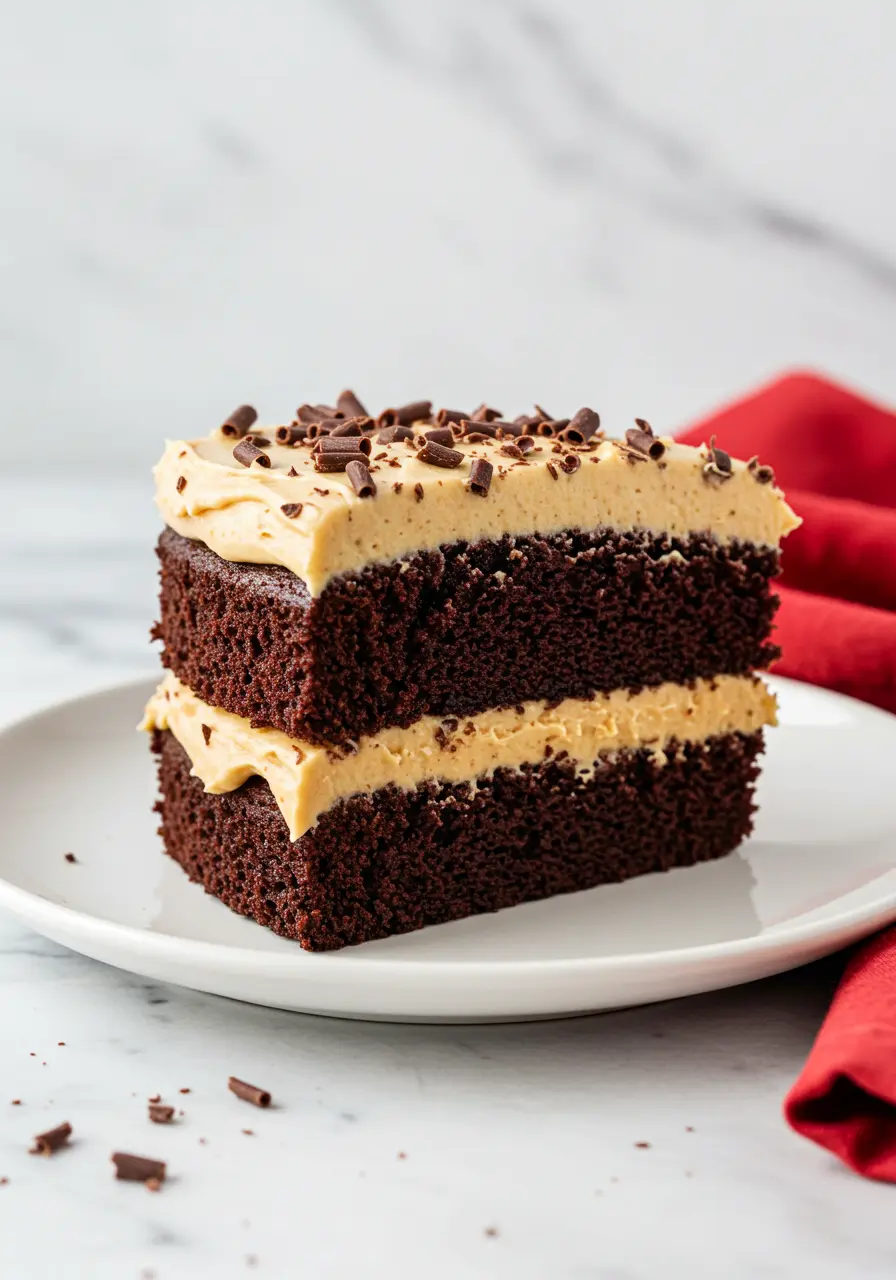
Imagine a slice of decadent chocolate cake so moist it practically melts in your mouth, topped with a smooth, creamy peanut butter frosting that makes every bite feel like a cozy hug.
Jump to
The best part? It’s not just a cake. It’s a mood.
Why You’ll Love This Chocolate Peanut Butter Cake
- Simplicity meets indulgence: This cake is surprisingly easy to make, but it tastes like it’s straight out of a professional bakery. No fancy techniques, just simple ingredients that come together in the most delicious way possible.
- One bite and you’re hooked: The balance of flavors is so spot-on; you’ll find yourself going back for just one more slice (and then another). The chocolate’s deep richness and peanut butter’s smoothness make it totally addictive.
- A showstopper for any occasion: From birthdays to a cozy weekend treat, this cake is guaranteed to impress. It’s that perfect dessert that makes everyone say, “Where did you get this from?” Spoiler: It’s homemade magic.
- It makes you feel like a pro baker: Don’t worry if you’re a beginner; this cake is practically foolproof. It looks like you spent hours baking, but it’s actually so easy. You’ll feel like a dessert genius with minimal effort.
How to Make Your Chocolate Peanut Butter Cake
This cake comes together in no time, and the end result? Well, let’s just say it’s pure heaven in every bite. Let’s break it down step by step so you can master this cake like a pro!
Prepare Your Oven and Pans
Before we dive into the cake magic, let’s get the oven ready. Preheat it to 350°F (175°C).
Grab two 8-inch round cake pans and line the bottom with parchment paper. This little step ensures your cake layers slide out easily and don’t stick. No cake left behind, right?
Mix the Dry Ingredients
Grab a medium bowl and combine your flour, cocoa powder, instant espresso powder, baking powder, baking soda, and salt.
Thoroughly stir the mixture to ensure all ingredients are evenly combined. The espresso powder isn’t just for extra caffeine; it enhances the chocolate flavor, giving your cake that deep, rich taste that everyone will rave about.
Set this dry mix aside for now, this is the foundation of your cake!
Blend the Wet Ingredients
In a separate, larger mixing bowl, combine the melted butter and oil with the granulated sugar and brown sugar.
Use a whisk to blend them together until it looks nice and smooth. Now, add in the eggs one at a time, making sure each one is fully incorporated before adding the next.
This gives the batter the perfect structure to rise just right. You should have a silky-smooth, slightly glossy mixture here.
Bring it All Together
Time to bring your dry and wet ingredients together. Start by adding half of the dry mix to your wet ingredients.
Gently fold it in with a whisk, don’t overdo it. Once it’s just about combined, add half of your milk. Whisk until you can’t see any more dry spots.
Repeat with the remaining flour mixture, and then the rest of the milk. You should end up with a batter that’s thick but pourable, don’t worry if it’s a little lumpy; it’s all part of the charm.
Divide the Batter and Bake
Carefully divide the cake batter between the two pans, filling them about ¾ full. Don’t stress about it being perfect, just eyeball it, and it’ll be great.
Now, pop the pans into your preheated oven. Bake for about 35-40 minutes. You’ll know it’s done when a toothpick inserted into the center comes out with only a few crumbs attached.
If it hasn’t reached the desired consistency, let it go for a few more minutes.
Let the Cakes Cool
Once your cakes are out of the oven, let them rest in their pans for about 15 minutes. This makes sure they don’t fall apart when you flip them. After the waiting time, gently run a knife or spatula around the edges to loosen them.
Flip the pans over, and let the cakes cool on a wire rack until they’re completely cooled off, patience is key here, so don’t skip this step!
Whip Up the Peanut Butter Frosting
While your cakes are cooling, let’s tackle the frosting. In a large bowl, use an electric mixer to beat your softened butter until it’s light and fluffy, about 3-5 minutes.
Add in the powdered sugar gradually and keep mixing until everything is perfectly combined and airy.
Now, mix in the peanut butter and vanilla extract. The peanut butter should add that creamy, nutty flavor that pairs perfectly with the chocolate. If the frosting feels too thick, just add a tablespoon or two of heavy cream to loosen it up.
Assemble Your Cake
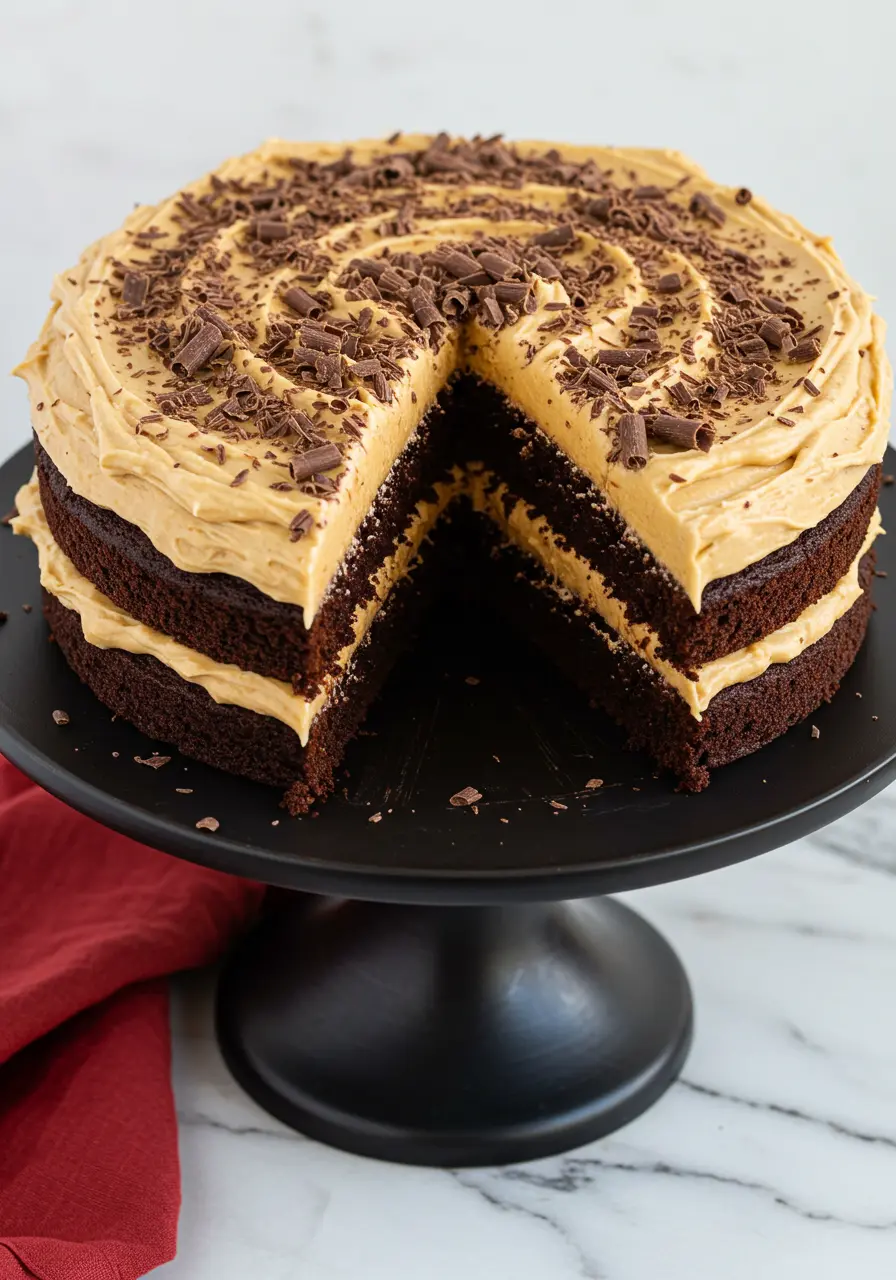
Once your cakes are completely cool, it’s time to assemble. Set a single layer of cake on a cake stand or a serving plate as the foundation.
Spread a thick, even layer of peanut butter frosting on top, making sure you’re careful not to let it spill over the sides.
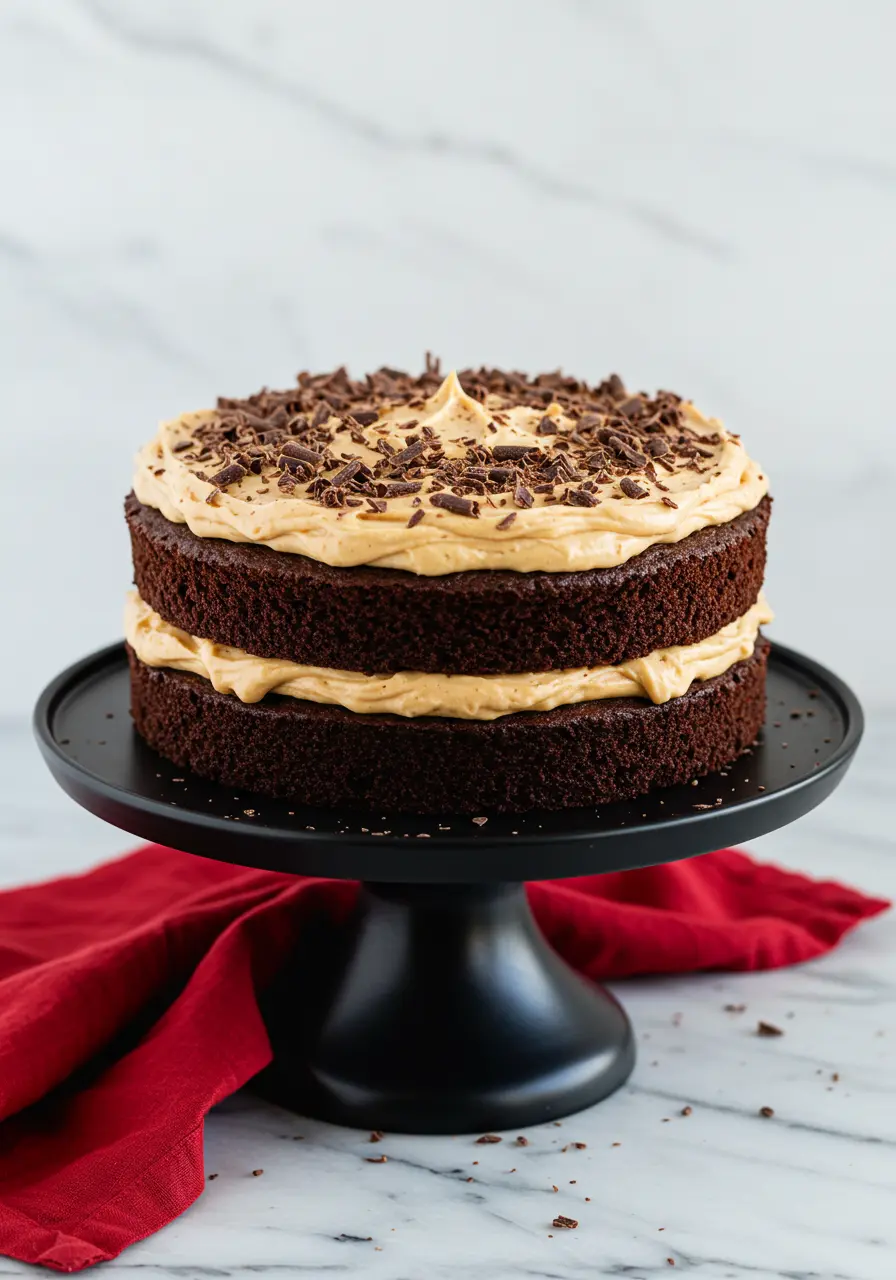
Add the second layer of cake, and then the remaining frosting. Finish it off with chocolate shavings for that extra decadent touch.
What to Serve with Your Chocolate Peanut Butter Cake
- Vanilla Ice Cream – A scoop of creamy vanilla ice cream is the perfect contrast to the rich cake. The coolness balances out the warm, indulgent flavors.
- Fresh Berries – Lighten things up with some juicy raspberries, strawberries, or blueberries. They add a fresh pop that cuts through the sweetness.
- Espresso – If you’re a coffee lover, a strong shot of espresso will intensify the chocolate flavor and provide a little bitterness to balance the sweetness.
- Caramel Sauce – Drizzle some smooth caramel over the top for a sweet and salty flavor combo that’s to die for.
4 Mistakes to Avoid
- Using Cold Ingredients – Cold butter, eggs, or milk can cause your batter to seize up or not mix properly. Always bring them to room temperature for smooth, even mixing.
- Overmixing the Batter – It’s tempting to keep mixing, but overdoing it can make your cake dense. Mix just until everything is combined, and you’ll have a light, airy texture.
- Not Checking the Cake for Doneness – Every oven is different, so don’t just go by the time. Use a toothpick to check for doneness, it should come out with a few crumbs, not wet batter.
- Frosting Too Soon – If you frost the cake while it’s still warm, the frosting will melt, and your layers may slide apart. Let your cakes cool completely before frosting for the perfect finish.
How to Store Your Chocolate Peanut Butter Cake
- Room Temperature – If you’re enjoying it within a few days, store the cake in an airtight container at room temperature. It will remain fresh and delicious for up to three days.
- Refrigerator – For longer shelf life, keep the cake in the fridge. The frosting will stay creamy, and the cake will last for up to 5 days. Simply cover it securely to lock in moisture and prevent it from drying out.
- Freezing – Want to save some for later? Individually wrap each slice in plastic wrap, then a layer of foil, and store them in the freezer for up to three months.
- Covering Frosting – If you have leftover frosting, store it separately in an airtight container in the fridge. It can last up to a week and can be used for other treats too!
More Layer Cakes to Try
- Carrot Cake Recipe
- White Chocolate Raspberry Cake
- Homemade German Chocolate Cake
- Swiss Chocolate Chalet Cake
Rich & Moist Chocolate Peanut Butter Cake Recipe
Ingredients
Chocolate Cake
- 170 g granulated sugar
- 170 g brown sugar
- 3 large eggs room temperature
- 200 g unsalted butter melted
- 160 g oil
- 570 g milk
- 340 g all-purpose flour
- 130 g cocoa powder sifted if clumpy
- 1 ½ teaspoons baking powder
- 1 teaspoon baking soda
- 1 teaspoon salt
- 1 teaspoon instant espresso powder
Peanut Butter Frosting
- 200 g natural peanut butter
- 230 g unsalted butter softened to room temperature
- 100 g powdered sugar
- 1 ½ teaspoons vanilla extract
- 2 tablespoons heavy cream
- Chocolate shavings
Instructions
- Start by preheating your oven to 350°F (175°C) and lining the bottoms of two 8-inch round cake pans with parchment paper, this will help your cakes come out without a hitch.
- In a medium bowl, mix together the flour, cocoa powder, espresso powder, baking powder, baking soda, and salt. Give it a good whisk and set it aside for now.
- In a bigger bowl, whisk together the melted butter, oil, granulated sugar, and brown sugar until it's all smooth and blended together.
- Add your eggs one at a time, making sure to whisk each one in fully before adding the next. This will help your batter come together nicely.
- Now, let’s bring the dry and wet ingredients together. Start by adding half of the dry mix to the wet ingredients and gently whisk it together.
- Then, add half of the milk and mix until it’s smooth. Repeat with the remaining dry ingredients and milk.
- The batter should be thick but still pourable, and a little lumpy is perfectly fine!
- Divide the batter evenly between the two cake pans, filling them about ¾ of the way full.
- Pop them in the oven and bake for 35-40 minutes. You’ll know they’re done when a toothpick comes out with a few moist crumbs.
- Once out of the oven, let your cakes cool in the pans for about 15 minutes. After that, gently loosen the edges with a knife and flip them out onto a wire rack to cool completely.
- Beat the softened butter in a large bowl with an electric mixer until it's light and fluffy, about 3-5 minutes.
- Gradually add the powdered sugar and keep mixing until everything is nice and airy. Then, add the peanut butter and vanilla extract, and mix until it’s smooth and creamy.
- If the frosting feels too thick, just add a bit of heavy cream to get it to your perfect consistency.
- When the cakes are fully cooled, place the first cake layer on a cake stand or plate.
- Spread a nice, thick layer of that delicious peanut butter frosting on top. Add the second layer and then spread the remaining frosting all over the top.
- Finish it off with a sprinkle of chocolate shavings, and you’re all set!
Notes
- Don’t rush the cooling process. Let the cakes cool completely before frosting, or the frosting might melt and slide off.
- If your frosting feels too thick, don’t be afraid to add a bit of cream to get it nice and spreadable.
- Don't skip the parchment paper! It’s a lifesaver for making sure the cakes slide out easily without sticking.