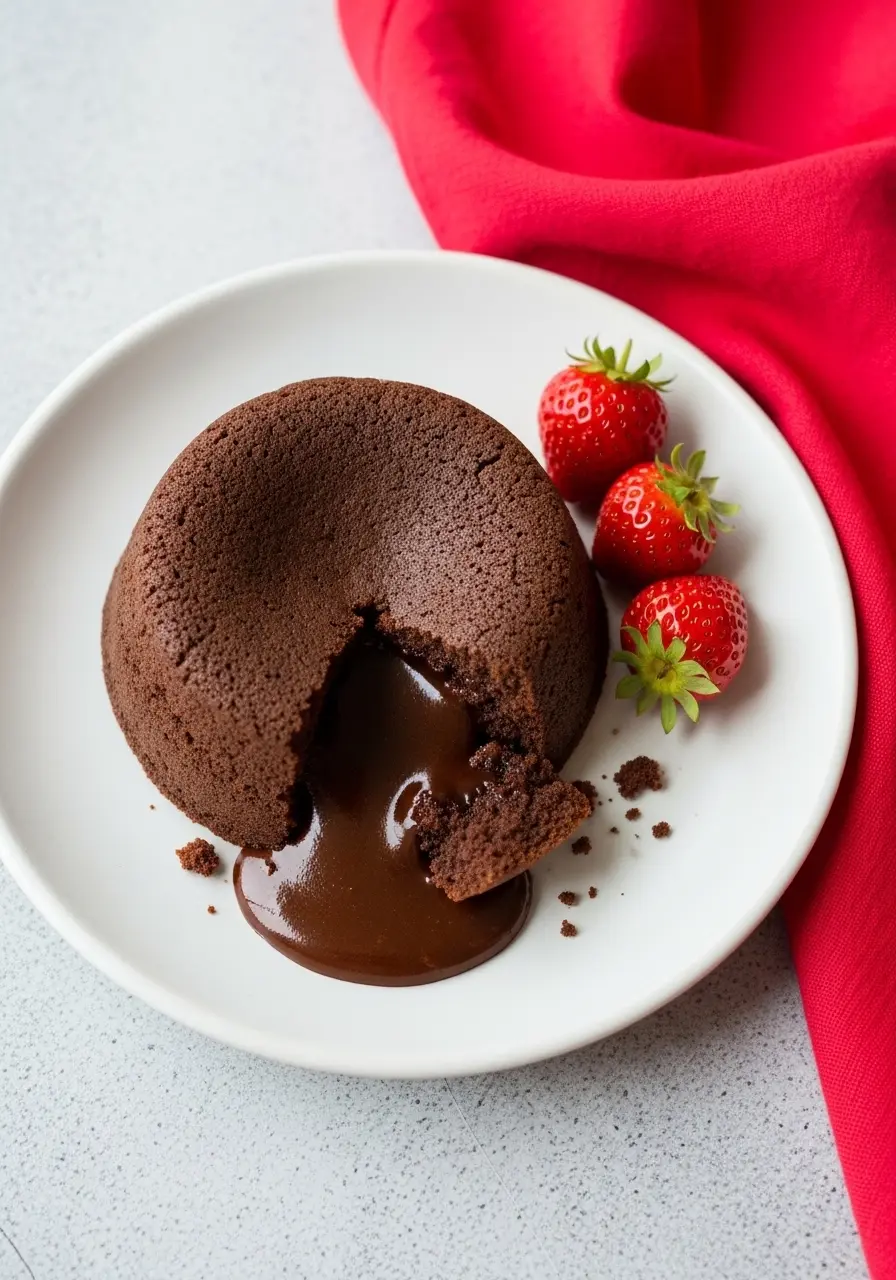
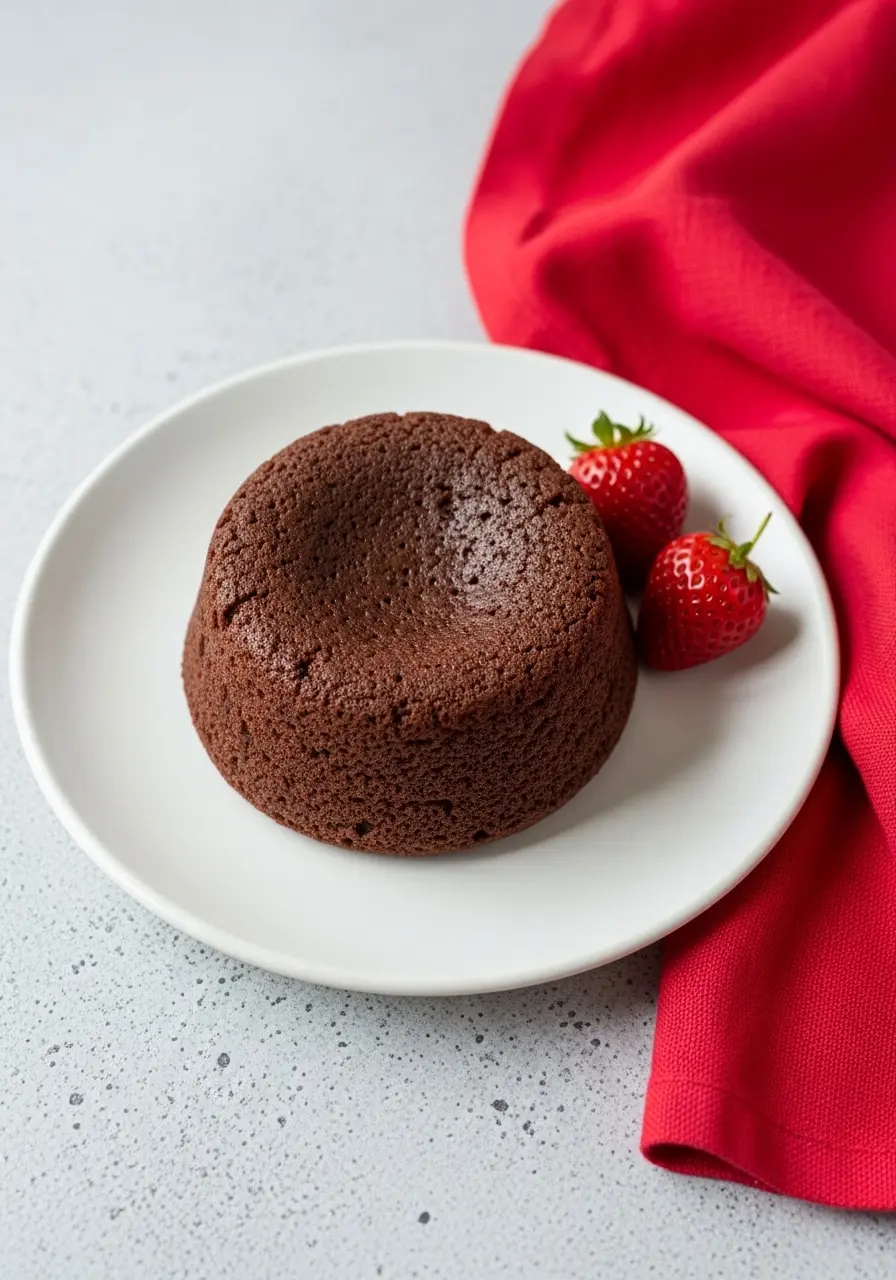
You know how some desserts just feel like a moment? That’s exactly what a Chocolate Lava Cake is. It’s the dessert you pull out when you want something warm, dramatic, and a little bit unforgettable, without spending your whole evening in the kitchen. And if you’re one of those Chocolate Lovers who can’t resist a gooey center (hi, you’re in good company), this one’s about to become your new “I deserve this” treat.
What makes this lava cake recipe special isn’t just the molten middle, it’s how simple it is to create something that looks like you planned it for days. Truth is, it comes together faster than most weeknight dinners. That’s why you’ll love making it for cozy nights, small celebrations, or when you want a homemade valentines dessert that feels effortless but still hits the heart.
Why This Chocolate Lava Cake Steals Hearts
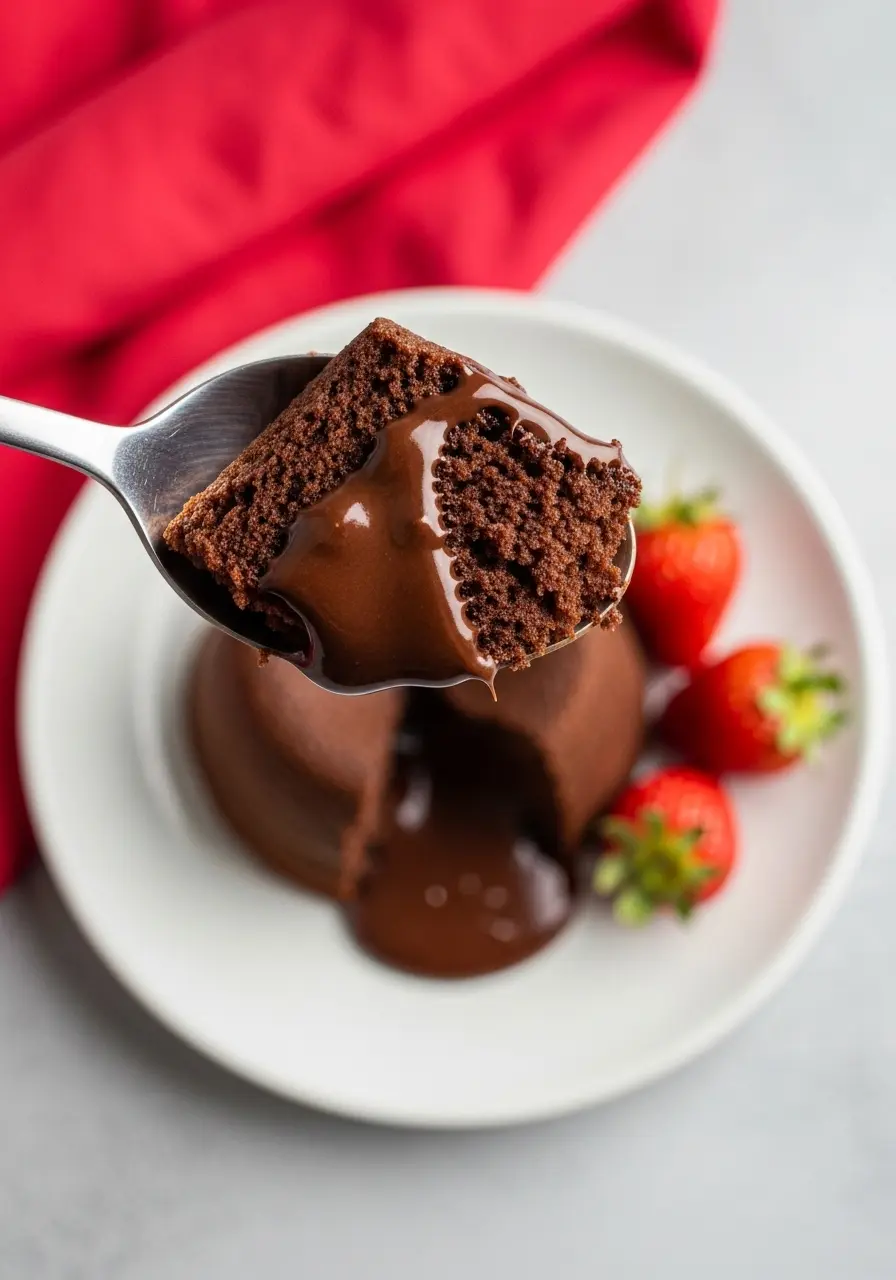
Molten magic in minutes – One spoon, one bite, and that molten chocolate center melts hearts faster than any fancy dessert ever could.
No stress, all reward – A handful of ingredients, simple steps, and zero intimidating techniques. You’ll feel like a pro without breaking a sweat.
Fun to make, impossible not to eat – Watching that lava ooze from the cake is oddly satisfying… and yes, you’ll want seconds (or thirds).
Your Ingredients List
- Quality Chocolate: This is the heart of your lava cake, choose chocolate you actually love eating on its own, because it’ll shine in every bite.
- Salted Butter: Gives the cake a silky texture and a little buttery depth that makes the chocolate taste even richer.
- Eggs + Extra Yolks: These keep the cake tender but still let the center stay molten and dreamy, the secret to that perfect ooze.
- Granulated Sugar: Sweetens without stealing the spotlight, letting the chocolate’s flavor really pop.
- Vanilla Extract (optional): Just a touch enhances the chocolate’s natural flavor, making every bite taste homemade and comforting.
- All-Purpose Flour: Holds everything together while keeping the cake soft, the right balance so the edges aren’t dry but the center stays molten.
How to Make Chocolate Lava Cake
Warm up the oven and your ramekins:
Preheat your oven to 425°F. While it’s heating, grab your 6 oz ramekins and show them some love, a quick butter rub or non-stick sprayer and a sprinkle of cocoa powder on the inside is all it takes to make sure your cakes slide out perfectly later. Tip: use your fingers to get into the corners.
Melt chocolate and butter like a pro (but easy):
Chop your chocolate into small pieces so it melts evenly. Toss it with the softened salted butter in a microwave-safe bowl. Zap for a minute, stir, then heat in 20–30 second bursts until it’s luxuriously smooth.
Whisk eggs, yolks, and sugar to life:
In a bowl, whisk together your 4 eggs + 3 extra yolks, sugar, and optional vanilla. Go for about a minute or until it is slightly thick. This isn’t just mixing, you’re giving your cake a little air and personality so it rises beautifully without losing that molten charm.
Fold in the chocolate with care:
Pour your chocolate-butter mixture into the eggs in stages, gently folding as you go. The goal is a smooth, glossy batter, don’t rush it.
Bring it together with flour:
Sprinkle in the flour and fold carefully. A few gentle stirs are enough, overmixing will make it dense, and we’re after soft edges and molten magic in the middle.
Fill your ramekins like a boss:
Spoon the batter into the ramekins (you fill 6 ramekins), leaving a tiny gap at the top. Trust me, this little breathing room makes your lava cake rise just enough without spilling over. And yes, every little detail counts.
Bake until edges are set but hearts are gooey:
Bake for 9–11 minutes. Peek at the edges, they should be firm but the center still jiggles a little.
Loosen and let them rest (just a sec!):
Run a knife around the edges to free the cakes. Let them sit for 30-60 seconds— just long enough to settle but short enough to keep the ooze ready.
Place a plate on top of each ramekin and invert carefully, enjoy.
What are common lava cake mistakes?
Overbaking the cake: Lava cake’s magic is the molten center, so resist the urge to keep it in the oven “just a bit longer.” Tip: edges should be set, center should jiggle slightly. If it wobbles, it’s perfect.
Skipping the butter and cocoa in ramekins: Those little coatings are the difference between a gooey masterpiece and a cake that sticks.
Pouring chocolate while it’s too hot: Hot chocolate can cook the eggs prematurely, leaving clumps. Always let your melted chocolate cool slightly before folding it into the eggs.
Using the wrong chocolate: The quality matters. Avoid “baking chocolate” with fillers; go for chocolate you’d eat on its own. It makes the flavor richer and the center silkier.
Topping Ideas
- A scoop of vanilla ice cream – hot lava meets cold cream, pure bliss.
- Whipped cream with a hint of espresso – adds airy texture and a subtle coffee kick.
- Fresh raspberries or strawberries – tartness cuts through the richness beautifully.
- Crushed pistachios – a nutty crunch that contrasts the silky center.
- Drizzle of salted caramel – sticky, buttery goodness that hugs the chocolate.
- Edible flowers – optional but adds a fancy touch for valentines vibes.
I can’t wait for you to try this Chocolate Lava Cake at home, it’s one of those desserts that just feels special every time. When you make it, hop into the comments and let me know how it turned out. I always love hearing your baking wins!
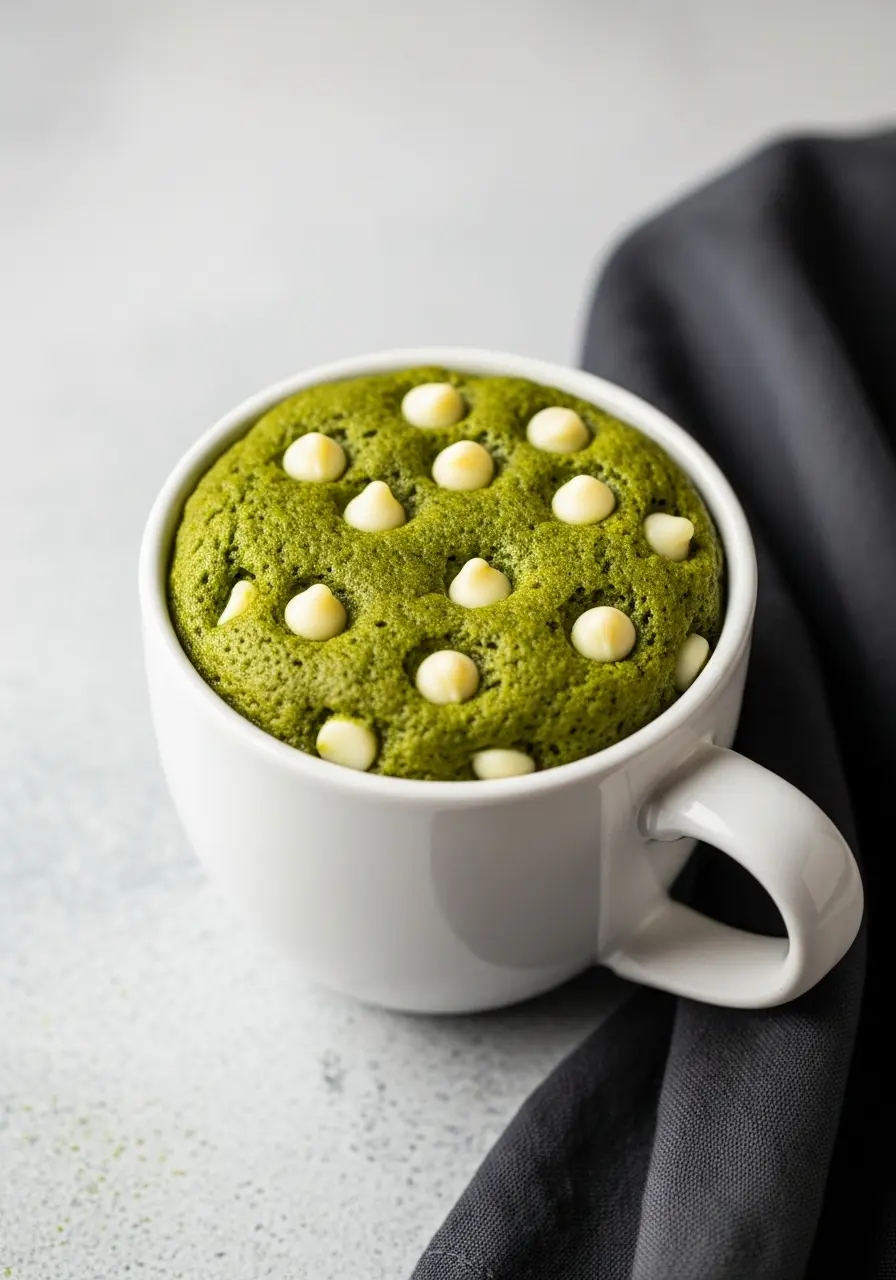
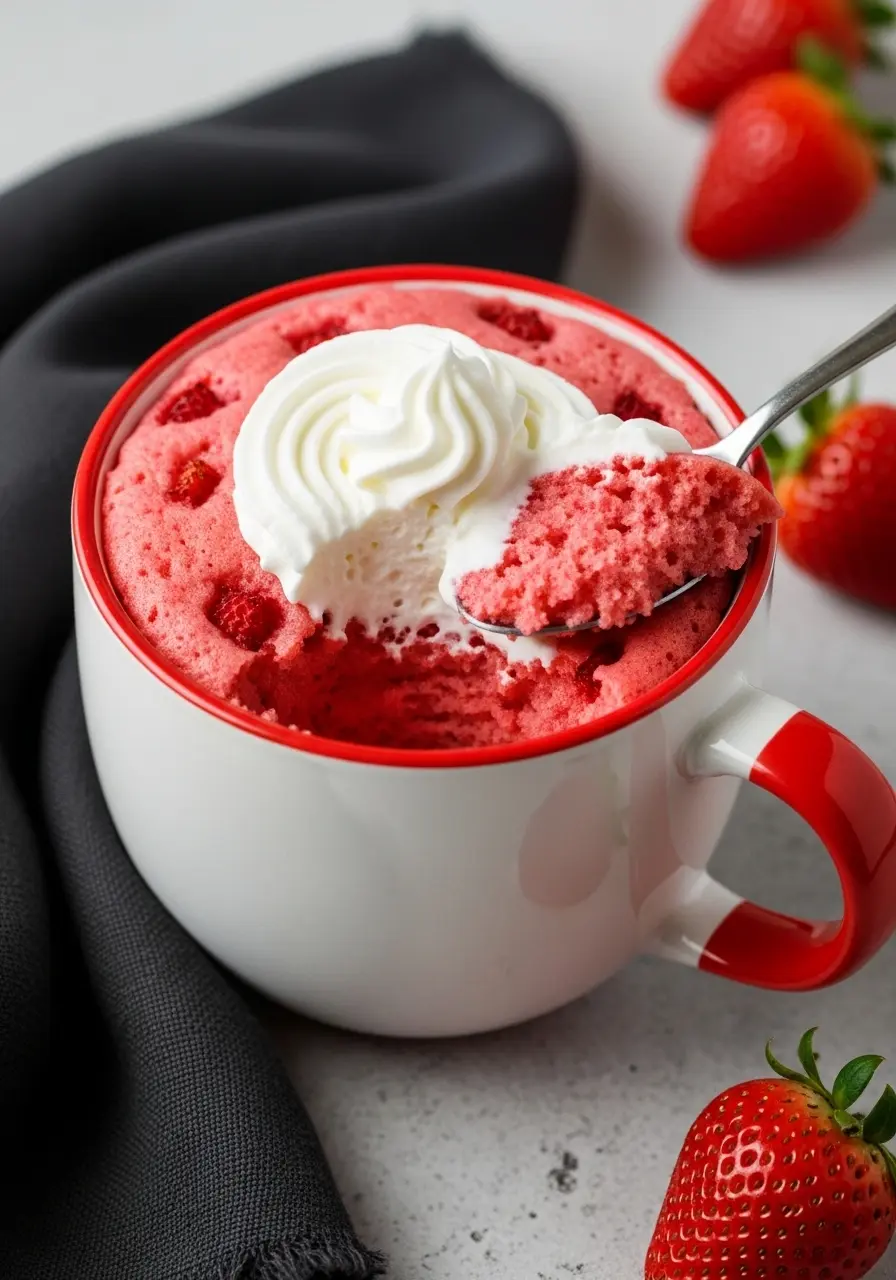
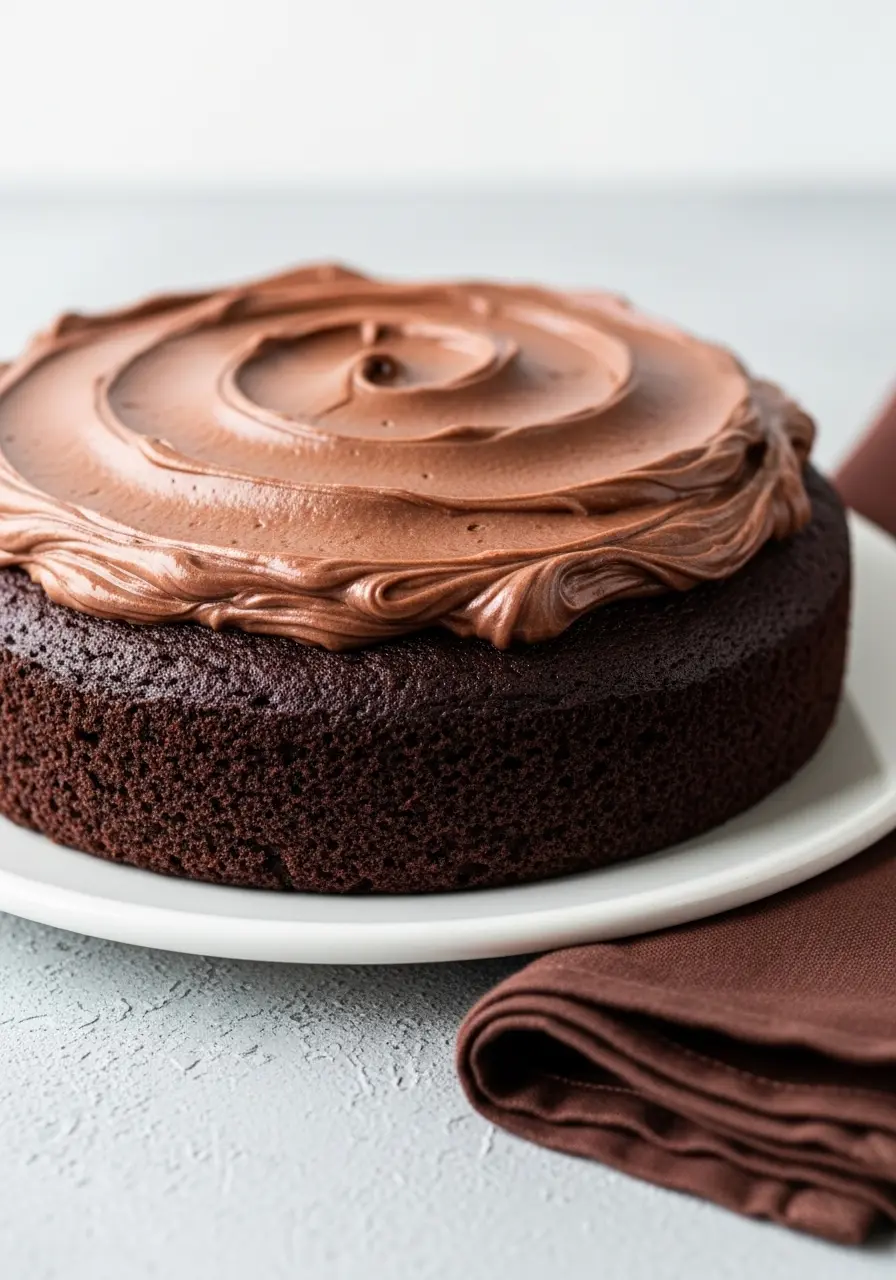
More Decadent Chocolate Treats
Chocolate Lava Cake
Ingredients
- 8 oz chopped chocolate use high-quality
- ⅔ cup salted butter (almost 11 Tbsp)
- 4 whole eggs + 3 extra yolks
- ⅓ cup white sugar
- ½ tsp pure vanilla extract optional
- 1/2 cup all-purpose flour well measured
Instructions
- Start by heating your oven to 425°F so it’s ready to go. Grab your 6-oz ramekins and coat the insides with butter or a light spray of non-stick, then dust them with cocoa powder. Shake out any extra, this step makes the cakes release effortlessly later.
- Place your chopped chocolate and softened salted butter in a microwave-safe bowl. Warm it for about a minute, stir well, and continue microwaving in short intervals until the mixture melts into a smooth, silky blend. Set it aside for a moment so it cools slightly.
- In a separate bowl, whisk the eggs, additional yolks, sugar, and vanilla until the mixture becomes a bit thicker. This quick whisk helps your cakes puff nicely while keeping the centers perfectly molten.
- Gently fold the melted chocolate mixture into the egg mixture in a few additions, keeping your strokes light so the batter stays airy. Once combined, add the flour and fold just until you don’t see any more streaks, no need to overdo it.
- Scoop the batter evenly into six prepared ramekins, leaving a little space at the top for rising. Set them on a baking sheet and bake for 9–11 minutes. The edges should look set, while the middle should still have a soft wobble.
- When they come out of the oven, run a knife around each edge to loosen the cakes. Let them sit briefly, about 30 to 60 seconds, so they’re easier to flip without losing that molten center. Place a plate over each ramekin, turn it upside down carefully, lift the ramekin away, and enjoy the warm, gooey goodness right away.
Notes
- For an even deeper flavor, add the tiniest pinch of instant espresso to the batter, it won’t taste like coffee, just richer.
- If you use unsalted butter, consider adding a pinch of salt.
- Make sure your eggs are at room temperature so they blend smoothly into the batter.