
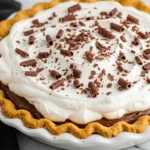
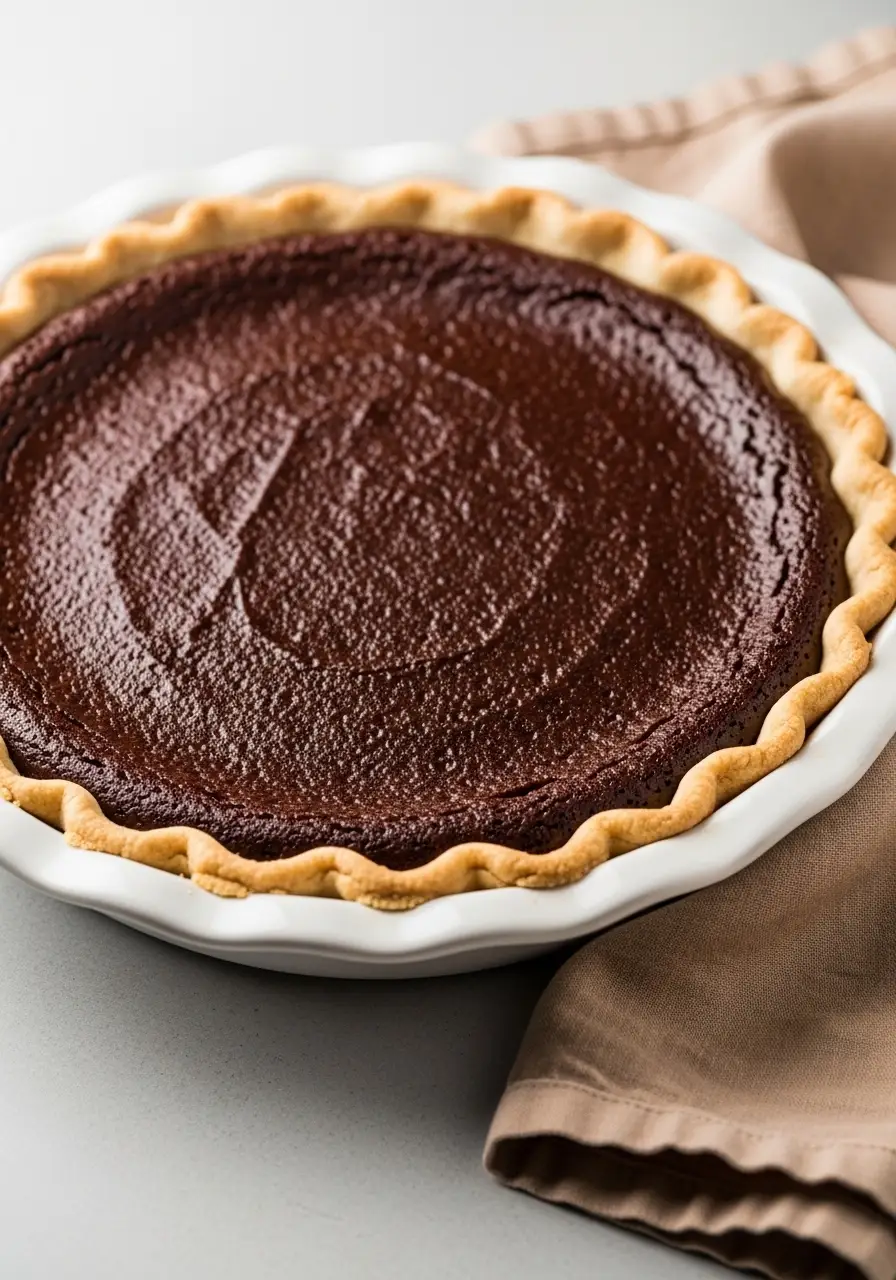
If you’re a chocolate lover, this Chocolate Cream Pie might just change your life. I’m not exaggerating, it’s creamy, dreamy, and that rich chocolate filling? Pure magic. I love how it’s one of those classic pie recipes that somehow feels fancy but is actually totally doable, even on a weeknight.
And here’s the best part: it’s the kind of chocolate pie that disappears faster than you can say “seconds, please,” whether you’re serving it at a dinner party or sneaking a slice for yourself. Stick with me, I’ll show you how to make it step by step, and I promise, you’ll feel like a pro by the end.
What Makes This Chocolate Cream Pie Irresistible
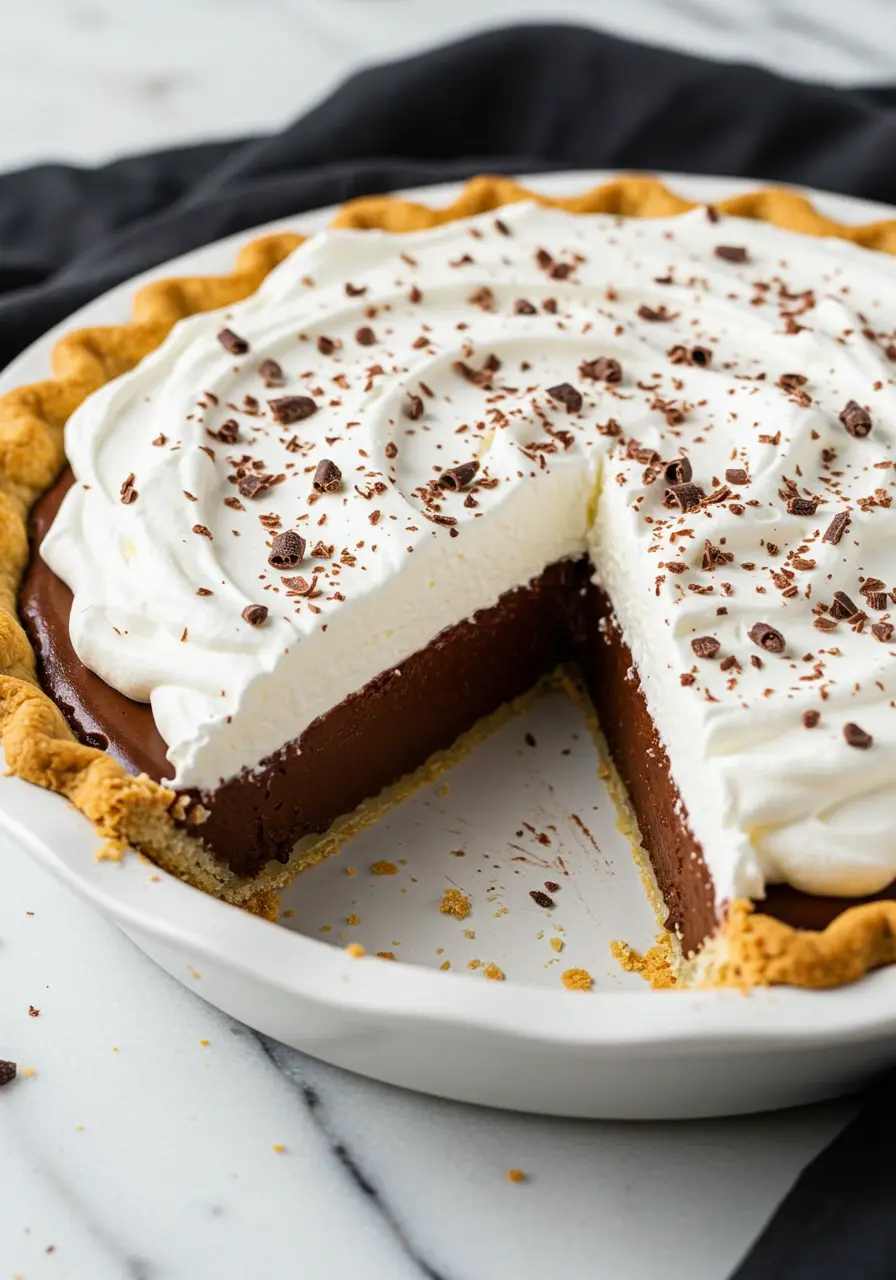
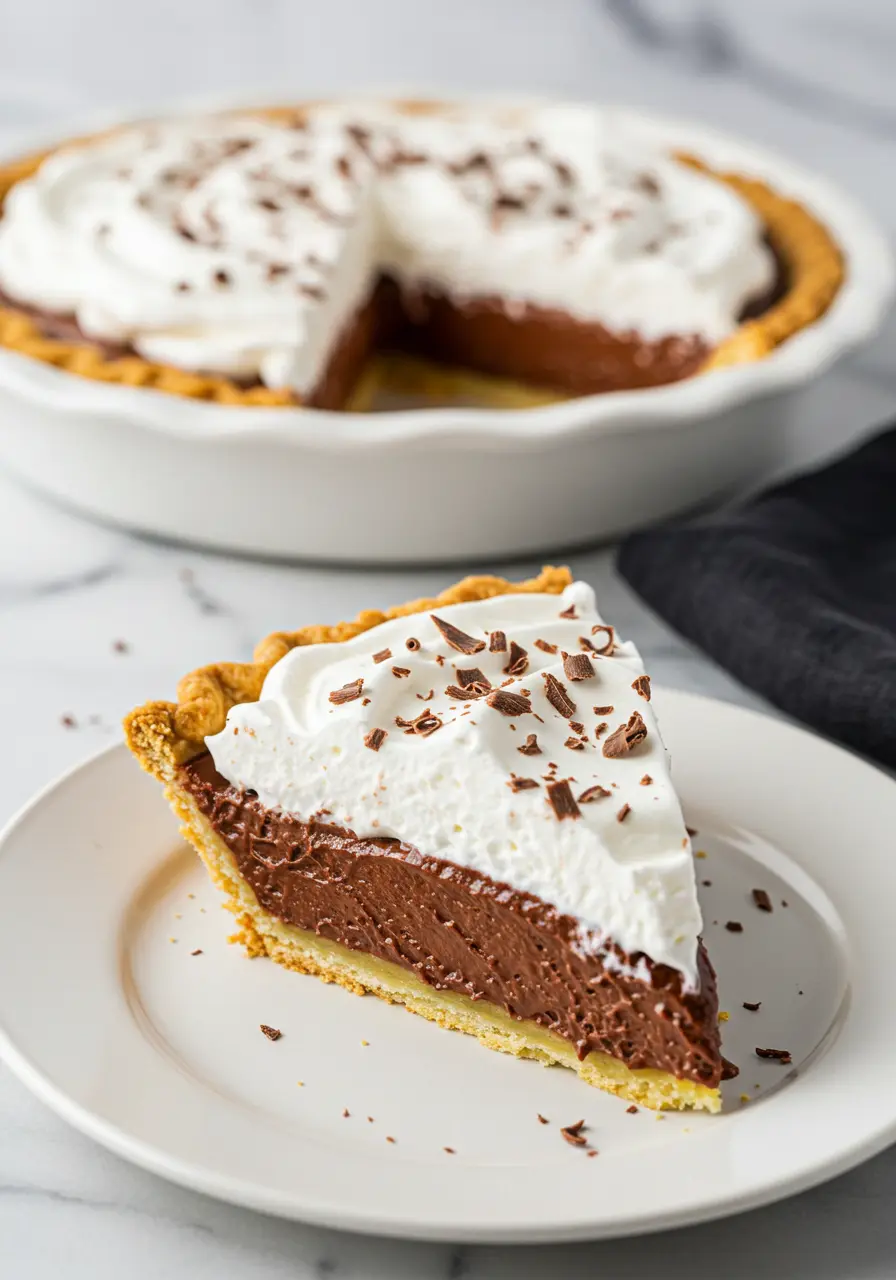
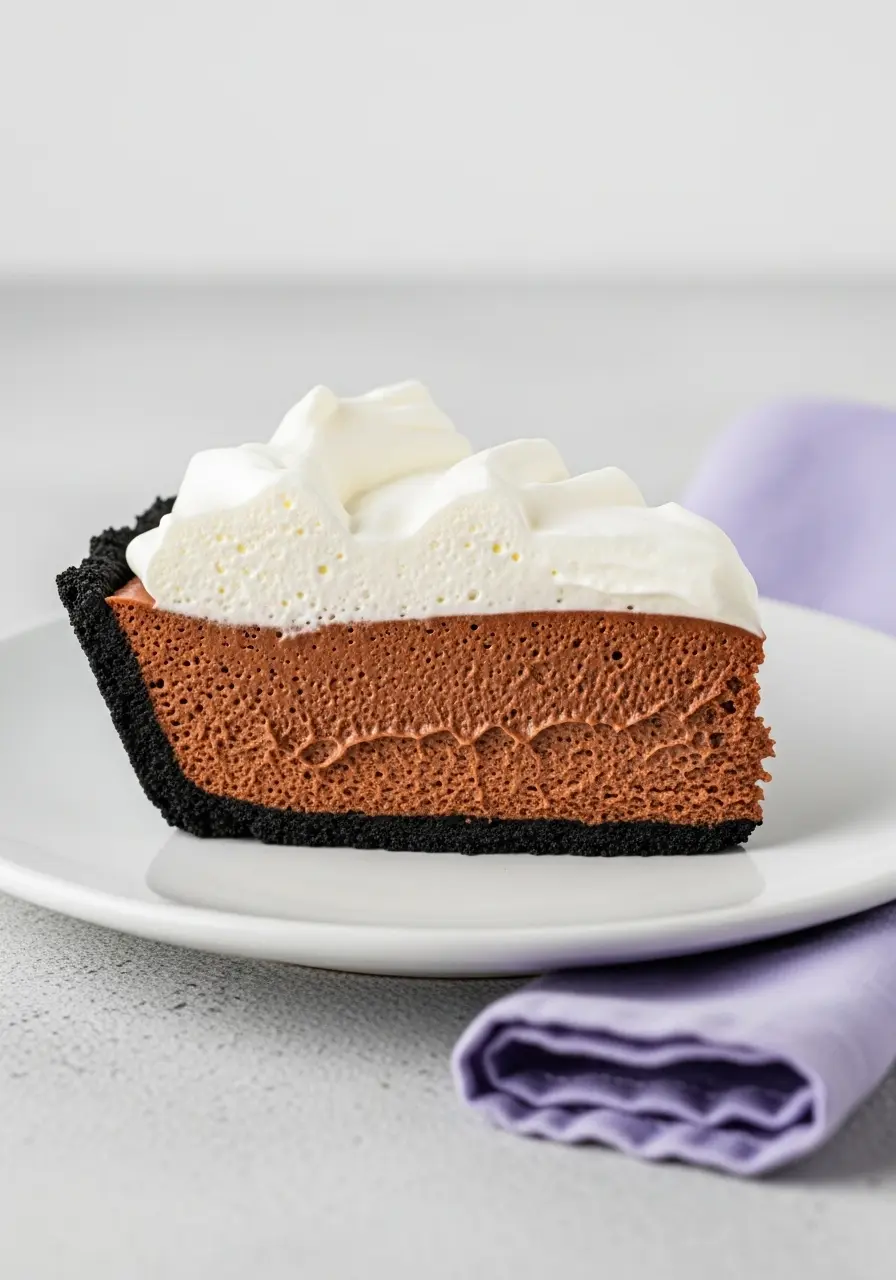
Ridiculously creamy, yet perfectly set: The filling is silky enough to melt in your mouth but firm enough to slice beautifully, no soggy bottoms here.
Looks way fancier than it is: Guests will think you spent hours in the kitchen, but you’ll know the truth, it’s surprisingly easy.
Perfect for any occasion (or no occasion at all): Birthdays, holidays, Friday nights…or just because you deserve a slice.
Crowd-pleaser guaranteed: Friends, family, or picky eaters, everyone secretly (or not so secretly) loves it.
A little nostalgia, a little wow factor: Feels like the pies of your childhood but elevated with that rich chocolate twist.
Feeling extra indulgent? You might also love my Oreo pie.
The Ingredients You’ll Need
- Pie Crust: I recommend using a good store-bought or homemade crust, it’s the sturdy base that makes your pie hold together perfectly.
- Semi-Sweet Chocolate: Always choose quality chocolate; it’s what gives the filling that rich, dreamy flavor.
- Salted Butter: It’s best if the butter is slightly softened so it blends smoothly and adds a touch of savory balance.
- Vanilla Extract: I recommend adding this last to enhance all the flavors and give your pie a cozy aroma.
- Granulated Sugar: Always add sugar gradually, it sweetens the filling and balances the chocolate perfectly.
- Brown Sugar: I recommend using it for a hint of caramel depth that makes every bite a little more indulgent.
- Dutch Process Cocoa Powder: It’s best if you sift it first; this gives the chocolate filling a silky, smooth texture.
- Cornstarch: Always mix it in properly with the dry ingredients, it thickens the filling without making it stiff.
- Egg Yolks: I recommend tempering them slowly with warm milk so your custard turns out creamy and rich.
- Whole Milk: It’s best if the milk is at room temperature for easier blending and a smoother filling.
- Heavy Cream: I recommend whipping it just until soft peaks form; it makes the topping light and fluffy.
- Finely Grated Chocolate (Optional): Always sprinkle on top just before serving for a little extra chocolate love and a pretty finish.
How to Make Chocolate Cream Pie – My Way
Step 1: Get That Crust Ready
Pop your store-bought pastry crust into a pie pan.Gently pressing the edges keeps them neat and secure, setting the stage for a pie that looks picture-perfect. Line it with parchment paper and fill with pie weights (or dried beans, no worries if you don’t have fancy weights). Bake until the edges are golden and slightly firm. Pro tip: let it cool completely before adding the filling; rushing this step can lead to a soggy crust, and nobody wants that.
Step 2: Mix Your Chocolate Base
In a medium bowl, whisk together granulated sugar, brown sugar, cocoa powder, cornstarch, and a pinch of salt. Sift the cocoa if you want an ultra-smooth filling, trust me, it makes a difference. Then add the egg yolks and whisk until silky.
Step 3: Warm the Milk
Pour most of the milk into a saucepan and gently warm it over medium heat. Don’t let it boil! Meanwhile, set aside a little milk to temper the eggs, this is the trick for perfectly smooth custard. Tip: warm milk slowly while stirring occasionally; it keeps the texture super creamy.
Step 4: Temper the Eggs Like a Pro
Here’s a little magic moment: slowly pour some warm milk into your egg-sugar mixture, whisking constantly. This step keeps your eggs from scrambling and gives that silky custard texture. Then pour everything back into the saucepan. I always give it a little stir while it heats to make sure nothing sticks to the bottom.
Step 5: Cook to Perfection
Keep it over medium heat, stirring all the while, until it thickens to the point where it luxuriously coats the spoon’s back (about one minute). Once thick, remove from heat and fold in the chopped semi-sweet chocolate, salted butter, and vanilla extract. I recommend stirring gently and letting the heat of the custard melt the chocolate naturally, keeps it glossy and irresistible.
Step 6: Fill and Chill
Pour your luscious chocolate filling into the cooled crust and smooth the top. Fun tip: run a spatula dipped in hot water over the top for a perfectly even finish. Let it sit at room temperature for a short while, then refrigerate for a few hours until fully set. Patience here = total reward.
Step 7: Whip It Good
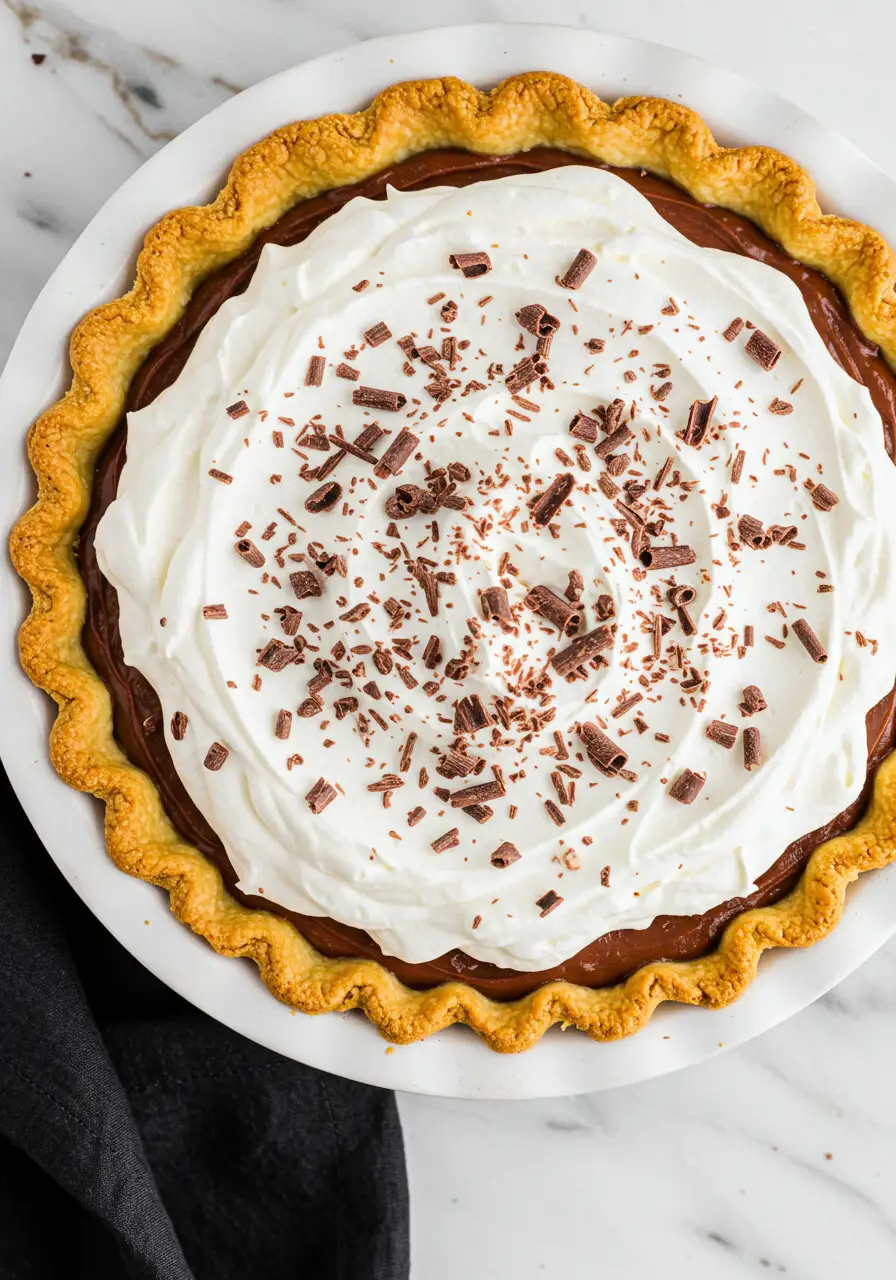
Whip the heavy cream with sugar and vanilla in a cold bowl until it fluffs up into soft, cloud-like peaks. I like to taste a little as I go, don’t worry, it won’t ruin anything! Spread or pipe the whipped cream over the chocolate filling, and suddenly your pie is looking fancy.
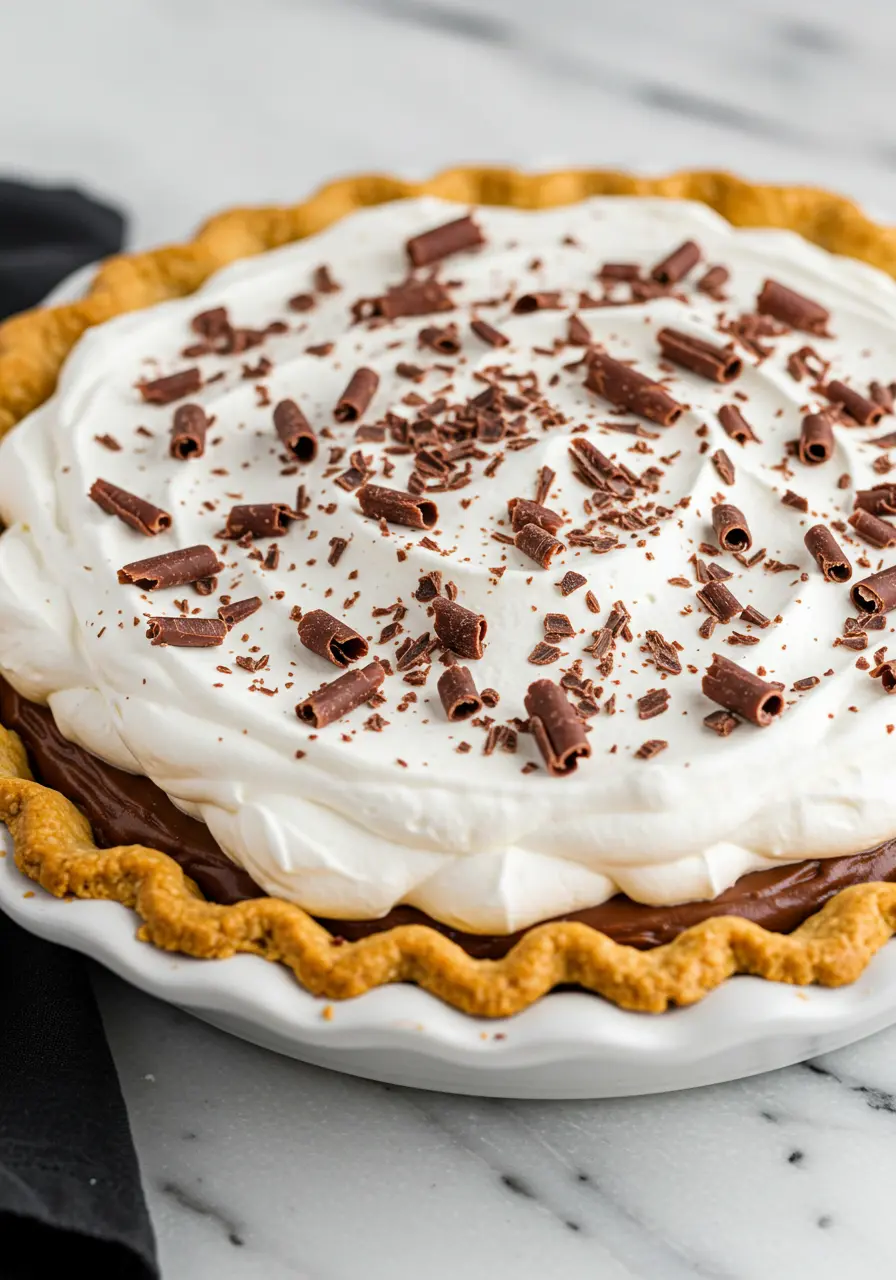
Step 8: Add Your Finishing Touch
Sprinkle finely grated chocolate or a few chocolate curls for that wow factor. Optional, but it makes the pie feel extra special, like you just walked out of a bakery, but you made it yourself. Slice it up, serve, and enjoy the compliments.
While this chocolate pie hits all the cozy, indulgent notes, sometimes it’s fun to let your taste buds dance a little, my lemon meringue pie brings that perfect zing with its airy meringue and bright, tangy filling.
Mistakes to Avoid When Making Chocolate Cream Pie
Rushing the blind bake: Always let your crust cool completely before adding the filling. Pouring chocolate custard into a warm crust can make it soggy, trust me, patience pays off.
Scrambling the eggs: When tempering, don’t pour the hot milk too fast. I recommend adding it slowly while whisking constantly, your custard will stay silky instead of turning into scrambled eggs.
Skipping the sift: Cocoa powder can clump up easily. Sifting it before mixing with sugar and cornstarch keeps the filling smooth and glossy.
Not chilling long enough: Your pie needs time to set in the fridge. I recommend at least a few hours, or overnight if possible, this is what gives you those perfect, clean slices.
Using cold eggs straight from the fridge: I recommend letting them sit at room temp for a bit, your custard will blend so much smoother.
What to Serve with Chocolate Cream Pie
- Fresh berries: Strawberries, raspberries, or blueberries add a bright, juicy contrast to the rich chocolate.
- A scoop of vanilla ice cream: Classic pairing that turns each slice into a little indulgent sundae.
- Espresso or strong coffee: The bitterness balances the sweet chocolate filling beautifully.
- Caramel or raspberry drizzle: A little sauce on the plate makes it feel fancy without extra effort.
- Toasted nuts: Pecans, almonds, or hazelnuts add crunch and depth.
- Whipped cream rosettes: Because why stop at one layer of fluffiness? Extra always wins.
How to Store Chocolate Cream Pie
Refrigerate in an airtight container: Keeps the chocolate filling silky and prevents the crust from getting soggy.
Cover with plastic wrap: Lightly place wrap over the whipped cream to avoid drying or absorbing fridge odors.
Store for up to 3–4 days: I recommend enjoying it fresh for the best texture, chocolate pie tastes happiest when it’s slightly chilled, not frozen.
Freeze the filling (optional): You can freeze the custard before adding whipped cream for up to a month; thaw in the fridge overnight, then top with cream.
Frequently Asked Questions
Can I add flavors to the chocolate filling?
Totally! A tiny pinch of espresso powder, a splash of almond extract, or even a hint of cinnamon can elevate the chocolate without overpowering it. I love adding subtle flavor boosts, they make your pie taste unique and extra special.
Can I use a different type of chocolate?
Absolutely! Semi-sweet chocolate works best for balance, but you can mix in dark chocolate for richness or milk chocolate for a sweeter, creamier filling. Just remember: the better the chocolate, the better the flavor.
Can I make this pie dairy-free?
Totally! Swap the milk for a creamy plant-based milk (like oat or almond) and use dairy-free butter and cream alternatives. The texture might be slightly different, but the chocolate richness still shines.
Chocolate Recipes to Try
Chocolate Cream Pie
Ingredients
The Crust
- 1 store-bought pastry crust or homemade, if you prefer
The Chocolate Filling
- 4 medium egg yolks
- 3 cups whole milk divided
- ¼ cup Dutch process cocoa powder
- ¼ cup cornstarch
- ⅓ cup granulated sugar
- ⅓ cup brown sugar
- 4 oz. semi-sweet chocolate finely chopped
- ¼ cup salted butter cut into small pieces
- 1½ teaspoons vanilla extract
The Topping
- 1 ¼ cups heavy cream
- 3 tablespoons granulated sugar
- ½ teaspoon vanilla extract
- Finely grated chocolate for garnish (optional)
Instructions
- Place the store-bought pie crust in a pan and gently press the edges so it sits evenly. Line it with parchment paper and add pie weights or dried beans. Bake until the edges are golden and firm. Let it cool completely before filling to keep the crust crisp.
- Combine the sugars, cocoa, and cornstarch, in a medium bowl. Sift the cocoa powder if you want a silky smooth custard. Whisk in the egg yolks until the mixture will be thick. It will smooth out during tempering.
- Warm the majority of the milk in a saucepan on medium heat, keeping it just below a boil. Set aside a small amount of milk to gradually temper the eggs, this prevents curdling and ensures a creamy filling. Stir occasionally while heating.
- Slowly pour the warm milk into the egg-sugar mixture while whisking constantly. Then, pour it all back into the saucepan and stir over medium heat, keeping it smooth and preventing sticking.
- Cook the mixture, stirring constantly, until it thickens enough to coat a spoon (usually about one minute). Remove from heat, fold in the chopped chocolate, butter, and vanilla extract, and stir gently until everything melts into a glossy, rich custard.
- Pour the chocolate mixture into the cooled crust and smooth the top. Run your spatula through hot water, then spread for a neat surface. Let the pie sit briefly at room temperature, then refrigerate until fully set.
- Whip the heavy cream with sugar and vanilla in a chilled bowl until soft peaks form. Taste as you go if you like! Spread or pipe the whipped cream over the chocolate filling for a light, fluffy topping.
- Optionally, sprinkle with finely grated chocolate or chocolate curls for a little extra flair. Enjoy!
Notes
- After adding the filling, lightly tap the pie to remove bubbles.
- A tiny sprinkle of salt on top of the whipped cream can make the chocolate flavor pop.


Salt wasnt in the recipe list and the yolks+sugar+cocoa powder doesn’t get creamy like you said, it clumps together. I recommend putting a splash a milk in the egg mixture to get a creamy mixture before tempering to the milk. It made way more custard than what my pie crust allowed, but kept the left over custard for a late night treat.
Thank you so much, Kasi! I used salted butter, which is why salt isn’t in the ingredient list, I accidentally added it in the instructions. All fixed now! I also tweaked the wording about the yolk mixture so it’s clearer.