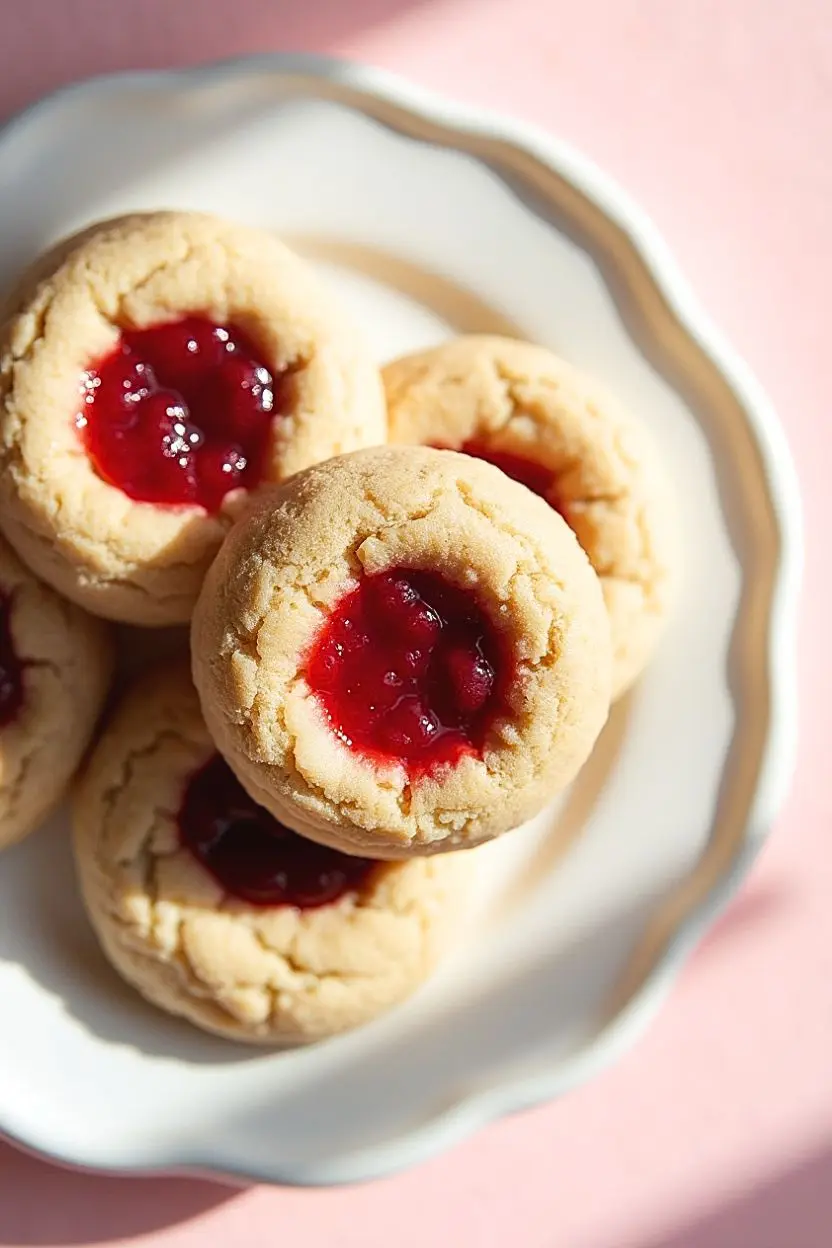
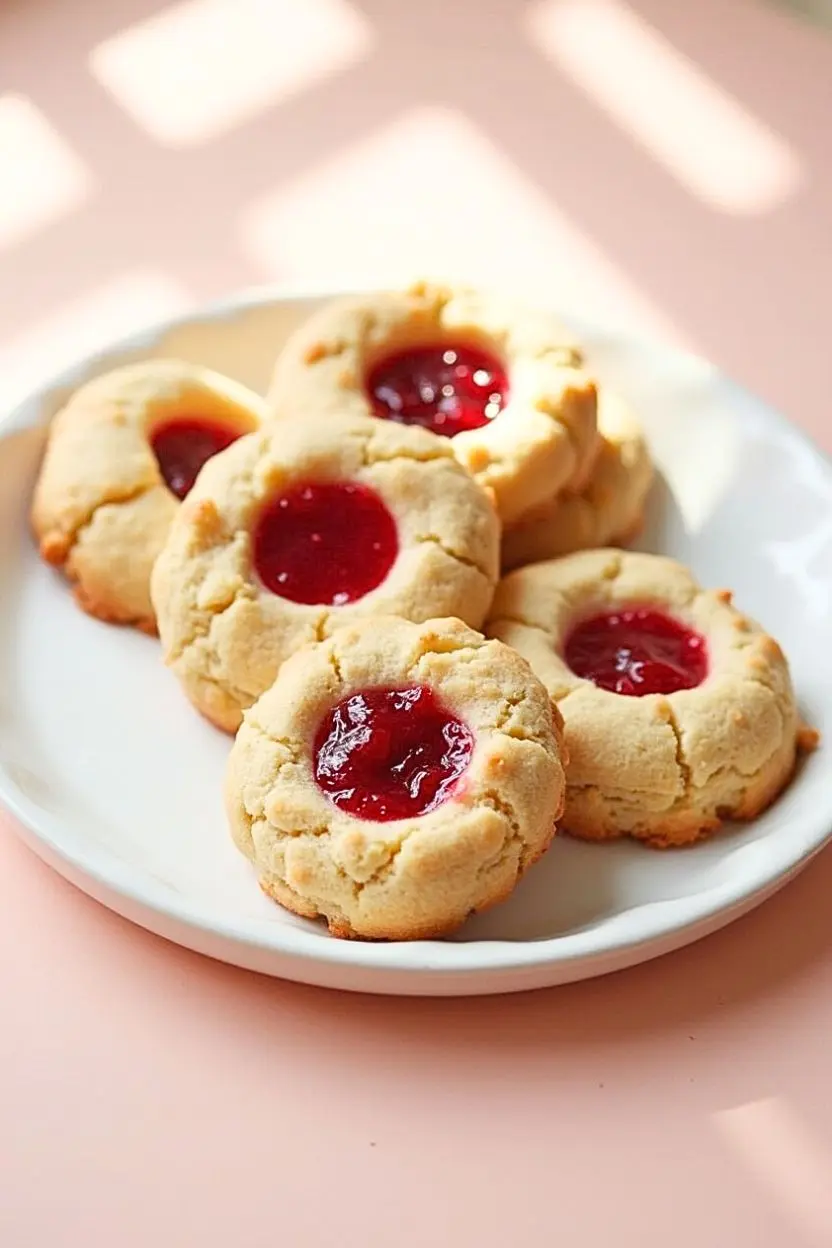
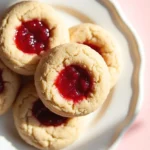
If you love soft, nutty cookies with a hint of sweetness, these Chestnut Flour Thumbprint Cookies are about to become your new favorite treat!
Made with naturally sweet chestnut flour and filled with fruity raspberry jam, they’re rich, tender, and ready in just 20 minutes.
Fun fact: Chestnut flour has been a baking secret in Italy for centuries, adding a delicate, slightly sweet flavor to cookies and cakes. Unlike traditional thumbprint cookies, this version is gluten-free and packed with a unique nutty taste.
Jump to
What is Chestnut Flour?
Chestnut flour is a naturally gluten-free flour made from ground chestnuts, known for its rich, slightly sweet flavor. It’s perfect for adding a nutty depth to cookies, cakes, and even savory dishes.
The best part? You can easily make chestnut flour by yourself. It’s a fun and simple way to bring a unique twist to your recipes.
Why You’ll Love These Chestnut Flour Thumbprint Cookies
- Unique Flavor & Texture: The nutty sweetness of chestnut flour gives these cookies a rich, slightly earthy flavor that’s both comforting and satisfying. The raspberry jam center adds a burst of fruity tang, making every bite irresistible!
- Cost-Saving & Homemade Goodness: Making these cookies at home is not only fun, but it’s also budget-friendly! Chestnut flour is easy to find and, if you’re feeling adventurous, can even be made from scratch at home, saving you even more.
- Simple Yet Flavorful: With just a few ingredients, like butter, chestnut flour, and jam, these cookies offer a delicate sweetness that’s both indulgent and wholesome. They’re a perfect treat for family gatherings, or just a sweet snack.
The ingredients you’ll need
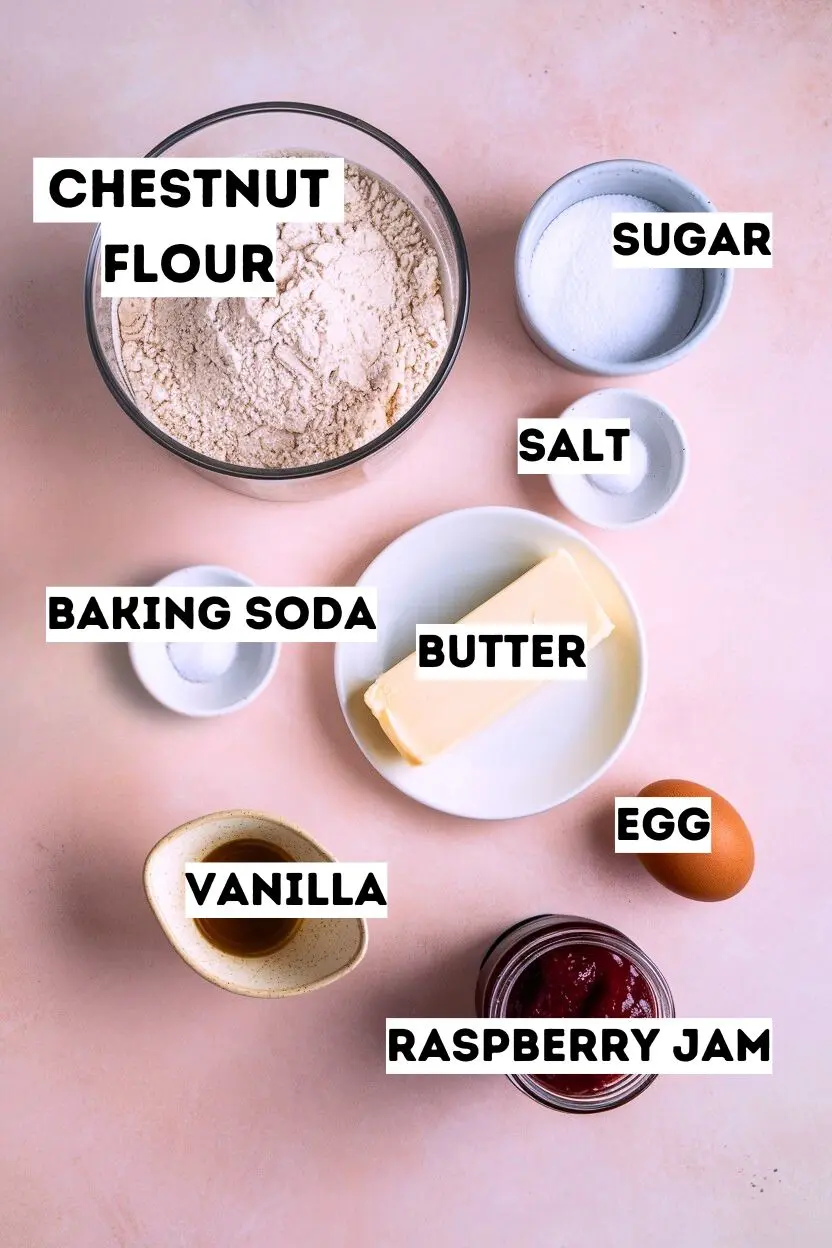
- Chestnut Flour: Chestnut flour is the star of this recipe! You can use it for a gluten-free, nutty alternative to traditional flour. Its naturally sweet flavor makes it perfect for baking, giving your cookies a deliciously unique twist. Plus, it’s packed with nutrients like fiber, making your treat a little healthier.
- Salt: A pinch of salt can do wonders! It enhances the flavors.
- Unsalted Butter: Butter adds richness and a soft, melt-in-your-mouth texture. You can opt for unsalted butter to control the salt level in your cookies, letting the natural flavors of the chestnut flour and jam take center stage.
- Egg: helps bind the dough together and gives the cookies a slightly chewy texture.
- Granulated Sugar: Sugar is the sweet foundation of your cookies. Feel free to try using brown sugar for a deeper, more indulgent flavor.
- Vanilla Extract: is the secret ingredient that adds depth and warmth to your cookies.
- Raspberry Jam: Raspberry jam adds a sweet, tangy burst to the center of each cookie, perfectly complementing the nutty chestnut flour. You can use any jam you like, but raspberry is especially delightful because of its balance of sweetness and tartness.
How to Make Chestnut Flour Thumbprint Cookies
Making these delicious Chestnut Flour Thumbprint Cookies is super easy and fun! Let’s break it down into simple steps:
Preheat Your Oven
Start by preheating your oven to 350°F (175°C). This will ensure it’s nice and hot when you pop your cookies in, giving them a perfect golden color.
Mix Dry Ingredients
In a bowl, combine chestnut flour, baking soda, and salt. Stir them together until evenly mixed. This dry mix is the base of your dough and will help the cookies rise just the right way.
Cream the Butter and Sugar
In a separate bowl, beat the butter and granulated sugar together until the mixture is smooth and creamy. You can use a hand mixer or just a spoon if you don’t have one. This will take about 2-3 minutes. If you’ve never done this before, just keep mixing until it’s light and fluffy.
Add the Egg and Vanilla
Next, incorporate the egg and vanilla extract into the buttery mixture. Mix them in well until everything is fully combined.
Combine Wet and Dry Ingredients
Gradually add your dry ingredient mix (from Step 2) into the butter mixture. Mix all the ingredients thoroughly with a spoon until they come together into a cohesive dough. It might seem a little crumbly at first, but don’t worry—it will come together!
Shape the Dough into Cookies
Scoop approximately a tablespoon of dough and shape it into a smooth, round ball. Gently set it onto a parchment-lined baking sheet.
Once you have all your dough balls on the sheet, use your thumb (or the back of a spoon) to gently press down in the center of each one. This creates the perfect little well for your jam!
Add the Jam
Spoon a little bit of raspberry jam into each of the thumbprint centers. Don’t overfill, just a small amount—enough to fill the well.
You want that sweet jam to be the star of each bite.
Bake the Cookies
Pop the cookies into the preheated oven and bake for about 10 minutes. Keep an eye on them—they should turn a lovely golden brown on the edges.
Once done, take them out and let them cool on the baking sheet for a few minutes before transferring them to your wire rack so they can cool down fully.
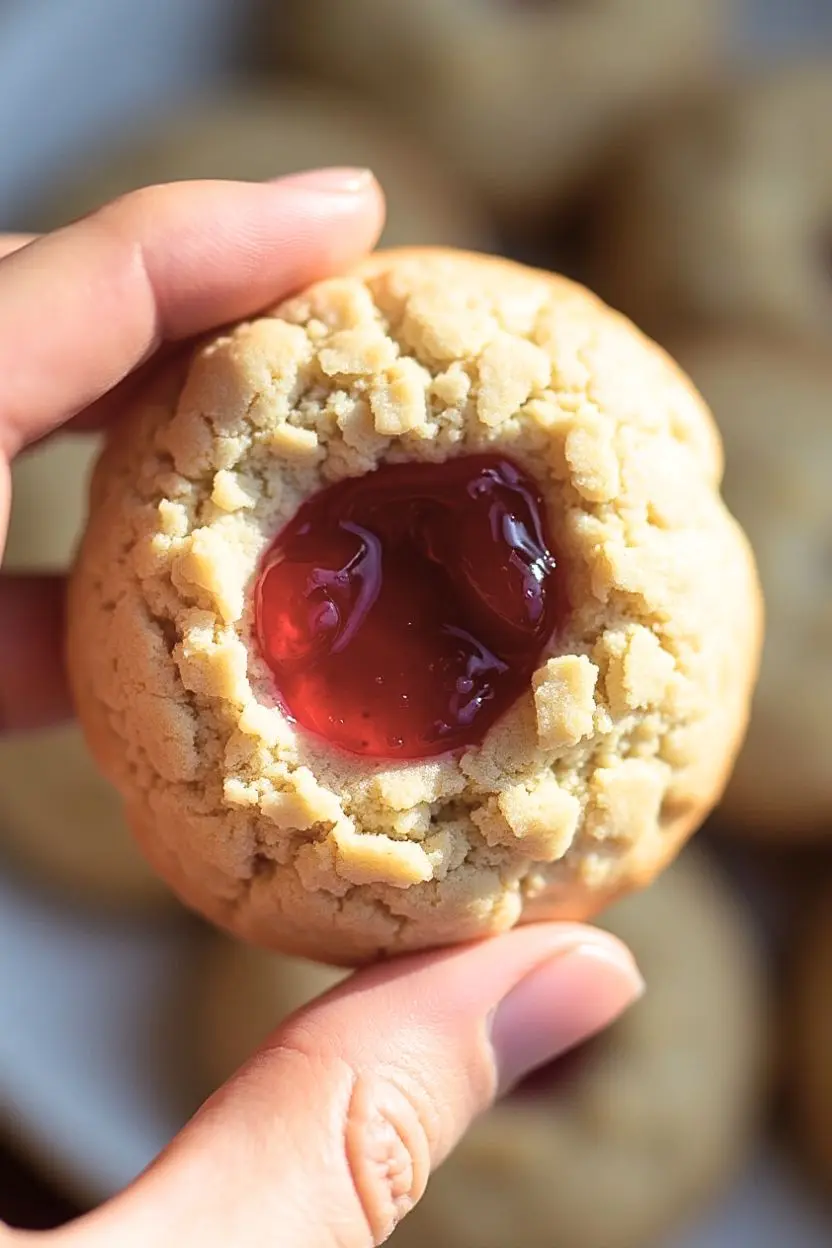
Take a bite and enjoy your homemade Chestnut Flour Thumbprint Cookies!
Top Tips for Perfecting Your Chestnut Flour Thumbprint Cookies
Chill the Dough for Better Shape
Chestnut flour can make the dough a bit delicate.
If it feels too soft or sticky, chill it in the fridge for 15–20 minutes before rolling. This helps the cookies hold their shape and prevents spreading while baking.
Use the Right Touch for the Thumbprint
Pressing too hard can crack the edges, and too lightly won’t leave enough space for the jam. If cracks appear, simply smooth them out with your fingers before adding the jam.
A teaspoon or the back of a measuring spoon can also help create an even indent.
Choose a Jam That Holds Up
Some jams can become too runny when baked. If yours is very thin, stir in a teaspoon of cornstarch or briefly simmer it for a few minutes to thicken.
This keeps the filling in place and prevents it from seeping too much into the cookie.
Let Them Cool Completely Before Moving
These cookies are fragile when warm, so let them rest on the baking sheet for about 5 minutes before transferring them to a wire rack. Transferring them too quickly may cause them to crumble.
Experiment with Extra Flavors
For a unique twist, mix ½ teaspoon of cinnamon or a pinch of nutmeg into the dough for a warm, spiced flavor.
You can also sprinkle the cookies with powdered sugar after baking for an extra touch of sweetness!
How to Store Leftovers
To keep your Chestnut Flour Thumbprint Cookies fresh and delicious, follow these simple storage tips:
- Room Temperature: Keep the cookies in an airtight container at room temperature for up to three days. Keep them in a cool, dry place to prevent them from becoming too soft or stale.
- Refrigeration: If you want to keep them fresh for longer, place the cookies in an airtight container and refrigerate for up to 1 week.
- Freezing: For long-term storage, freeze the cookies in a single layer on a baking sheet first, then transfer them to a freezer-safe bag or container. They will stay fresh for as long as two months.
Frequently Asked Questions
Can I make Chestnut Flour Thumbprint Cookies without eggs?
Yes! If you need an egg-free version, you can substitute 1 tablespoon of ground flaxseed mixed with 3 tablespoons of water. Let it sit for a few minutes until it thickens, then use it in place of the egg. This keeps the cookies soft while maintaining their delicious nutty flavor.
What type of jam works best for Chestnut Flour Thumbprint Cookies?
Raspberry jam is a great choice because its tartness balances the sweetness of the cookies. However, you can use any thick jam like apricot, strawberry, or even u003ca href=u0022https://www.onceuponachef.com/recipes/fig-jam.htmlu0022u003efigu003c/au003e. If your jam is too runny, cook it down slightly or mix in a teaspoon of cornstarch to help it stay in place while baking.
Why are my Chestnut Flour Thumbprint Cookies too dry or crumbly?
Chestnut flour has a naturally delicate texture, so if your cookies turn out too dry, it’s possible the dough was overmixed or there wasn’t enough moisture. Make sure to measure your flour correctly (spoon and level, don’t pack it) and consider adding a tiny splash of milk if the dough feels too crumbly.
Can I mix in nuts or chocolate chips?
Absolutely! While the classic Chestnut Flour Thumbprint Cookies are delicious as they are, you can definitely add a personal twist. Chopped nuts like walnuts or hazelnuts can be mixed into the dough for extra texture and flavor. If you’re a chocolate lover, mini chocolate chips can also be added.
Chestnut Flour Thumbprint Cookies: How to Make Them in 20 Min
Ingredients
- 1 ½ cups 180g chestnut flour
- ¼ teaspoon baking soda
- ¼ teaspoon salt
- ½ cup 115g unsalted butter, softened
- ¼ cup 50g granulated sugar
- 1 large egg
- 1 teaspoon vanilla extract
- ⅓ cup raspberry jam or your favorite jam
Instructions
- Preheat your oven to 350°F (175°C) and line a baking sheet with your parchment paper.
- In a bowl, whisk together chestnut flour, baking soda, and salt until evenly combined.
- In another bowl, cream the butter and sugar until pale and airy. Then, add the egg and vanilla extract, blending until smooth.
- Slowly incorporate the dry ingredients into the wet mixture, stirring until a smooth dough comes together.
- Shape the dough into balls and arrange them on the prepared baking sheet. Use your thumb or a spoon to gently press an indentation in the center of each.
- Spoon a small amount of raspberry jam into each indentation, being careful not to overfill.
- Bake for 10 minutes, or until the edges are a soft golden hue. Remove from the oven and let the cookies sit on the baking sheet for a few minutes to cool.
- Move the cookies to a wire rack and let them cool completely before serving. Enjoy!
Notes
- Make them crispier or softer by adjusting the bake time. Bake a minute or two longer for crispier cookies or a minute less for a softer bite.
- Press gently when making the indent. If cracks appear, smooth them out with your fingers or use a teaspoon for an even shape.
- Thicken the jam if it’s too runny. Stir in a teaspoon of cornstarch or simmer briefly to prevent it from seeping into the cookie.
- Chill the dough for 15–20 minutes if it feels too soft. This helps the cookies maintain their shape and stops them from spreading.