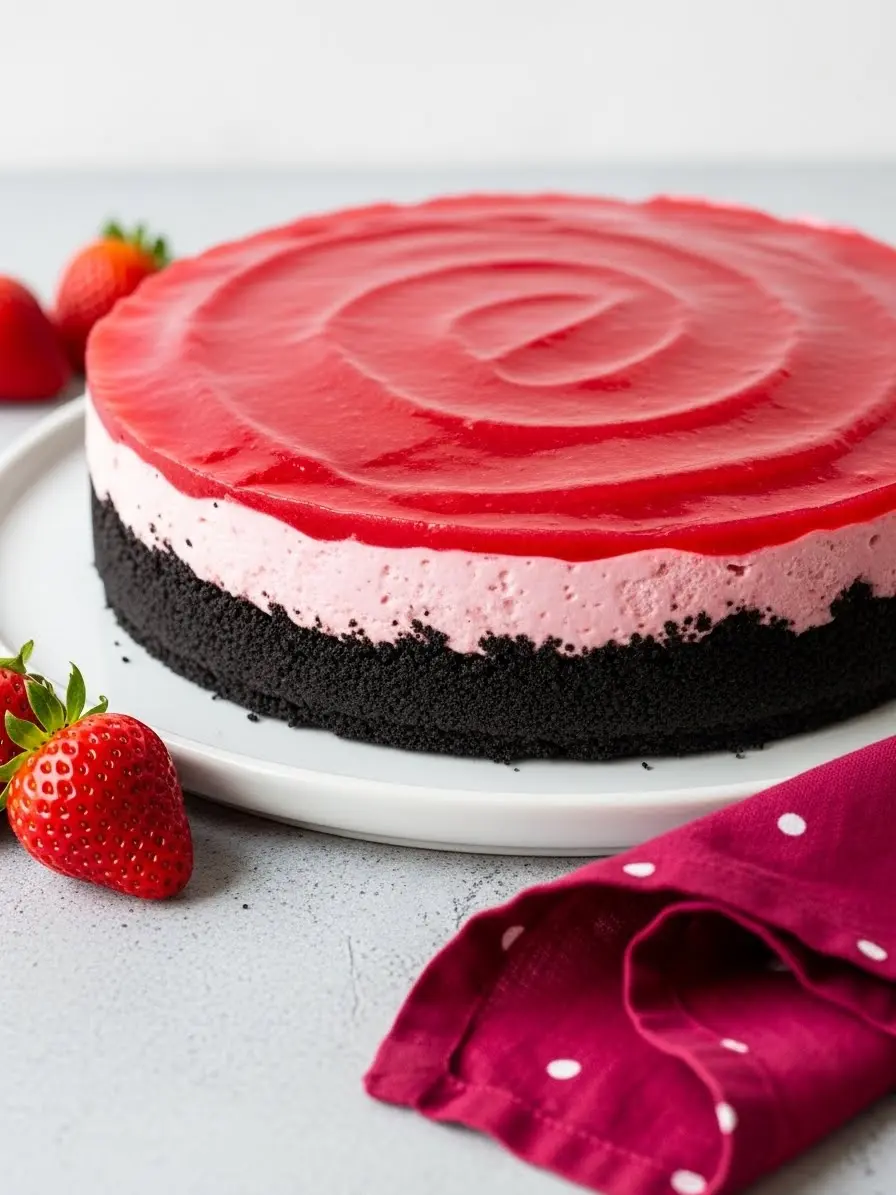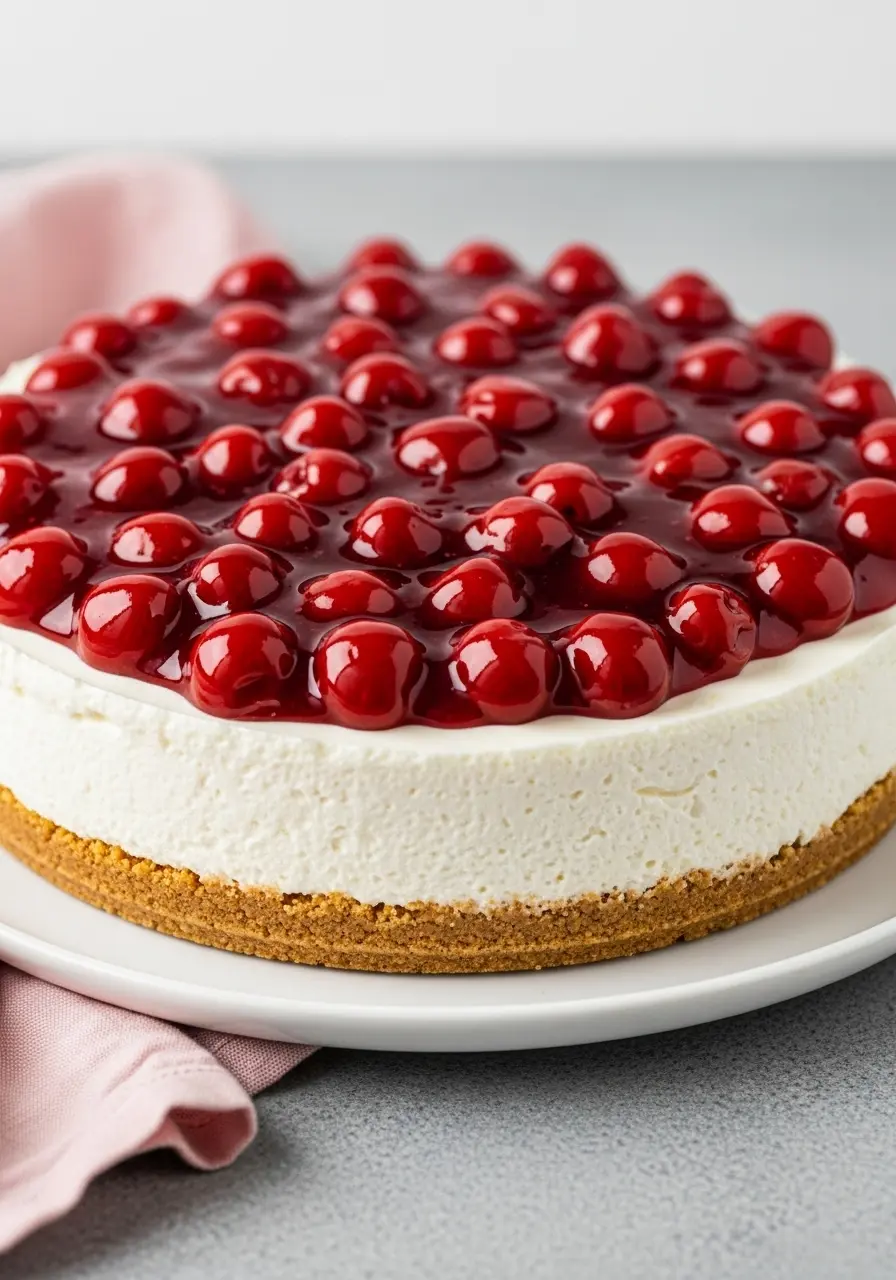
You know those desserts that somehow make everything feel a little better, no matter what kind of day you’re having? Yeah… this no bake cherry cheesecake is one of them.
It’s smooth, cool, and creamy with that buttery crust that practically melts when it meets the cherries on top. But what you’ll love most is how it never asks for perfection, a few crumbs here, a swirl there, and suddenly you’ve got something that looks effortless but tastes like pure comfort.
If you’ve ever wanted a dessert that makes people pause mid-bite and go “wait… did you make this?”, this is it. Simple ingredients, no fancy tricks, just a cheesecake that feels homemade, honest, and kinda magical.
Why This Cherry Cheesecake Is Worth Every Bite
Perfect for any occasion (or none at all). Whether it’s a cozy night in, a birthday dinner, or just Tuesday, this cheesecake never feels out of place.
Everyone remembers the cherry cheesecake person. Bring it once, and guess what? You’re now that person, the one who brings the good dessert.
It’s secretly make-ahead magic. Make it today, serve it tomorrow, and it somehow tastes better. Like it had time to fall in love with itself overnight.
All About the Ingredients
- Graham Crackers: The crunchy base that gives your cheesecake structure and a subtle toasty flavor. Crushing them finely helps the crust stick together better.
- Butter: Melts into the crumbs to create a rich, golden crust that holds its shape without being too hard.
- Pinch of Salt: Just a tiny bit enhances all the flavors in the crust and balances the sweetness perfectly.
- Brown Sugar: Adds warmth and a hint of caramel that makes the crust taste cozy and homemade.
- Cream Cheese: The star of the cheesecake, smooth, tangy, and creamy, it’s what gives the filling that signature velvety texture.
- Powdered Sugar: Blends easily into the cream cheese for a silky-smooth sweetness that never feels grainy.
- Vanilla Extract: Boosts the flavor of the cream cheese and adds a comforting aroma that makes the whole cheesecake feel special.
- Heavy Cream: Whipped to soft peaks, it adds lightness and fluffiness to the filling so the cheesecake isn’t too dense.
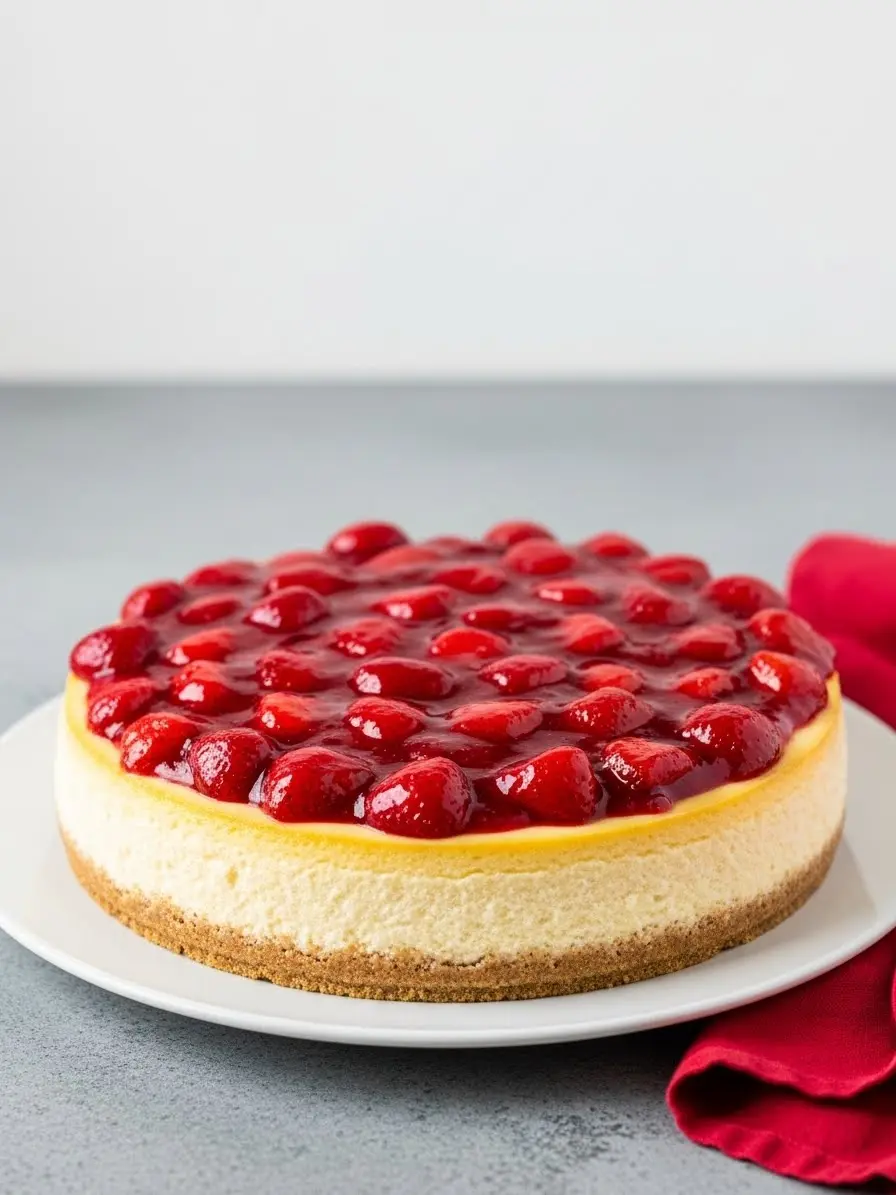
- Cherry Pie Filling: The glossy, fruity topping that makes the cheesecake look irresistible and gives that sweet-tart pop in every bite.

How to Make Cherry Cheesecake
Step 1: Make the Crust Your Own
Crush your graham crackers until they feel like soft sand in your fingers. Toss them with brown sugar, melted butter, and that tiny pinch of salt. Press the mixture firmly into the bottom of your 9 inch spring form pan, you want it to stick together, but don’t worry about making it perfect. Little cracks give it character! Pop it in the fridge while we move on; this little chill makes it sturdy enough to hold all that creamy filling.
Step 2: Get the Filling Smooth and Dreamy
In a large bowl, beat your cream cheese with the powdered sugar and vanilla until silky smooth. This is the moment to pause and scrape the sides, trust me, a little extra love here makes a huge difference in the texture. Taste it as you go, a little tweak of vanilla or sugar here can make it perfectly yours.
Step 3: Fluff Up Your Cream
Whip your heavy cream in a separate bowl until soft peaks form, think soft, pillowy clouds. Softly fold it through the cream cheese mixture, ensuring an even, delicate consistency. Use a spatula and gentle motions.
Step 4: Layer and Chill Like a Pro
Pour the filling over your chilled crust, spreading it evenly. Don’t worry if it’s not perfectly smooth, a few swirls make it look homemade and inviting. Cover loosely and let it chill for at least 5 hours. This wait? Totally worth it. The flavors settle, the texture firms up, and your cheesecake goes from “good” to “wow.”
Step 5: Give It a Cherry-licious Finish
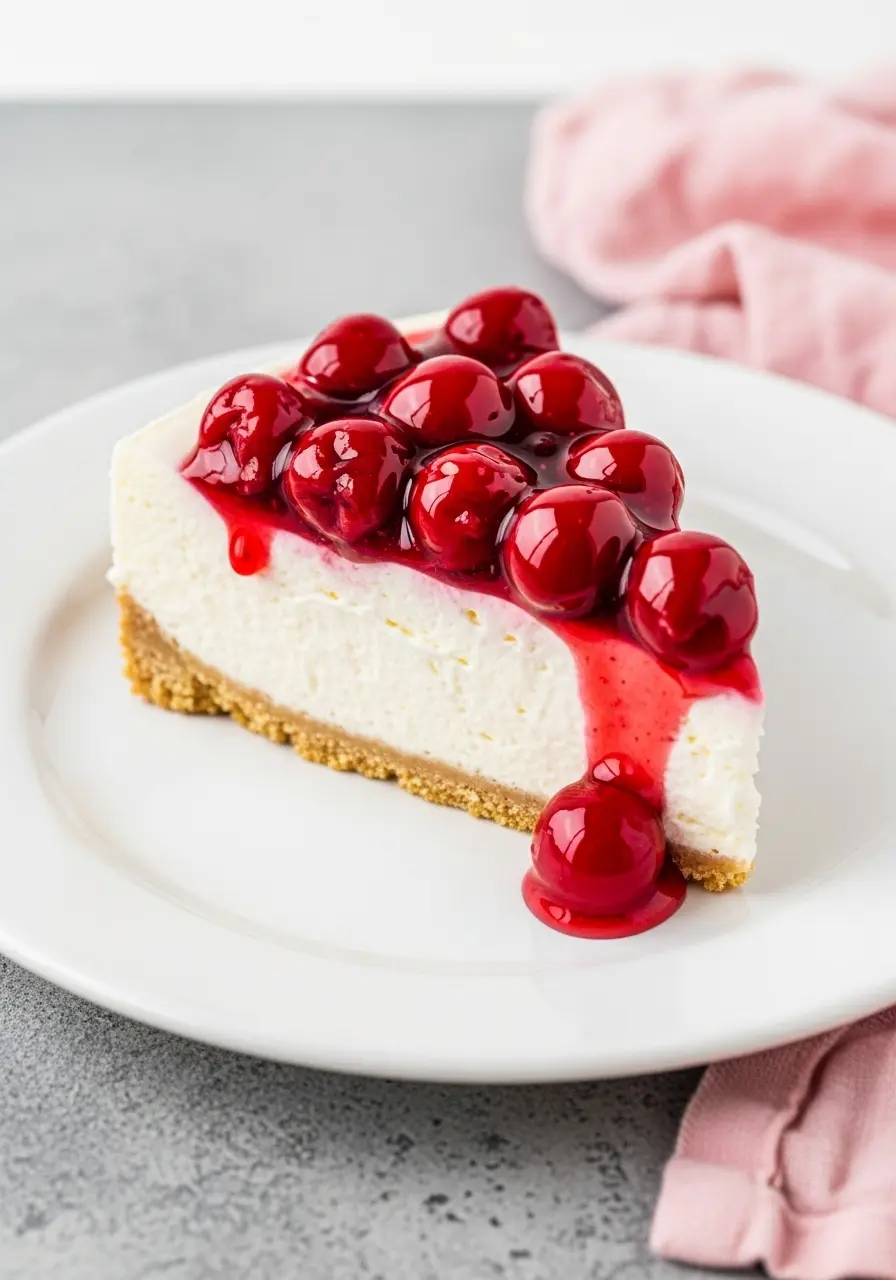
Top with your cherry pie filling just before serving. Spread gently to keep that glossy, inviting layer intact.
Use a sharp knife and wipe it clean between slices for perfect pieces. The moment someone tastes that first bite, you’ll see why this no bake cherry cheesecake is worth every step.
Top It Your Way
- A sprinkle of finely chopped pistachios: Green pop, subtle nutty flavor, gorgeous color contrast.
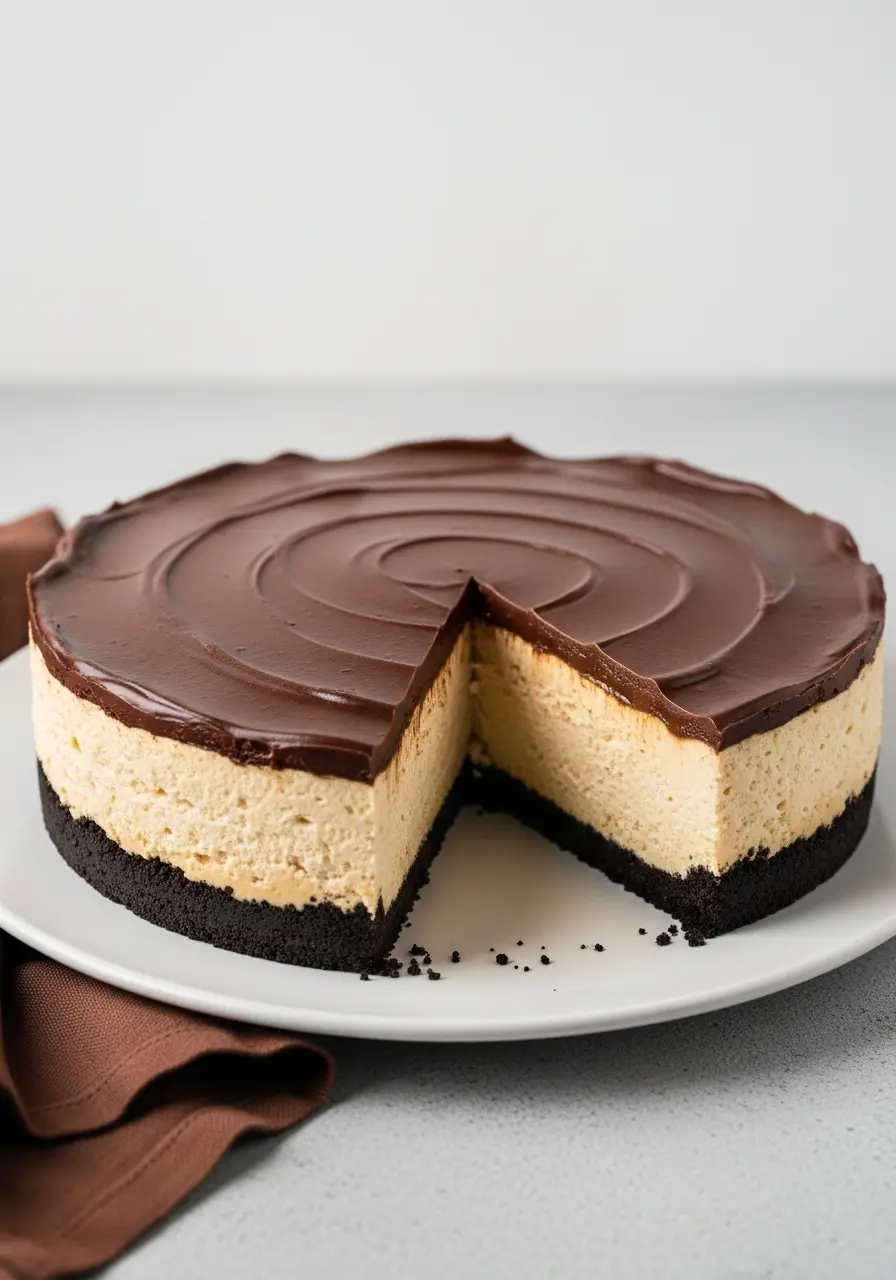
- Mini chocolate curls: Tiny chocolate touches for a subtle indulgence.
- Caramel drizzle: Sweet, sticky, and melts into the cheesecake for that indulgent vibe.
- Fruit preserves swirl: Raspberry or strawberry swirled lightly on top for a juicy twist.
How to Nail Your Cherry Cheesecake
Crush crackers evenly: Use a rolling pin or food processor to get consistent crumbs, it helps the crust stick together and gives a lovely even base.
Fold, don’t stir: When adding whipped cream to the filling, fold gently. This keeps it airy and light instead of dense.
Line your pan with parchment: It makes removing the cheesecake so much easier, no scraping, no stress, just a clean, perfect slice every time.
Don’t forget the sides: Loosen edges with a knife before removing from pan so the crust stays intact and the slices look flawless.
Keeping Your Cherry Cheesecake Perfect
Cover it with care: Use a cake dome or loosely tent with plastic wrap, too tight can smoosh the topping, too loose can dry the edges. Find that sweet spot!
Use the fridge wisely: Middle shelves are usually the most consistent in temperature, avoids melting edges and keeps the cream cheese silky.
Freeze smart: Slice first, wrap each piece in plastic and foil. Thaw slowly in the fridge overnight, no soggy filling, just creamy perfection.
The Best Cherry Cheesecake
Ingredients
For the Buttery Crust
- 12 sheets graham crackers finely crushed
- 3 tablespoons brown sugar
- ½ cup butter 1 stick, melted
- A pinch of salt
For the Creamy Filling
- 24 ounces cream cheese softened
- 1 ½ cups powdered sugar sifted
- 1 ½ cups heavy cream
- 1 ½ teaspoons pure vanilla extract
Topping
- Store-bought cherry pie filling
Instructions
- Crush the graham crackers until they feel soft and sandy in your hands. Mix them with the brown sugar, melted butter, and a pinch of salt until everything is combined. Press the mixture firmly into the bottom of your 9-inch springform pan, Pop the crust in the fridge for a bit while you get the filling ready so it can set nicely.
- In a large bowl, beat the cream cheese with the powdered sugar and vanilla until it’s smooth and creamy. Scrape down the sides of the bowl as you go and give it a little extra mix, it really makes the filling silky. Taste it and adjust with a bit more vanilla or sugar if you like it sweeter or more flavorful.
- In another bowl, whip the heavy cream until soft, fluffy peaks form. Fold it gently into the cream cheese mixture with a spatula, using slow, careful motions to keep it light and airy.
- Gently pour the mixture over the crust and distribute it evenly from edge to edge. Don’t stress about making it perfectly flat, a few gentle swirls add a homemade charm. Cover loosely and let it chill for at least five hours. This lets the flavors blend and the texture firm up beautifully.
- When you’re ready to serve, spoon the cherry pie filling over the top carefully, keeping that glossy layer intact. Use a sharp knife to slice, wiping it clean between each cut for neat, perfect pieces. Enjoy!
Notes
- If your cherry topping is very syrupy, drain slightly to avoid a soggy cheesecake.
- When pressing the crust, use the bottom of a glass for an even, smooth layer.