I have to confess: I’ve always had a soft spot for Boston Cream Pie, that rich vanilla filling, the moist cake layers, and the glossy chocolate topping? Ugh, pure comfort food bliss. But here’s the thing… Who has time to fuss with full-sized cakes on a busy weeknight?
That’s exactly why I created these Boston Cream Cupcakes.
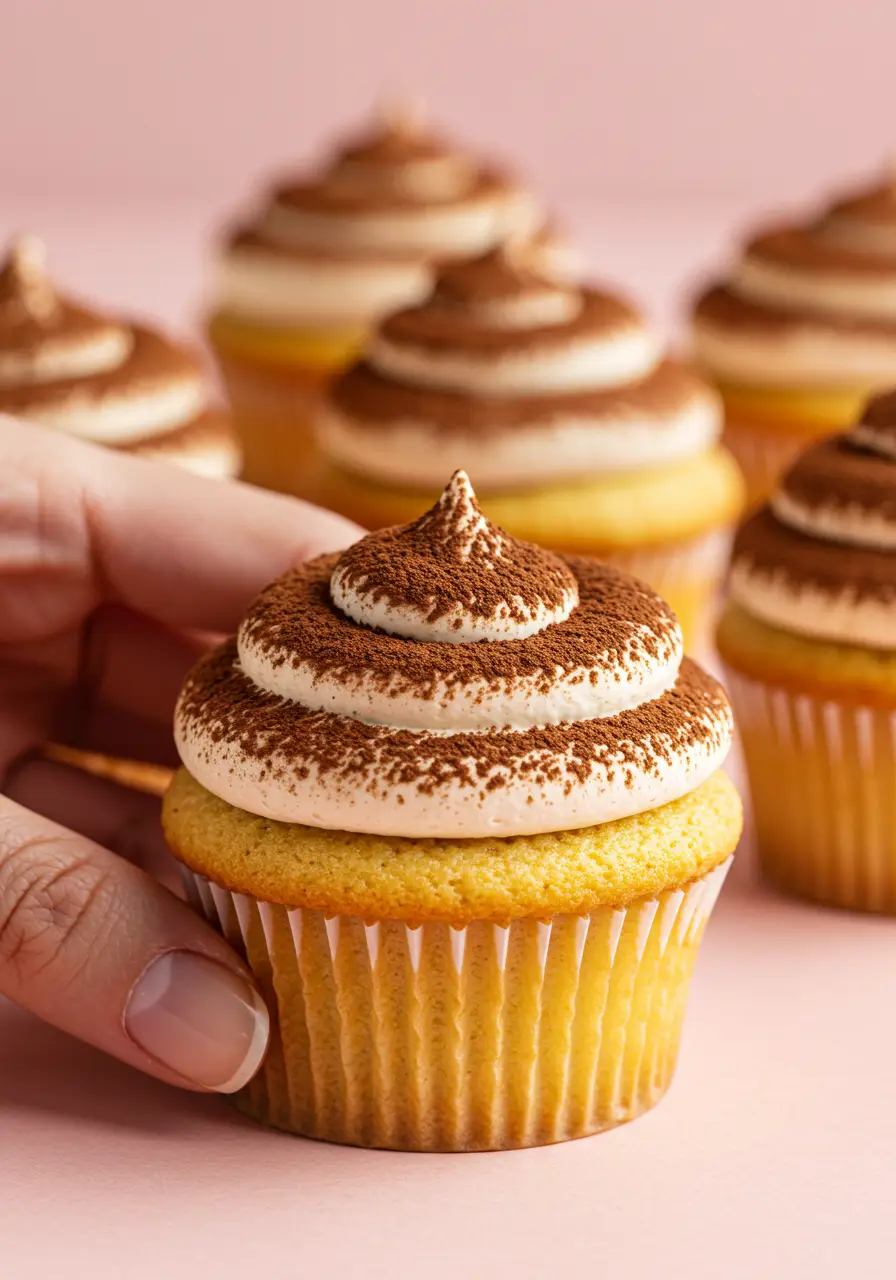
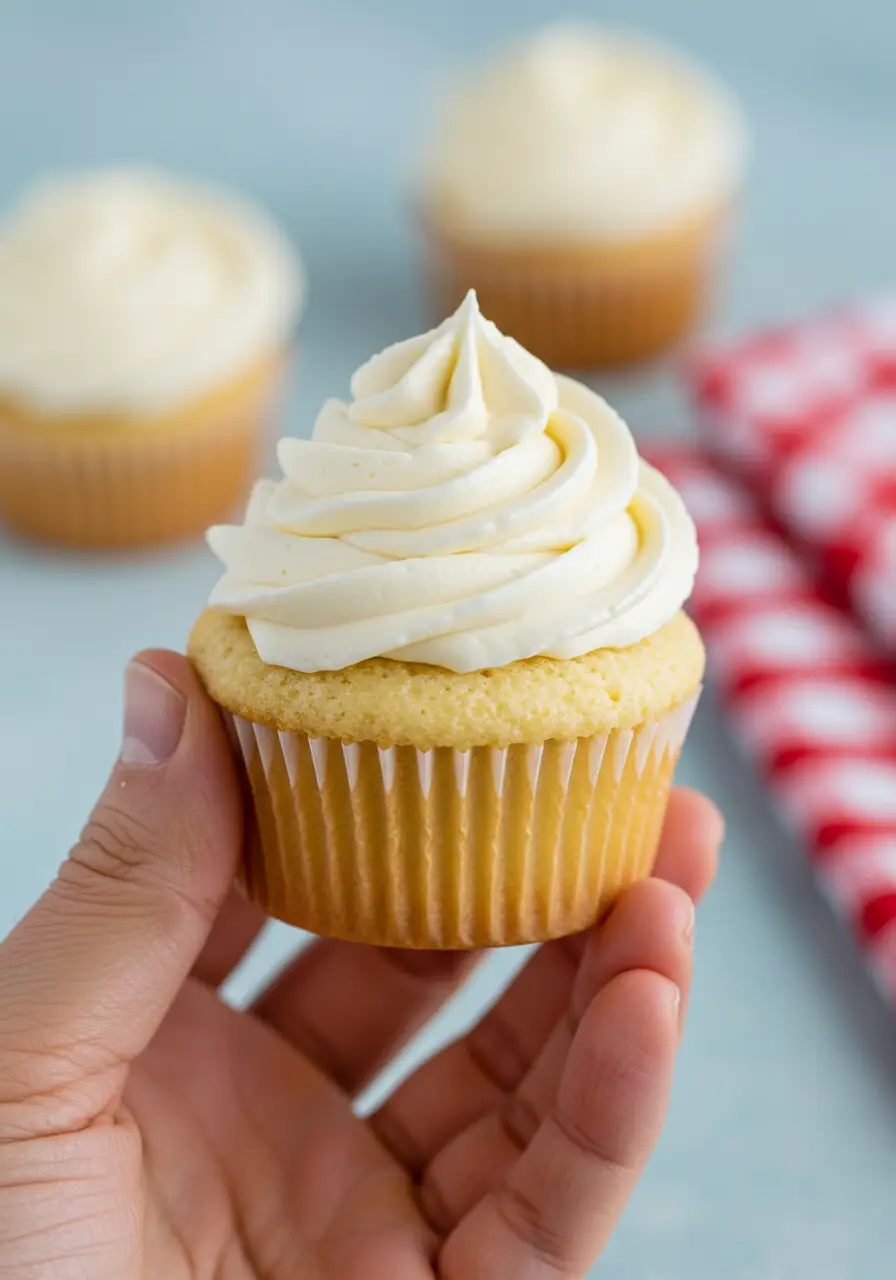
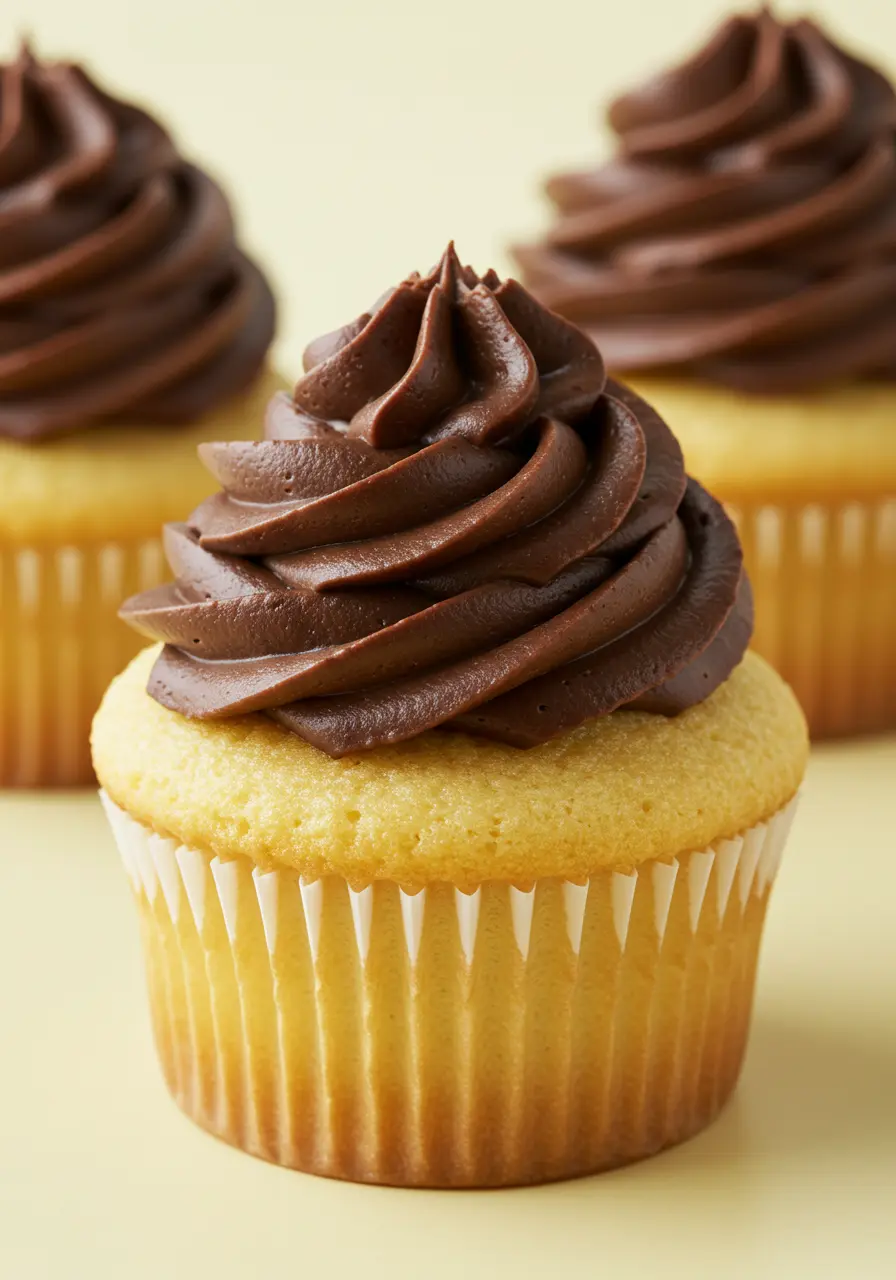
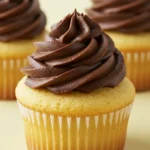
They’ve got everything you love about the classic dessert, soft vanilla cupcakes, a creamy homemade filling tucked right inside, and a smooth chocolate ganache that drapes over the top like a bakery-style hug.
But instead of serving slices, you’re handing out perfect little personal cakes that just happen to fit in a cupcake liner.
Why You’ll Love These Boston Cream Cupcakes
Forget the store-bought stuff! This silky, dreamy filling is SO much richer and more satisfying. You’ll never go back after tasting this real-deal version.
Bake them once, and watch them disappear. Seriously, these cupcakes are so addictive, they’ll be gone before you even get a chance to savor the last bite.
Don’t be fooled by its polished presentation, this recipe is surprisingly simple to whip up. You don’t have to be a pro baker to create something that looks and tastes like it came from a top-tier bakery.
The Main Ingredients
- Unsalted Butter – The foundation of every great cupcake. This ingredient infuses the dish with indulgent flavor and a delicate texture that simply dissolves on the tongue.
- Granulated Sugar – Sweetness that ties everything together. It’s the magic that makes each bite perfectly balanced.
- Cake Flour – The key to achieving airy, cloud-like cupcakes It gives them that soft, tender crumb everyone loves.
- Vanilla Extract – The cozy, warm flavor that makes everything taste like home. Pure and simple, it’s the star of the show!
- Greek Yogurt – Moisture and richness without the heaviness. It helps keep your cupcakes soft and dreamy.
- Buttermilk – The little magic ingredient that makes cupcakes rise and stay light and fluffy. It’s a must for that perfect texture!
- Semi-Sweet Chocolate – The indulgent ganache that brings everything together. Rich and smooth, it’s the cherry on top!
How to Make Your Delicious Boston Cream Cupcakes
1. Preheat and Prep
Start by preheating your oven to 325°F (165°C). Grab a 12-cup muffin pan and line it with your favorite cupcake liners, this will help them bake perfectly and look adorable!
2. Cream the Butter and Sugar
In your stand mixer (or with a hand mixer if you prefer), toss in the softened butter and granulated sugar.
Beat on medium for about 3 minutes, just until the mixture fluffs up and takes on a soft, creamy consistency. This is the magic moment where the batter starts to come alive!
3. Add the Wet Ingredients
Now, mix in the eggs and a splash of vanilla to the bowl. Keep mixing until everything is well combined. You should see a smooth, creamy texture forming, scrape the bowl as needed, so every little bit gets mixed in!
4. Sift the Dry Ingredients
Sift the cake flour, baking powder, baking soda, and a pinch of salt into a separate bowl. This step helps ensure your cupcakes are light and airy! After sifting, gradually incorporate the dry ingredients into the butter mixture, alternating with additions of sour cream and buttermilk.
Add half of the dry ingredients, then mix on low.
Add half of the sour cream and buttermilk, then mix again.
Repeat the process with the rest of the dry ingredients and liquid, stirring until everything is evenly mixed. Don’t overmix!
5. Scoop the Batter into the Pan
Time to scoop! Using a cookie scoop or spoon, divide the batter evenly between the cupcake liners. This ensures your cupcakes are all the same size and bake evenly. You want each liner filled about 2/3 full.
6. Bake
Put the filled pan in the oven and bake for about 20 minutes. You’ll know they’re done when the cupcakes spring back to the touch or a toothpick comes out clean. The edges should be just lightly golden. Once slightly cooled in the pan, carefully lift them out and place on a wire rack to finish cooling.
7. Prepare the Vanilla Pastry Cream
While the cupcakes are cooling, let’s make that silky smooth pastry cream. Blend the egg yolks, sugar, cornstarch, vanilla, and a dash of salt in a medium saucepan, whisking until the mixture lightens and smooths out.
Slowly pour in the milk, whisking continuously to ensure it’s smooth.
Place the pan on low heat and keep whisking until the cream thickens and bubbles up, about 10 minutes.
Be patient here, this will give you that velvety filling we’re all dreaming of. When the mixture has thickened, take it off the heat and pass it through a fine mesh sieve to smooth out any lumps. Stir in the butter, seal with plastic wrap, and refrigerate until the mixture is cold and set.
8. Make the Ganache
It’s time to make that smooth, luxurious ganache with a perfect sheen, first, finely chop your chocolate and place it in a heat-safe bowl. In a small saucepan, heat the heavy cream over low heat just until it starts to bubble around the edges.
Pour the hot cream over the chocolate and wait 5 minutes, then stir gently until the texture becomes rich and satiny. Allow it to cool to room temperature, it will thicken into the perfect consistency for piping.
9. Assemble the Cupcakes
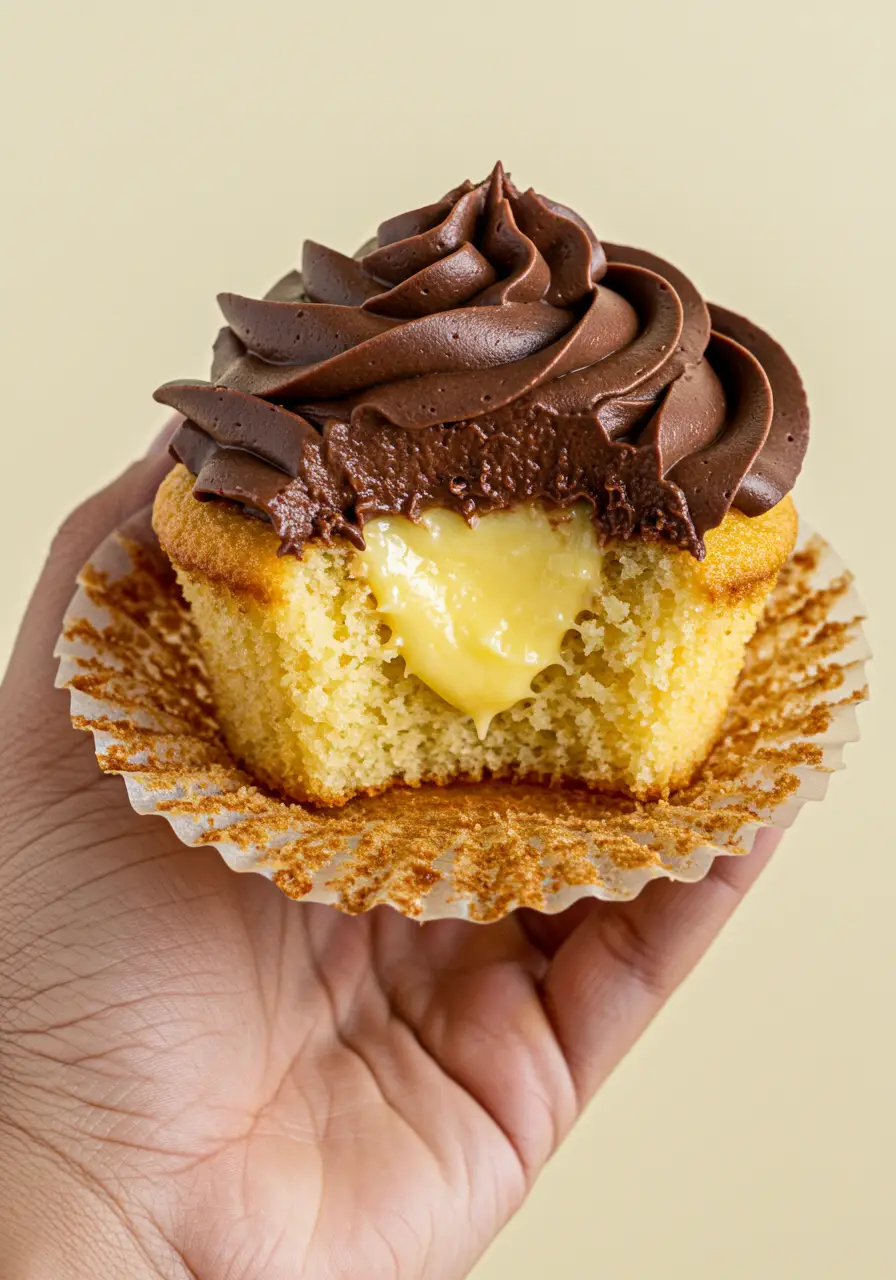
Now comes the fun part, assembly! Once your cupcakes are completely cool, use a small knife to cut a hole in the center of each one. Be careful not to cut all the way through to the bottom; leave a little base to hold the filling.
Fill a piping bag with your cooled pastry cream and pipe it into the hole of each cupcake, filling it generously but not overflowing. Don’t be shy, this is where the flavor and texture come from!
10. Top with Ganache
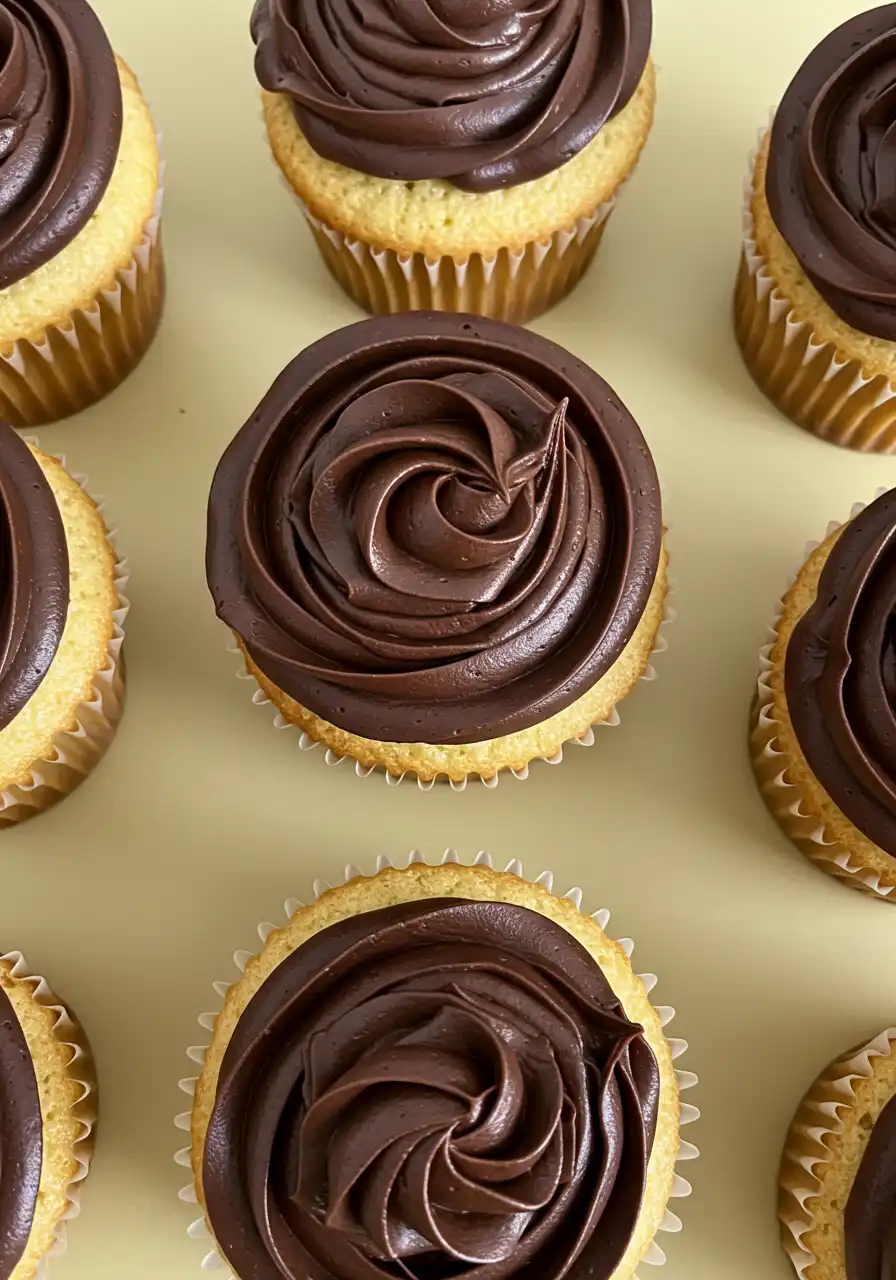
Now, pipe a luscious swirl of the rich, creamy ganache over the top of every cupcake. You can be creative here, pipe a smooth swirl or even a little decorative peak, depending on how fancy you feel. Enjoy!
Loved this? There’s so much more to explore! Follow me on Pinterest for tasty recipes and baking inspiration and be sure to pin this one for later!
3 Mistakes to Avoid
1- Overmixing the Batter
I get it, it’s easy to want to mix until everything’s perfectly smooth. Just remember, overmixing will lead to dense cupcakes, and no one wants that fate!
2- Not Letting the Ganache Cool to the Right Consistency
Ganache can be tricky if you don’t let it cool enough. If it’s too runny, it won’t hold its shape on top of the cupcakes. But if it’s too thick, it won’t pipe properly. Allow it to cool to room temperature and test it for the perfect, pipeable texture.
3- Skipping the Cooling Time
It’s hard to resist diving in immediately, but a little patience will pay off! Let the cupcakes cool completely before adding the pastry cream filling. If you fill them while they’re still warm, the cream can melt or get runny.
How to Store Your Boston Cream Cupcakes
Room Temperature for Short-Term Storage
If you’re planning to enjoy them within 1-2 days, feel free to store your frosted cupcakes at room temperature. Keep them in a tightly sealed container to maintain their softness and prevent any dryness.
Refrigerate for Longer Freshness
For up to 4 days, store your cupcakes in the fridge. The ganache and pastry cream will hold up better in the cold. To preserve their texture, keep them in an airtight container or securely wrapped in plastic.
Freeze for Later
Want to make them ahead of time? Tightly wrap the cupcakes (before frosting) in plastic wrap, then store them in a freezer-safe bag for up to 3 months of freshness.
How to Make Perfect Boston Cream Cupcakes Every Time
Ingredients
For the Vanilla Cupcakes
- ½ cup unsalted butter softened
- 1 tablespoon of neutral oil
- ⅔ cup granulated sugar
- 1⅔ cups cake flour lightly spooned and leveled
- 1 whole egg plus 1 egg white, both at room temperature
- 2½ teaspoons pure vanilla extract
- 1 teaspoon baking powder
- ½ teaspoon baking soda
- ¼ teaspoon salt
- ½ cup sour cream
- ½ cup buttermilk also at room temperature
For the Vanilla Pastry Cream
- 3 tablespoons granulated sugar
- 3 large egg yolks
- 1½ tablespoons cornstarch
- A small pinch of salt
- 1 cup whole milk
- 1¼ teaspoons pure vanilla extract
- 1½ tablespoons unsalted butter
For the Chocolate Ganache
- 12 ounces heavy cream
- 12 ounces semi-sweet chocolate finely chopped
Instructions
- Start by preheating your oven to 325°F (165°C). Prepare a 12-cup muffin pan by lining each cup with a cupcake liner. This will help your cupcakes bake evenly and give them that cute, classic look.
- In your stand mixer, beat the softened butter and granulated sugar together on medium speed for about 3 minutes. You’re aiming for a light, fluffy texture here, this is the foundation of your cupcake batter!
- Incorporate the eggs, and vanilla extract into the bowl, then mix until everything is evenly combined. The mixture should be smooth and creamy.
- As you go, don’t forget to scrape the bowl’s sides to ensure a smooth, fully combined mixture.
- In a separate bowl, sift the cake flour, baking powder, baking soda, and salt together.
- To achieve a light and fluffy texture, gradually add the dry ingredients in portions, switching off with the sour cream and buttermilk as you mix them into the butter base.
- Begin with half of the dry ingredients, mixing on low, then add half of the sour cream and buttermilk.
- Repeat with the remaining ingredients. Be careful not to overmix, as you want to keep the batter airy.
- Spoon the batter into the liners, filling each about two-thirds full to give them space to rise. A cookie scoop works great for this step to ensure all your cupcakes are the same size and bake evenly.
- Pop the muffin pan in the oven and bake for 20 minutes. You’ll know they’re done when the cupcakes spring back when gently touched, or when a toothpick comes out clean.
- Cool the cupcakes in the pan for a few moments, then carefully transfer them to a wire rack to cool entirely.
- While the cupcakes are cooling, make the vanilla pastry cream. In a medium saucepan, whisk the egg yolks, sugar, cornstarch, vanilla extract, and a pinch of salt until the mixture turns lighter and slightly thickened.
- Slowly add the milk while whisking constantly to ensure the mixture stays smooth and creamy.
- Cook over low heat, whisking constantly, until the mixture thickens and begins to bubble, taking around 10 minutes. Be patient here! After thickening, strain the mixture through a fine sieve to eliminate any lumps, then stir in the butter to create a velvety finish.
- Seal with plastic wrap and let it cool in the refrigerator.
- Now, make the ganache. Chop the chocolate into small chunks and place them in a heatproof bowl.
- Warm the heavy cream over low heat until it begins to bubble around the edges, then pour it over the chocolate.
- Give it 5 minutes to melt, then stir until it becomes silky and smooth. Allow the ganache to cool to room temperature, this is when it thickens and becomes perfect for piping.
- After the cupcakes have cooled, carefully use a knife to make a small hole in the center of each, avoiding cutting all the way through. You want to leave a little base at the bottom to hold the filling.
- Fill a piping bag with your chilled pastry cream and pipe it into the hole of each cupcake, making sure to fill them generously. You can even give the filling a little swirl to make it extra pretty!
- Finish by piping the cooled ganache over the top of each cupcake. You can get creative with how you pipe it, smooth, swirled, or even a decorative peak. Enjoy your delicious, homemade Boston Cream Cupcakes!
Notes
- Always use room-temperature ingredients for the best results, especially the butter, eggs, and milk. They mix better and give you a smoother batter.
- If you’re feeling fancy, sprinkle a bit of sea salt on top of the ganache for a salty-sweet twist!