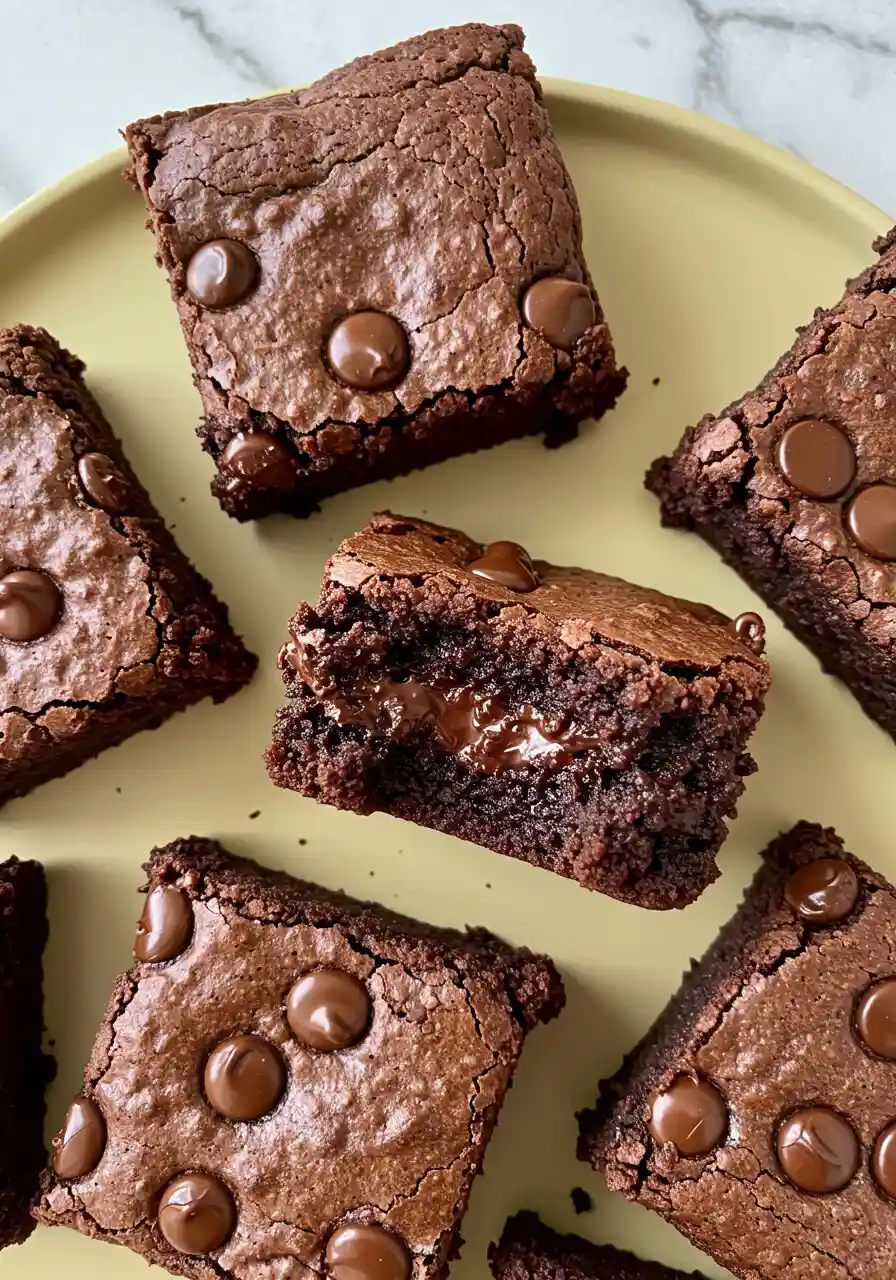
I know what you’re thinking, Black Bean Brownies? Really? But trust me, you’re about to discover your new favorite brownies recipe. I had my doubts, too. The first time I heard about using black beans in dessert, I pictured a disaster. But one bite of these healthy brownies, and I was hooked.
They’re unbelievably fudgy, rich, and packed with chocolate flavor, without a single hint of beans. And the best part? This recipe is so easy, you just toss everything into a blender and let it do the work. No fancy techniques, no complicated steps, just blend, bake, and devour.
If you’re craving a gooey, chocolatey treat that feels indulgent but is secretly packed with protein and fiber, these black bean brownies are for you.
Jump to
Whether you’re making them for yourself, your family, or even skeptical friends (who will never guess the secret ingredient), get ready to be amazed.
The Ingredients You’ll Need
- Black beans – Yup, beans in brownies! They give the brownies a rich, fudgy texture and you won’t even taste them.
- Eggs – These guys help hold everything together and give the brownies that soft, melt-in-your-mouth feel.
- Granulated sugar – A little sweetness to balance the chocolate and make these brownies just the right amount of indulgent.
- Unsweetened cocoa powder – This is where the chocolatey magic happens! It brings all that deep, cocoa flavor without adding extra fat.
- Unsalted butter – A classic brownie must-have! It makes everything smoother and richer, just the way we like it.
- Ground cinnamon – A tiny bit of cinnamon goes a long way, adding a cozy warmth that makes the chocolate flavor pop.
- Baking powder – Helps these brownies rise just enough to give them a soft, perfect texture.
- Vanilla extract – The secret weapon for a warm, rounded flavor that takes the chocolate to the next level.
- Fine salt – It’s like the unsung hero! A pinch of salt enhances all the flavors and makes the chocolate even more delicious.
- Semi-sweet chocolate chips – For that extra chocolatey bite and gooey goodness throughout the brownies.
How to Make These Fudgy Black Bean Brownies
Preheat Your Oven and Prepare Your Baking Dish
Start by preheating your oven to 350°F. While that’s warming up, grab an 8×8 baking dish and line it with parchment paper. Lightly spray it with some cooking spray or rub in a little oil to keep the brownies from sticking. Set it aside for now, your batter is coming soon!
Blend Everything Together (Except the Chocolate Chips)
Next, grab your blender. It’s time to make this process as easy as possible! Toss in all the ingredients, black beans, eggs, sugar, cocoa powder, butter, cinnamon, baking powder, vanilla extract, and salt. Put the lid on and blend until it’s smooth and creamy.
The batter should be thick, velvety, and perfectly mixed, no lumps allowed!
Pour and Fold in the Chocolate Chips
Once everything is blended to perfection, pour the rich, thick batter into your prepared baking dish. Now, take ½ cup of chocolate chips and gently fold them into the batter.
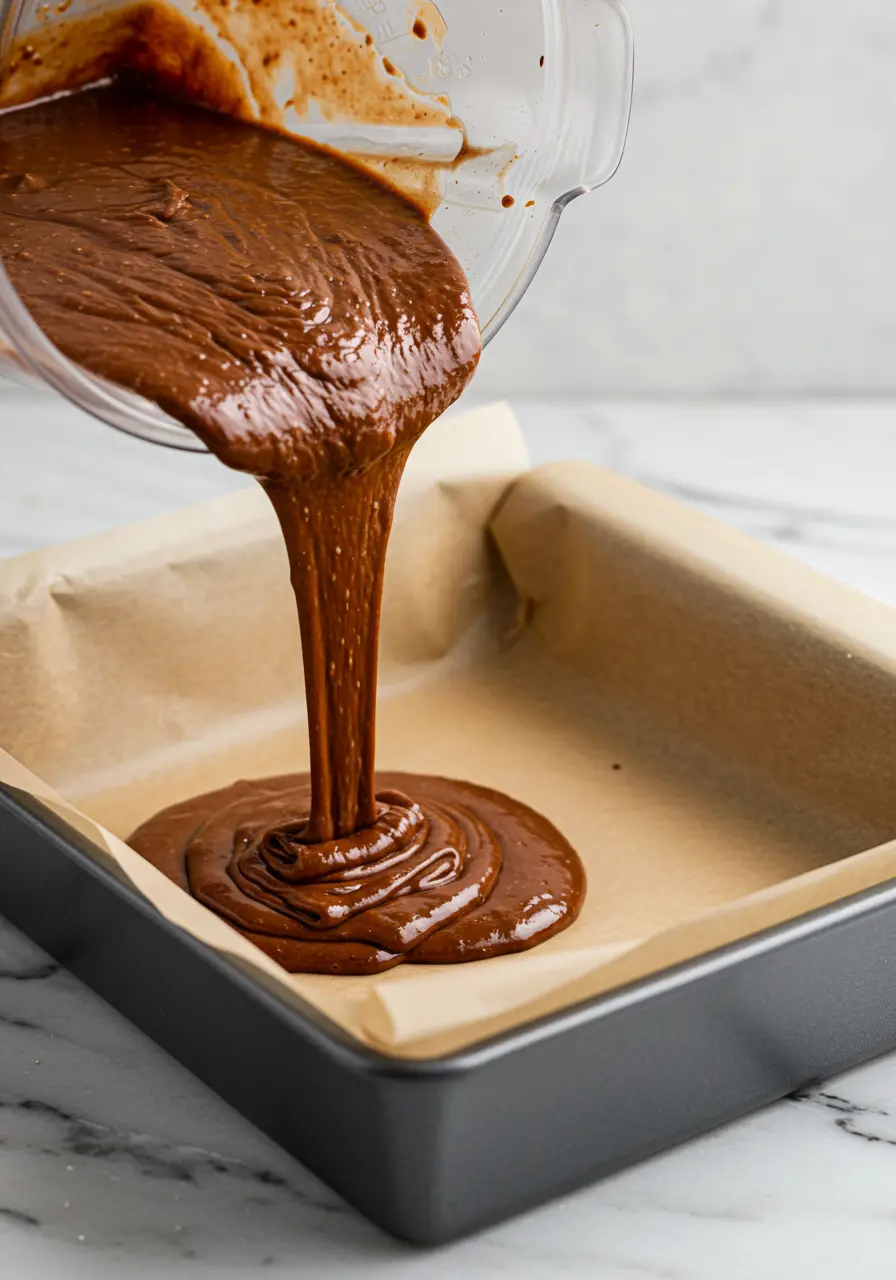
This is where the magic happens, you’ll get those little gooey pockets of chocolate in every bite!
Top with More Chocolate Chips
Before you pop the brownies in the oven, sprinkle the remaining ½ cup of chocolate chips on top. This adds that extra bit of melt-in-your-mouth chocolate on the surface, making the brownies even more indulgent.
Bake to Perfection
It’s baking time! Place your dish in the oven and let it bake for 25 to 30 minutes. You’ll know it’s done when the middle is just set but still a little soft.
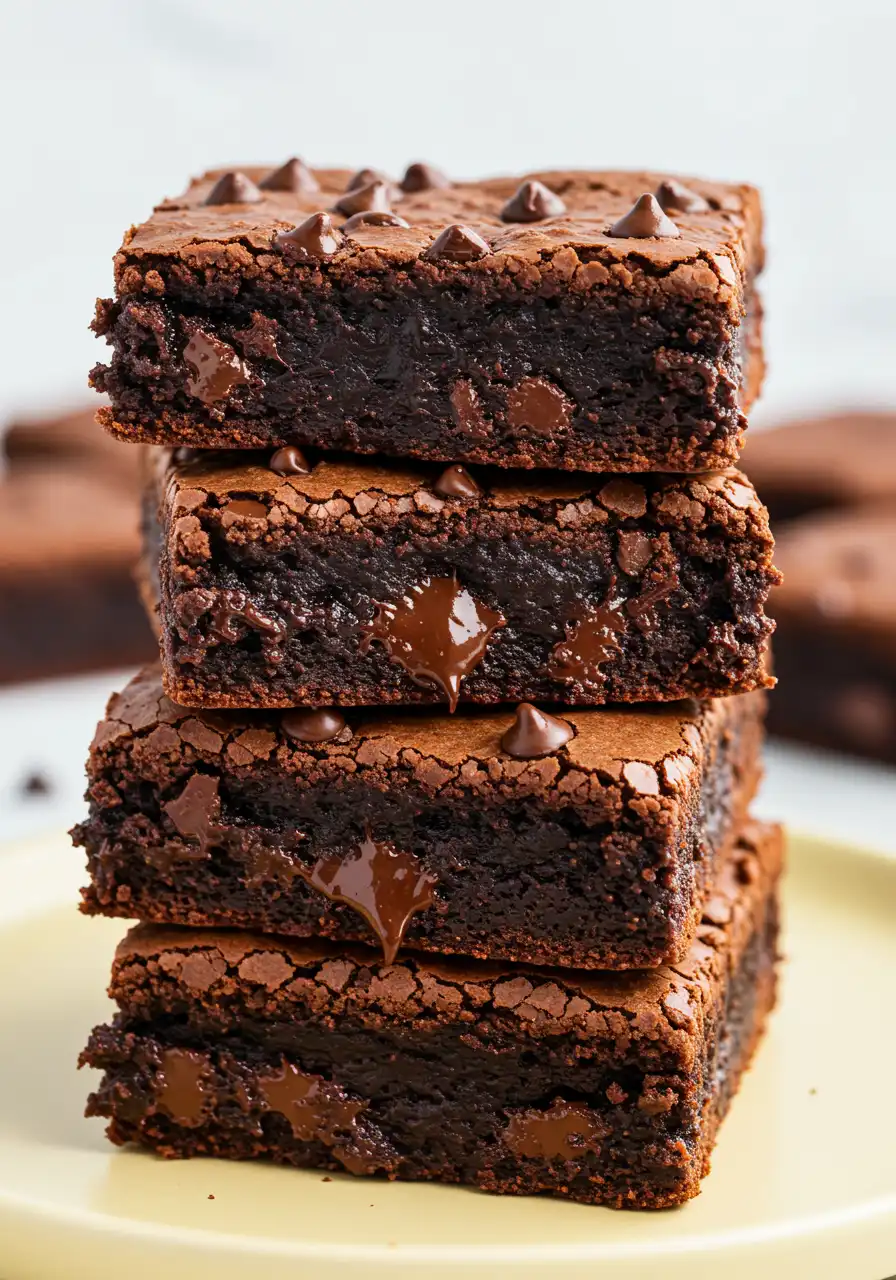
A toothpick inserted into the center should come out mostly clean, with a few moist crumbs clinging to it. That’s when you know you’ve got the perfect fudgy texture!
Let Cool Before Slicing
Once your brownies are done baking, let them cool for about 30 minutes. I know it’s tempting to dive in, but trust me, letting them cool gives them time to firm up and makes slicing so much easier. Plus, they taste even better once they’ve had time to settle! Slice and Enjoy!
4 Mistakes to Avoid When Making Black Bean Brownies
These brownies are simple, but there are a few things that can go wrong if you’re not careful.
Skipping the Rinse on the Beans
Rinsing your black beans is a crucial step! It removes the excess liquid and any canning residue that could leave an off taste in your brownies. A quick rinse under cold water ensures that your brownies stay fresh and flavorful, without any unwanted aftertaste.
Using Too Much Sugar
While it’s tempting to add extra sugar for sweetness, keep in mind that the black beans already bring a natural sweetness. Stick to the measurements for the best balance! Too much sugar can make your brownies overly sweet and take away from the rich chocolate flavor we’re aiming for.
Not Checking for the Right Texture
The secret to perfect brownies is getting the right balance between fudgy and set. Keep an eye on your oven, don’t rely just on the timer.
The brownies are done when a toothpick inserted into the center comes out with a few moist crumbs but no wet batter. Underbake them for that gooey texture, but don’t let them get too soggy in the middle either.
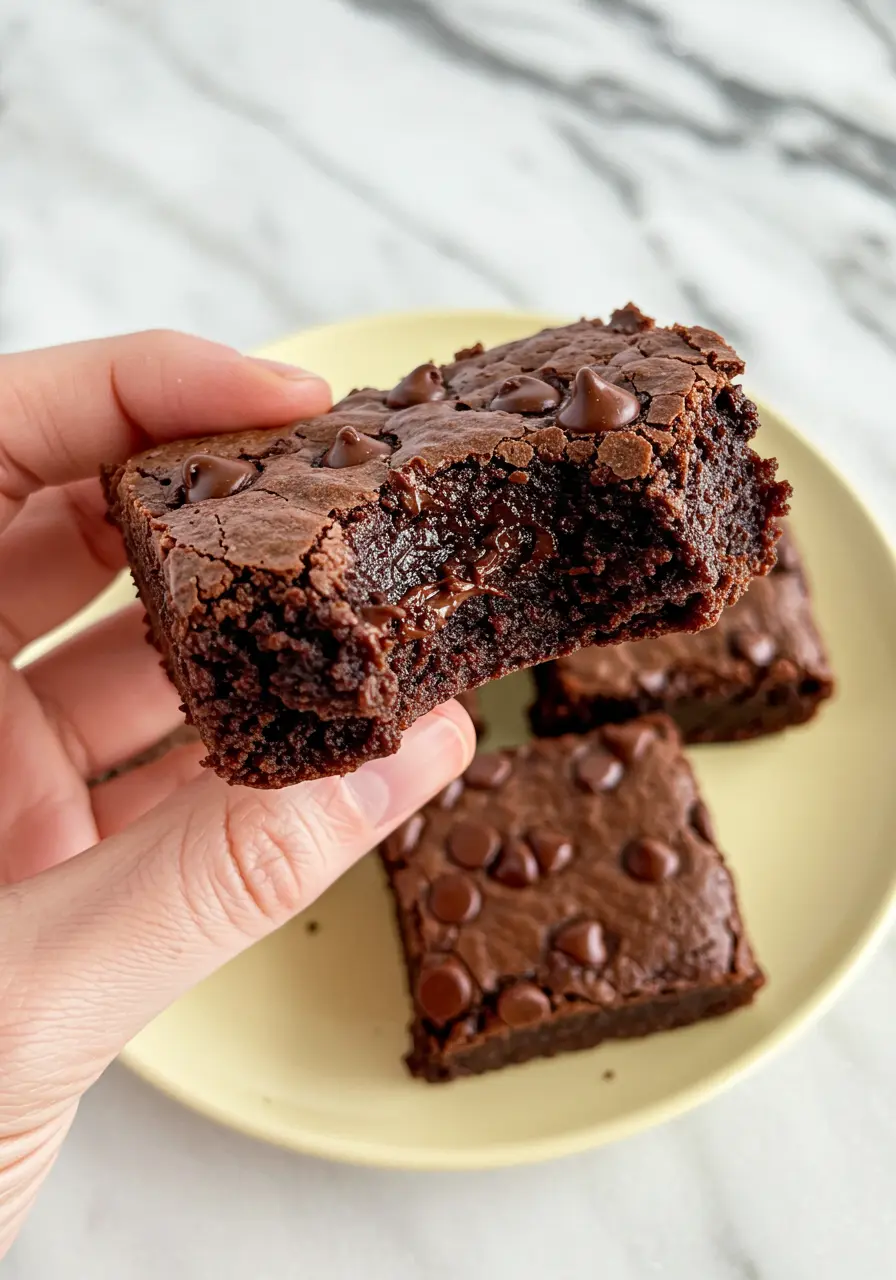
Slicing Too Soon
I get it, you’re excited to dig in! But trust me, let them cool for at least 30 minutes before slicing. This helps them set properly, making them easier to cut without falling apart. You’ll get perfect, clean slices that show off that rich, fudgy texture. It’s worth the wait!
How to Store Your Black Bean Brownies
Room Temperature:
Keep your brownies fresh by sealing them in an airtight container and storing them at room temperature for a maximum of three days. They’ll stay fudgy and delicious for a few days, perfect for enjoying as an everyday snack!
Refrigerator:
For a longer shelf life, keep your brownies in the fridge for up to 1 week. They stay fresh and fudgy, and the cool temperature gives them an extra dense, rich texture. Just make sure to cover them tightly to avoid drying out.
Freezing for Later:
Need to save some for later? You can freeze them! Individually wrap each brownie in plastic wrap, then transfer them into a freezer-safe bag for optimal preservation. They’ll last up to 3 months. Just thaw them at room temperature or pop them in the microwave for a few seconds when you’re ready to enjoy.
More Brownies to Try
- Salted Caramel Brownies
- Cottage Cheese Brownies
- Pecan Pie Brownies
- Brownies with Cream Cheese Frosting
- German Chocolate Brownie

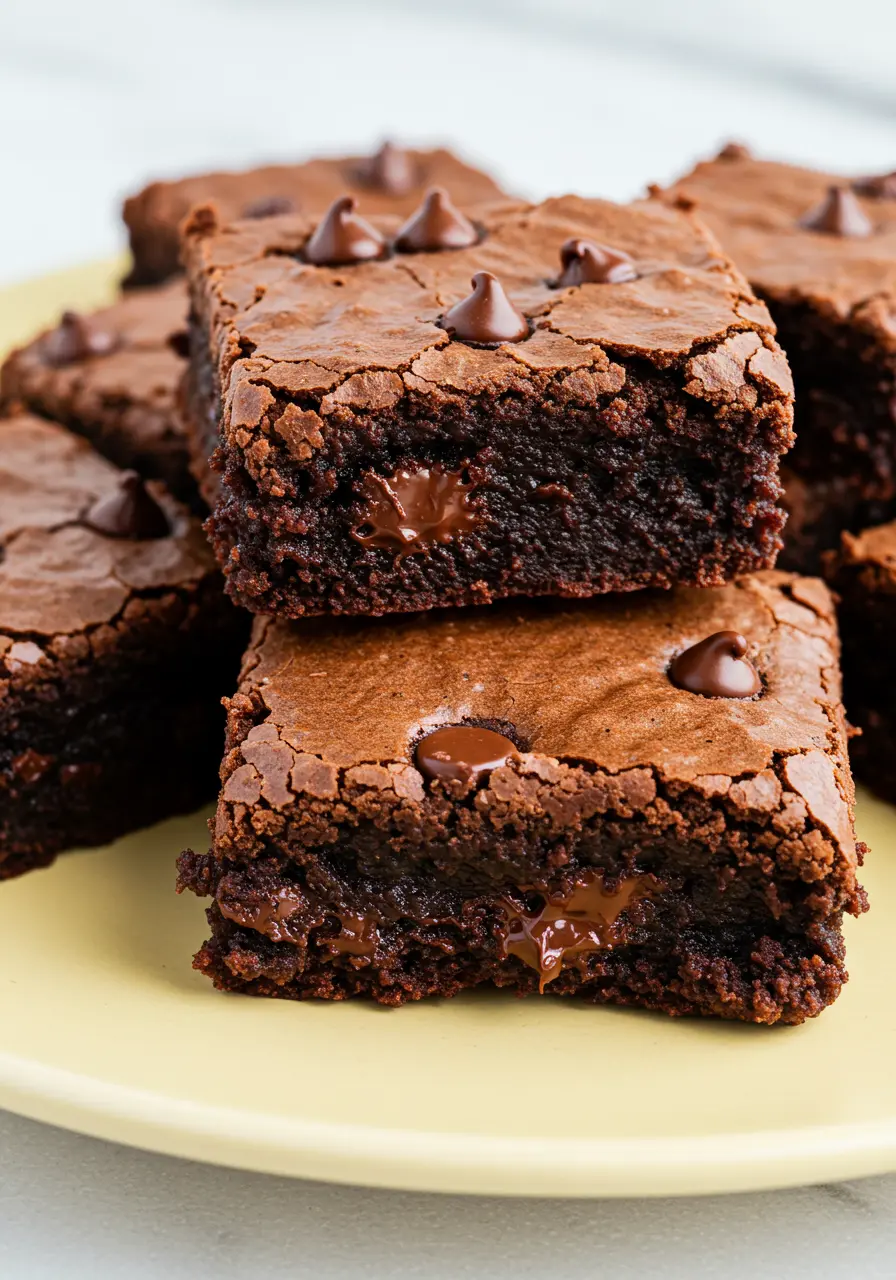
The Best Black Bean Brownies: Chocolatey, Fudgy & Easy!
Ingredients
- ½ cup unsweetened cocoa powder
- ¾ cup granulated sugar
- 1 15-ounce can black beans, drained and rinsed
- ¼ cup unsalted butter melted
- ¾ teaspoon ground cinnamon
- 3 large eggs
- 1 teaspoon baking powder
- ¼ teaspoon fine salt
- 1 ½ teaspoons vanilla extract
- 1 cup chocolate chips
Instructions
- Preheat your oven to 350°F and prepare an 8×8 baking dish by lining it with parchment paper. Lightly spray it with cooking spray or oil to prevent sticking, then set it aside for later.
- Next, grab your blender and toss in these ingredients, black beans, eggs, sugar, cocoa powder, butter, cinnamon, baking powder, vanilla extract, and salt.
- Combine all the ingredients and blend until the texture becomes velvety and flawlessly smooth. You want the batter to be thick, velvety, and free of lumps.
- Once blended, pour the batter into the prepared baking dish. Take ½ cup of chocolate chips and gently fold them into the batter, creating those delicious chocolate pockets.
- Then, sprinkle the remaining ½ cup of chocolate chips on top to add a little extra chocolatey goodness.
- Bake your brownies for 25 to 30 minutes.
- They’re done when the middle is set but still a bit soft. Check with a toothpick, if it comes out with a few moist crumbs, you’re good to go!
- Let your brownies cool for about 30 minutes. I know it’s tempting, but this step makes them easier to slice and lets the flavor settle.
- After cooling, slice them up and enjoy! Easy right?
Notes
- Make sure to rinse the beans well, this helps avoid any weird flavors.
- Let them cool before slicing, so they hold together better!