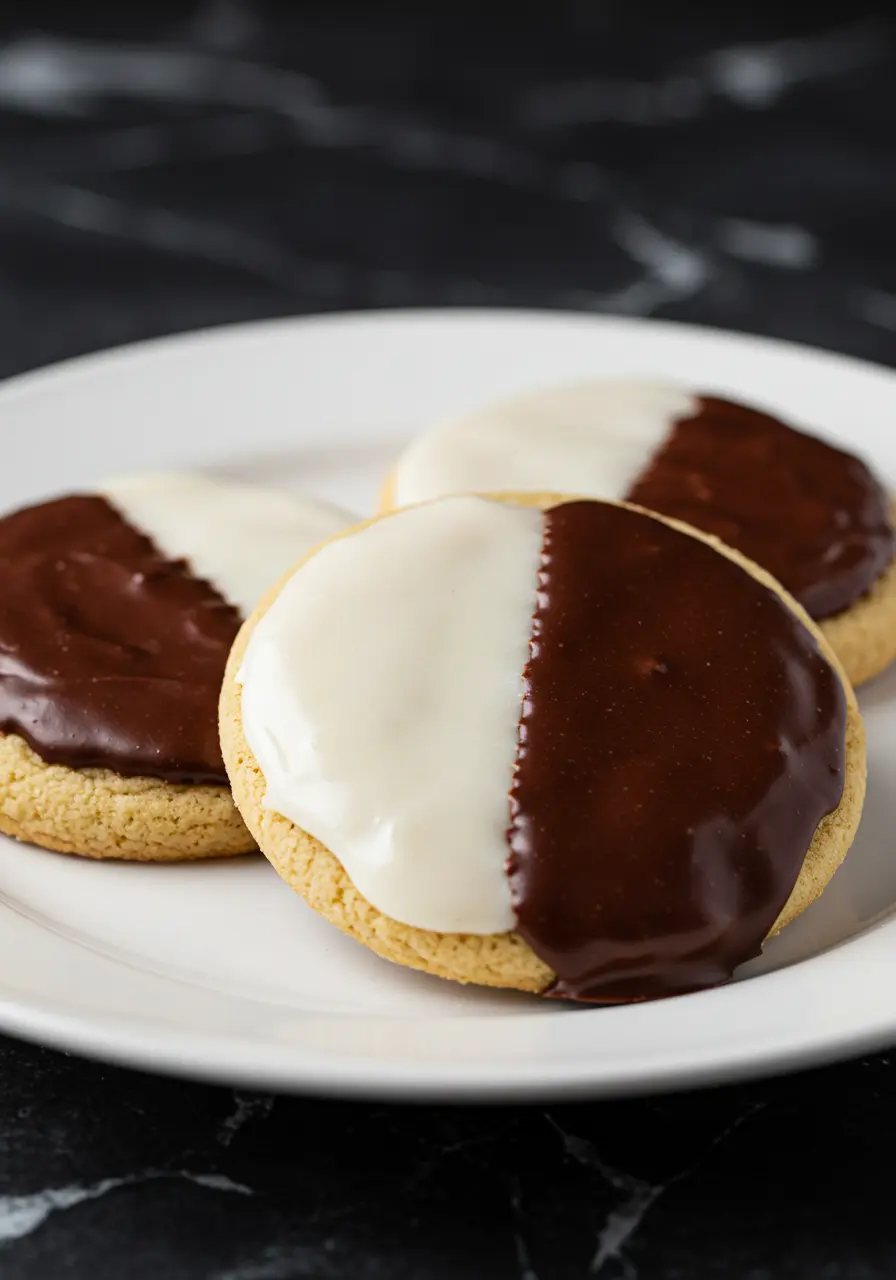
If you’ve ever walked past a bakery window and been instantly drawn to those glossy, half-vanilla, half-chocolate treats, then you already know the irresistible charm of Black and White Cookies.
For me, they’re more than just cookies. They’re a memory, a soft cakey bite of nostalgia that takes me back to rainy afternoons, cozy kitchens, and that one cookie you never wanted to share.
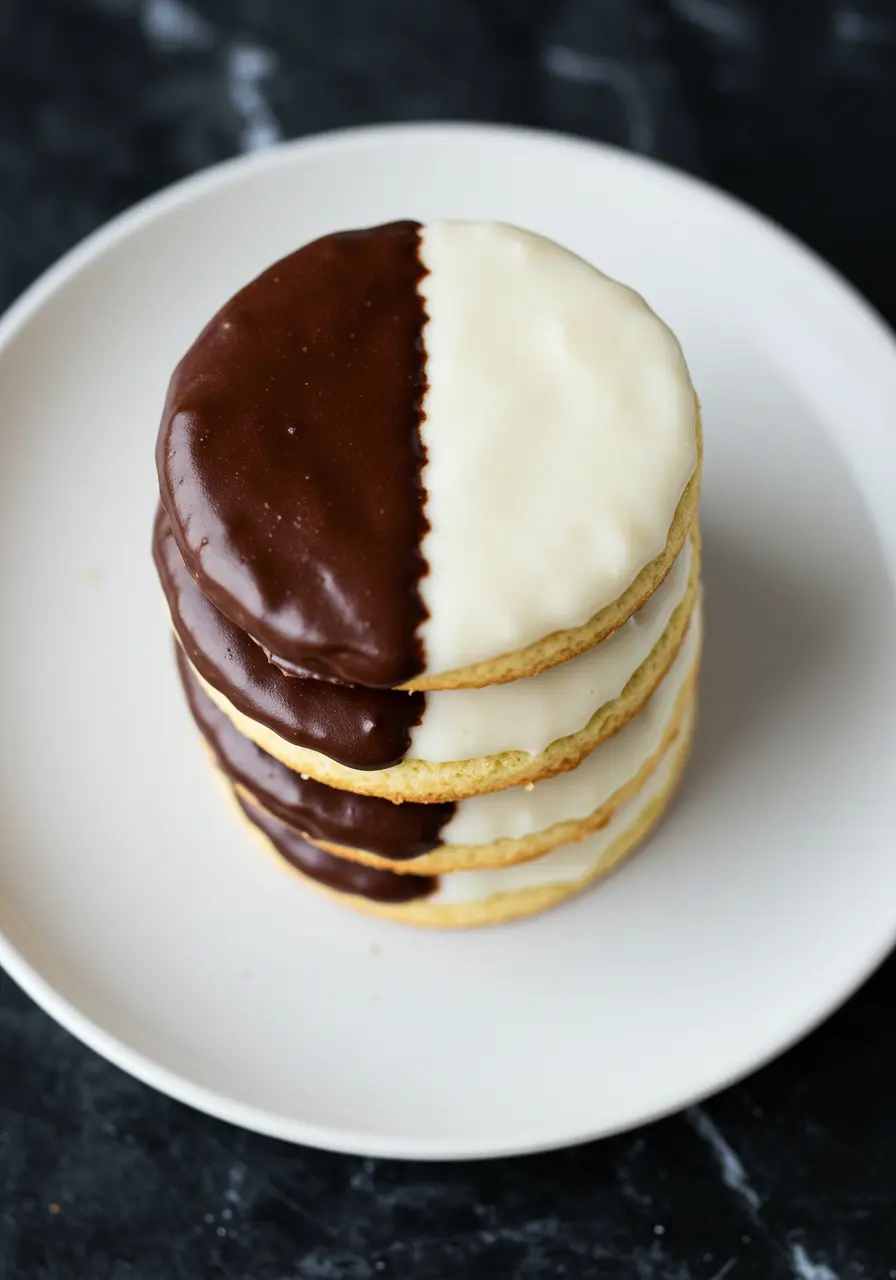
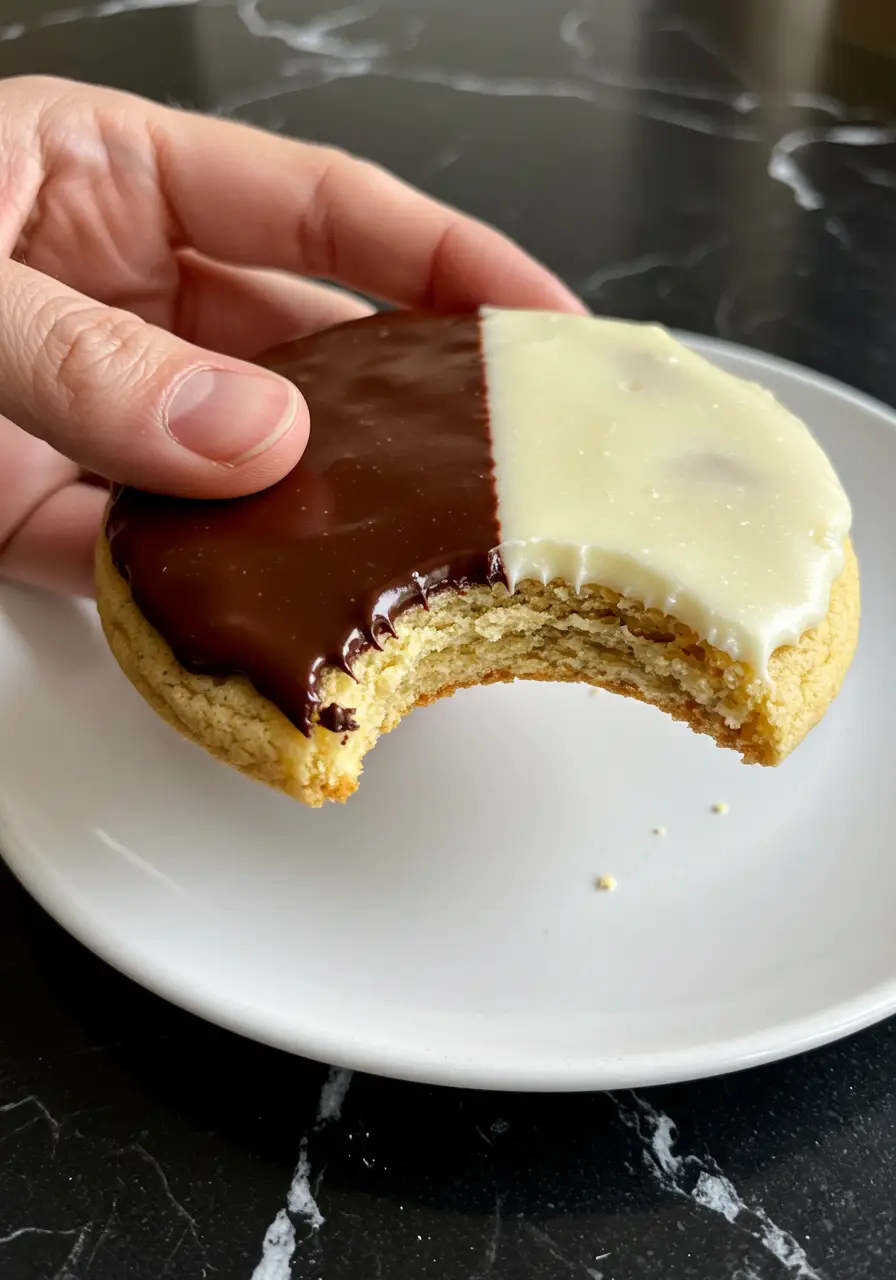
This black and white cookie recipe is everything I love about the classic New York deli version, thick and soft with a tender crumb, and topped with that shiny split glaze that makes every bite feel like a little celebration.
But what I love most is how these black white cookies come together so easily at home, without any fancy equipment or tricky techniques.
Whether you’re baking for a special occasion, filling up the cookie jar, or just craving a bakery-style treat without leaving your house, this recipe’s got you.
The Ingredients You’ll Need
- All-purpose flour – Keeps the cookies soft, cakey, and just the right amount of chewy.
- Baking powder – Helps the cookies rise into that perfect dome shape.
- Baking soda – Adds a little extra lift and that light golden color
- Salt – Cuts through the sugar and breathes vibrancy into every bite.
- Granulated sugar – Sweetens things up and gives the cookies a soft bite
- Unsalted butter – Infuses the cookies with luxurious softness and an utterly addictive charm.
- Milk – Adds moisture so the dough comes together smoothly
- Vanilla extract – Gives that classic, cozy flavor in both the dough and the icing.
- Powdered sugar – The sweet, silky base for both glaze toppings.
- Hot water – Lends the icing a silky flow that sweeps seamlessly over every inch.
- Dark chocolate chips – For that rich, glossy chocolate half we all look forward to.
How to Make Black and White Cookies
1. Preheat and Get Ready
Start by heating the oven to 350°F (175°C), the perfect temperature for all your baking needs. While that’s heating up, line your baking sheets with parchment paper or silicone mats to make sure those cookies slide right off once they’re baked.
Get set with a pair of bowls: one to whisk the dry, the other to blend the wet. Trust me, this will keep things neat and simple!
2. Whisk the Dry Ingredients
Mix the flour, leavening agents, and salt in a bowl until the ingredients are well integrated. This is your dry mix, and trust me, whisking it all together first helps everything blend in the dough later.
3. Cream the Butter and Sugar
Toss the butter and sugar into the second bowl and blend well. Mix on medium speed until the batter is light. This takes about 3-5 minutes. It’s the magic ingredient that creates that perfect, melt-in-your-mouth softness. You want it to be creamy and smooth, like you’re making a cozy doughy cloud!
4. Add the Milk and Vanilla
When your butter and sugar reach a light, fluffy consistency, pour in the milk and vanilla extract. Beat it again until everything’s blended together.
5. Bring It All Together
Next, add your dry ingredients to the wet mix, bit by bit. Don’t rush it! Add a little dry, beat, then add more. Go slow and steady, this prevents overmixing, and we want that dough nice and soft. When it’s all together, you should have a thick, slightly sticky dough that feels just right.
6. Scoop and Shape the Dough
Now it’s time for a little dough action! Scoop about ¼ cup of dough and place it on your prepared baking sheet. Leave about 3 inches between each scoop, the cookies will spread as they bake, so we need that room.
Lightly press down on each scoop with your hands to shape them. Don’t worry if they’re a little uneven, homemade cookies don’t need to be perfect, they’re all about charm!
7. Bake to Perfection
Set the cookies in the oven and bake for around 13 to 16 minutes, or until golden brown. You’ll know they’re done when the edges are lightly golden, and a toothpick comes out clean when poked in the middle.
When they’re out, let them cool for just 2 minutes on the baking sheet. With care, flip each one (cookie side down) and set them on a wire rack to cool properly. We’re giving these cookies a little “flip” to get that smooth, flat icing surface later.
8. Make the Icing
While your cookies cool, we’ve got a bit of icing to whip up. In a bowl, mix the powdered sugar, hot water, and vanilla.
Blend it until the consistency is creamy and perfect for spreading. It shouldn’t be too thick, but not too runny either, just perfect to coat the cookies. Should it seem too thick, add just a touch of hot water to thin it out. You want it silky and easy to spread.
9. Frost the Vanilla Side
Once your cookies are completely cool, grab an offset spatula or a spoon and spread the white icing over the flat side of each cookie. Don’t go overboard, a thin layer works best. Spread it out evenly, letting it set for about 20 minutes. This helps the icing dry into that glossy, smooth finish.
10. Melt the Chocolate for the Chocolate Icing
You can do this in the microwave in short bursts (stirring in between) or on the stove with a double boiler. Once the chocolate is melted and smooth, whisk it into the leftover white icing. It’ll get thicker, which is exactly what we want for the chocolate side of things. If it feels too heavy, add a dash of hot water to achieve the right texture.
11. Frost the Chocolate Side
Now, it’s time to turn these beauties into the ultimate treat. Using your spatula, carefully spread the chocolate icing over the other half of each cookie, on top of the white icing. You want a nice even layer, but not too thick, let that gorgeous vanilla shine through. Once frosted, let the cookies sit on the wire rack for another 20 minutes to allow the icing to set. Enjoy!
Loved this? There’s so much more to explore! Follow me on Pinterest for tasty recipes and baking inspiration and be sure to pin this one for later!
Top Tips for Perfecting Your Black and White Cookie Recipe
- Make sure your butter, milk, and eggs are all at room temperature. This helps everything come together smoothly and gives your dough that perfect texture.
- The Freshness of Your Baking Powder & Baking Soda. Give them a quick check before you use them, a fresh batch ensures that perfect texture we’re all after.
- After adding the dry ingredients, blend just until the mixture comes together. Overmixing the dough can make the cookies tough, and we’re going for soft, fluffy bites here.
How to Store Your Black and White Cookies
Keep Them Fresh at Room Temperature
Simply place your cookies in an airtight container and keep them at room temperature for 4 days.They’ll stay soft and chewy.
Freeze for Later
Wrap each one in plastic wrap and pop them into a freezer bag or container. They’ll stay fresh for 2-3 months.
Keep That Icing Perfect
If you’re stacking your cookies, make sure to place parchment paper between each one. It’ll prevent that gorgeous icing from getting squished. Trust me, it’s worth it!
FAQs
Are there alternative milks I can use instead of regular milk?
Absolutely! You can swap in any milk you prefer, whether it’s almond milk, oat milk, or even a dairy-free option like coconut milk. Just make sure it’s at room temperature, so it blends smoothly with the butter and sugar.
How do I make my cookies spread less while baking?
If you want your cookies to hold their shape better, try chilling the dough for about 30 minutes before baking. This helps the dough firm up, so your cookies won’t spread too much as they bake.
What’s the best way to store leftover icing?
If you have any leftover icing, store it in an airtight container at room temperature for up to 3 days. It’s easy to reheat in the microwave or add a bit more water to get it back to the perfect consistency for your next batch!
How can I make the cookies a little more flavorful?
If you’re looking to add a twist, try adding a pinch of cinnamon or nutmeg to the dough for a warm, spiced flavor. You can also experiment by using almond extract instead of vanilla for a nutty, aromatic kick.

Black and White Cookies: The Best Homemade Treat
Ingredients
For the Cookies:
- 2 ¼ cups of all-purpose flour
- 1 teaspoon baking powder
- ½ teaspoon baking soda
- ½ teaspoon fine salt
- 1 cup unsalted butter softened
- 1 cup granulated sugar
- ¼ cup milk room temperature
- 1 ½ teaspoons pure vanilla extract
For the Icing:
- 3 ⅓ cups confectioners’ sugar sifted for a smooth glaze
- ¼ cup hot water add more as needed for consistency
- ⅓ teaspoon vanilla extract
- ⅔ cup dark chocolate chips melted
Instructions
- Set the oven to 350°F (175°C) and prep baking sheets with parchment or mats. Combine flour, leaveners, and salt, then set the bowl aside.
- Mix butter and sugar until light and airy, about 3–5 mins. Once fluffy, stir in the milk and vanilla.
- Add the dry ingredients to the wet mix a little at a time, stirring softly after each batch. Once it’s all combined, you’ll have a thick dough.
- Scoop roughly ¼ cup of dough onto the prepared baking sheets, ensuring a 3-inch gap between each scoop.
- Lightly press down each scoop with your hands, but no need to stress about making them perfectly even!
- Bake for 13–16 minutes, check doneness with a toothpick. Cool briefly, then move to rack.
- While your cookies cool, it’s time to make the icing. Whisk sugar, water, and vanilla until smooth.
- Add more hot water if too thick. Once the cookies are completely cool, spread a thin layer of the white icing over the flat side of each cookie. Set the icing aside for 15 minutes.
- Melt dark chocolate and blend into the white icing. If too thick, add more hot water. Spread the chocolate icing over the other half of each cookie, making sure it’s evenly covered.
- Rest cookies 15 minutes for the icing to harden. Then, they’re ready to be enjoyed!
Notes
- For the softest cookies, make sure they don’t bake past golden edges. Slightly underbaked cookies will stay softer.
- For the most perfect, clean icing lines, let the first layer of icing dry completely before applying the chocolate.