Here’s the truth: I didn’t bake these Birthday Cake Cookies for a party. I made them on a random Wednesday when the week felt long and the sky was gray, and I just needed a reason to smile.
And they worked.
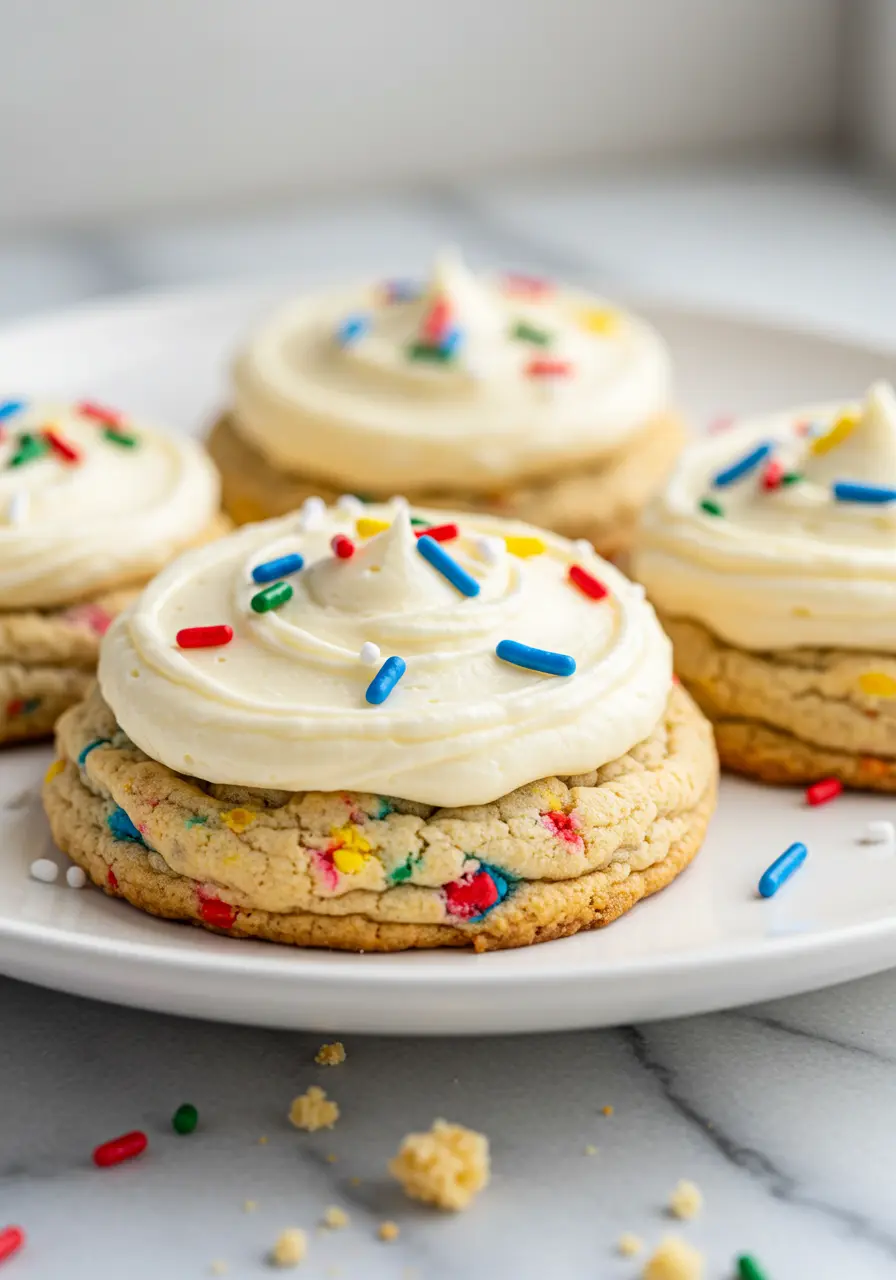
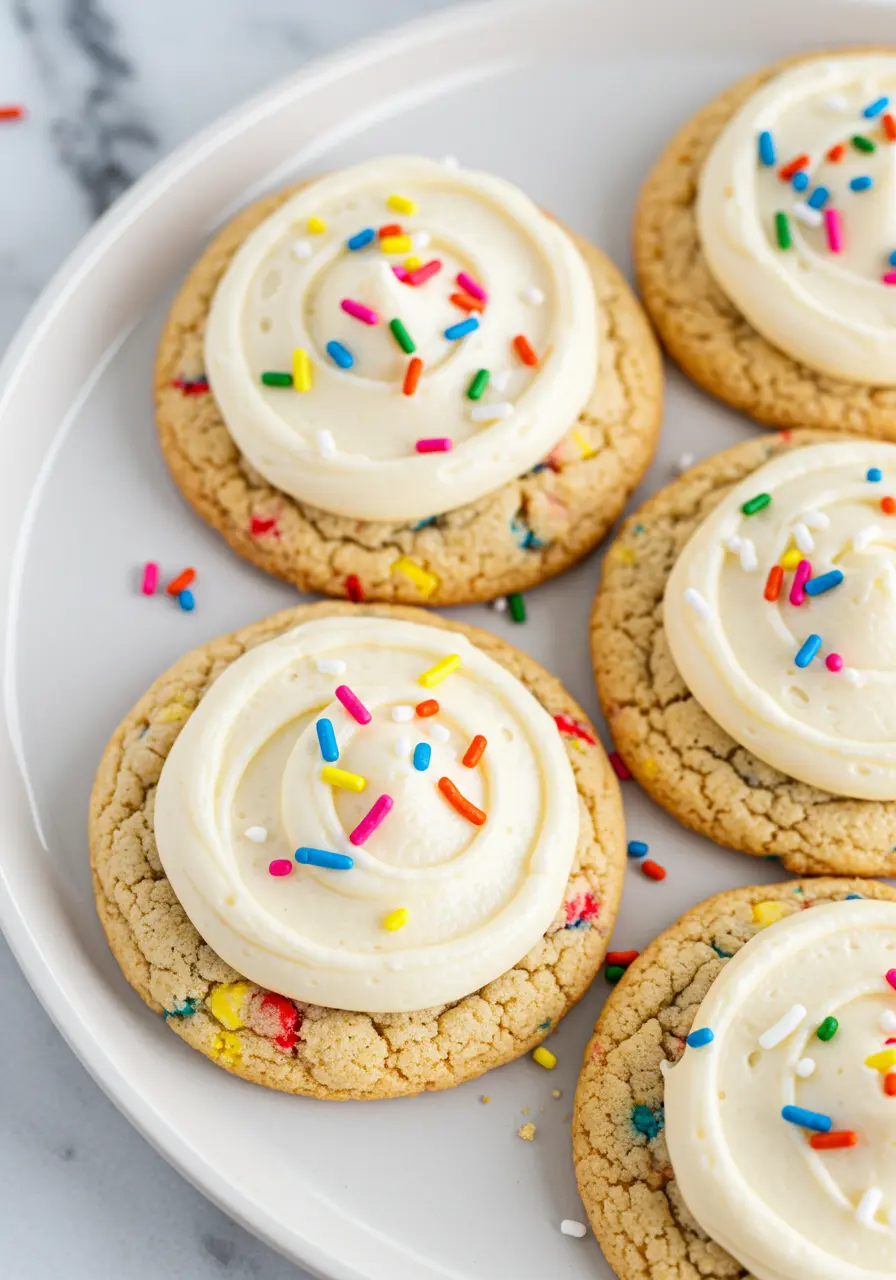
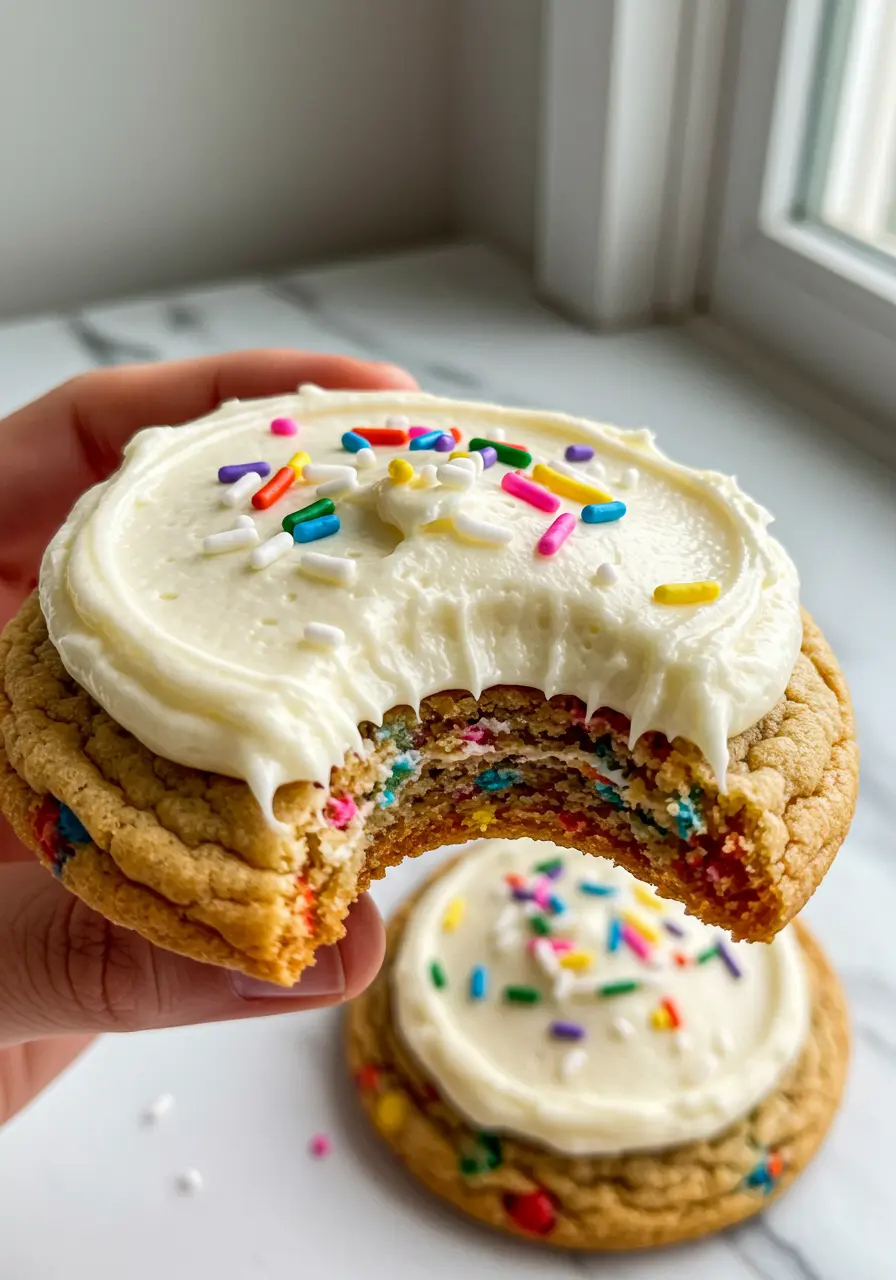
Because there’s something a little magical about biting into a soft, chewy cookie that tastes like it came straight from a childhood birthday, no candles, no crowd, just you, the sprinkles, and that sweet vanilla frosting. These cookies are what I’d call celebration therapy. Half cookie, half cake, 100% joy.
I know there are plenty of cookie cake birthday ideas out there, and yes, you’ve probably seen every kind of cookie cake recipe under the sun.
But this one? It’s different. It’s fast. It’s nostalgic. It’s the kind of bake that says “go ahead, eat dessert first.” Made with a cake mix (yes, we’re going there), packed with sprinkles, and finished with a swoop of cream cheese frosting, it’s the shortcut to instant good vibes.
The Ingredients You’ll Need
- Vanilla Cake Mix – The secret to that soft, cake-like texture with minimal effort. It’s your flavor base, without the fuss.
- Cooking Oil – Keeps these cookies super soft and chewy, no dry crumbs in sight.
- Eggs – They help bind everything together and give these cookies their rich, yummy texture.
- Almond Extract – Just a dash adds a little something extra that takes these cookies from good to amazing.
- Sprinkles – Because no birthday treat is complete without a burst of color and fun!
- Cream Cheese – Makes the frosting super smooth and gives it that tangy, rich flavor.
- Salted Butter – Balances the sweetness in the frosting and adds a little extra richness.
- Vanilla Extract – This is the classic flavor that ties it all together, making everything taste like home.
- Powdered Sugar – The magic ingredient for that smooth, sweet frosting everyone loves.
How to Make Birthday Cake Cookies
Preheat & Prep the Kitchen
First things first, let’s get the oven working for us. Preheat it to 350°F (175°C). Follow up by covering two baking pans with parchment paper for easy release. You’re one step closer to cookie magic!
Mix the Dough
Stir together the vanilla cake mix, cooking oil, eggs, and almond extract in a spacious bowl. Keep mixing until every component is fully incorporated.
Then, let’s add the fun part, sprinkles! Fold them in gently, making sure each piece of dough carries a splash of color in every bite. Trust me, these cookies are already looking good!
Scoop & Space It Out
Scoop out portions of dough with a 1½-inch tool and gently place them onto your prepped baking trays. Make sure you leave about 2 inches between each cookie, they’re going to spread a little, and we want them to have room to shine.
Bake to Perfection
Pop the cookies in the oven for 9-10 minutes. You’ll know they’re ready when the edges start turning golden brown and they’ve got a nice puffed-up look. Don’t let them go too long, we want them chewy, not crunchy, so pull them out just as the edges are lightly golden.
Cool Down, Patience Is Key
Let them cool undisturbed on the baking tray for a couple of minutes after baking. This lets them firm up a bit before you transfer them to a cooling rack.
Don’t rush this, give them the time they deserve to cool completely before frosting.
Cream Cheese Frosting
As the cookies cool, it’s time to whip up the frosting—blend the cream cheese, butter, and extracts until smooth and decadently creamy. Taste test it if you want, it’s going to be that good.
Add the Sweetness
Slowly add the powdered sugar, about half a cup at a time, until you’ve got a light, fluffy, and sweet frosting. Don’t hurry through this part; the goal is a smooth, creamy finish, free from lumps or thickness.
Frost Like a Pro
Once your cookies are cool, it’s time to frost them. I like to use a piping bag with a round tip (but if you don’t have one, just use a ziplock bag with the tip cut off). Start at the edges and swirl inward. It doesn’t need to be perfect, just have fun with it. Every twist is a delightful fragment of pure bliss.
Sprinkle the Magic
Now, go wild with those sprinkles! Toss them on top of the frosting for that colorful birthday flair. Whether you go heavy or light, it’s your call. Just make sure each cookie feels like a celebration.
Loved this? There’s so much more to explore! Follow me on Pinterest for tasty recipes and baking inspiration and be sure to pin this one for later!
3 Mistakes to Avoid When Making Birthday Cake Cookies
Overmixing the Dough
It’s tempting to keep mixing until everything looks perfectly smooth, but here’s the thing: overmixing can lead to dense, tough cookies.
Mix just until everything is incorporated and the dough comes together. You want it soft and slightly thick, not a heavy batter!
Skipping the Cooling Time
I know you’re excited, but hold off! If you frost them while they’re still warm, the icing will just melt away.
I know you’re excited but hold off! If you frost them while they’re still warm, the icing will just melt away. Let the cookies cool completely on a rack before you dive into the frosting process.
How to Store Birthday Cake Cookies
Keep Them in an Airtight Container
For optimal freshness, store your cookies in an airtight container at a cool room temperature. This helps preserve their softness and keeps the frosting from getting too sticky.
Refrigerate for Longer Shelf Life
If you want your cookies to last a little longer (about 5-7 days), pop them in the fridge. Be sure to let them sit until they reach room temperature for that irresistible, melt-in-your-mouth sensation.
Freeze for Future Enjoyment
Want to keep some for later? Freeze the cookies (without frosting) in a single layer on a baking sheet. Once frozen, place them in a freezer-friendly bag or container for storage. You can frost them later when you’re ready to enjoy them!
Other Unique Cookies to Try
How to Make Perfect Birthday Cake Cookies: A Sweet, Easy Treat!
Here’s the truth: I didn’t bake these Birthday Cake Cookies for a party. I made them on a random Wednesday, when the week felt long and the sky was gray, and I just needed a reason to smile.
Ingredients
Cookie Dough:
- 1 box vanilla cake mix
- 3 large eggs
- ¼ cup cooking oil
- ½ teaspoon almond extract
- ⅓ cup rainbow sprinkles
Cream Cheese Frosting:
- 8 oz cream cheese softened
- 1 cup salted butter softened
- 2 teaspoons vanilla extract
- 3½ cups powdered sugar adjust to your preferred consistency
- 4 tablespoons sprinkles
Instructions
- Heat the oven to 350°F (175°C) and line two baking pans with parchment paper. Now you’re ready to make those cookies come to life!
- In a large bowl, mix together the vanilla cake mix, cooking oil, eggs, and almond extract until smooth. Once everything is well combined, gently fold in the sprinkles to give your dough some color and fun.
- Scoop the dough with a 1½-inch cookie scoop and place it on the baking sheets, ensuring there’s a 2-inch space between each one. They’ll spread out a bit, so give them room to grow!
- Bake the cookies for 9-10 minutes. Once the edges are golden and the cookies puff up, they’re done. Be vigilant, they should be soft and chewy, not crunchy, so take them out the moment the edges brown.
- Give the cookies 2-3 minutes to cool on the baking sheet before transferring them to a rack. Be patient, they need time to firm up and cool completely before you frost them.
- As the cookies cool, blend together the cream cheese, butter, and extracts until the mixture is perfectly creamy and smooth. Taste it (because why not?), and then slowly add in the powdered sugar, about half a cup at a time, until the frosting is light and fluffy.
- Once the cookies are cool, pipe or spread the frosting onto each one. Start from the edges and swirl toward the center, it’s okay if it’s not perfect, just have fun with it!
- Top the cookies with sprinkles to finish them off with that fun, colorful birthday touch.
- And just like that, your homemade Birthday Cake Cookies are ready to enjoy!
Notes
- When baking, don’t forget to check the cookies at the 9-minute mark.
- Be gentle when folding in the sprinkles to keep them from bleeding into the dough.
- To achieve smooth, even frosting, don’t rush the process—let the sugar incorporate slowly for the fluffiest result.
- Don’t skip the parchment paper. It simplifies cleanup and ensures your cookies won't stick!